Hello, I’m Yuto.
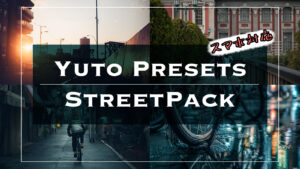
Due to the popularity of the previous Yuto 50 Preset, I have created a second one!
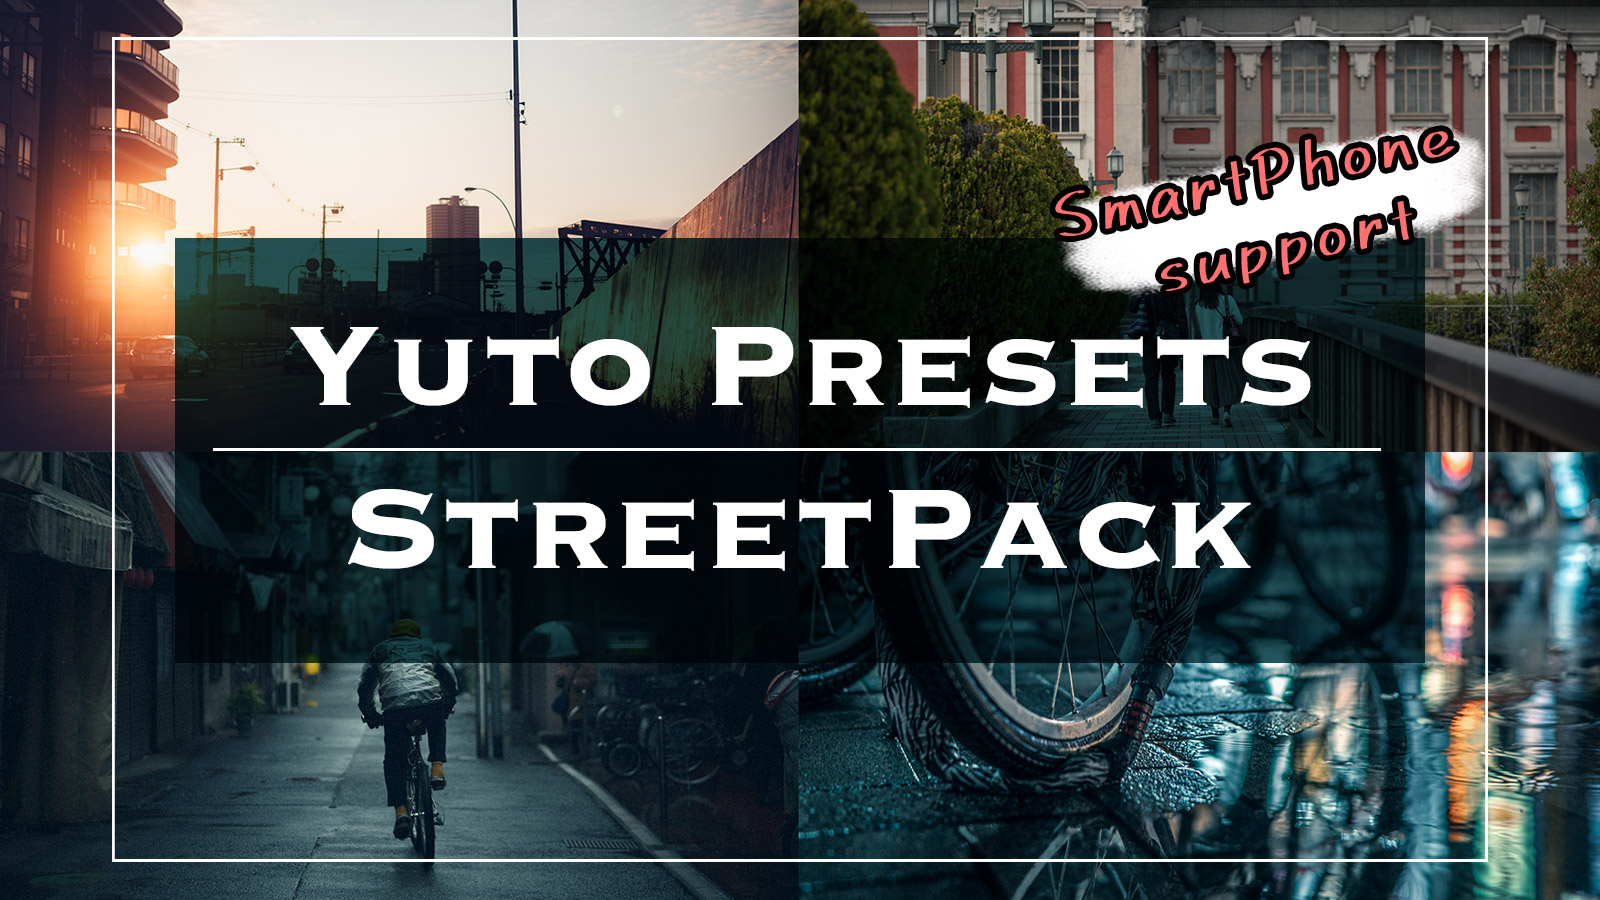
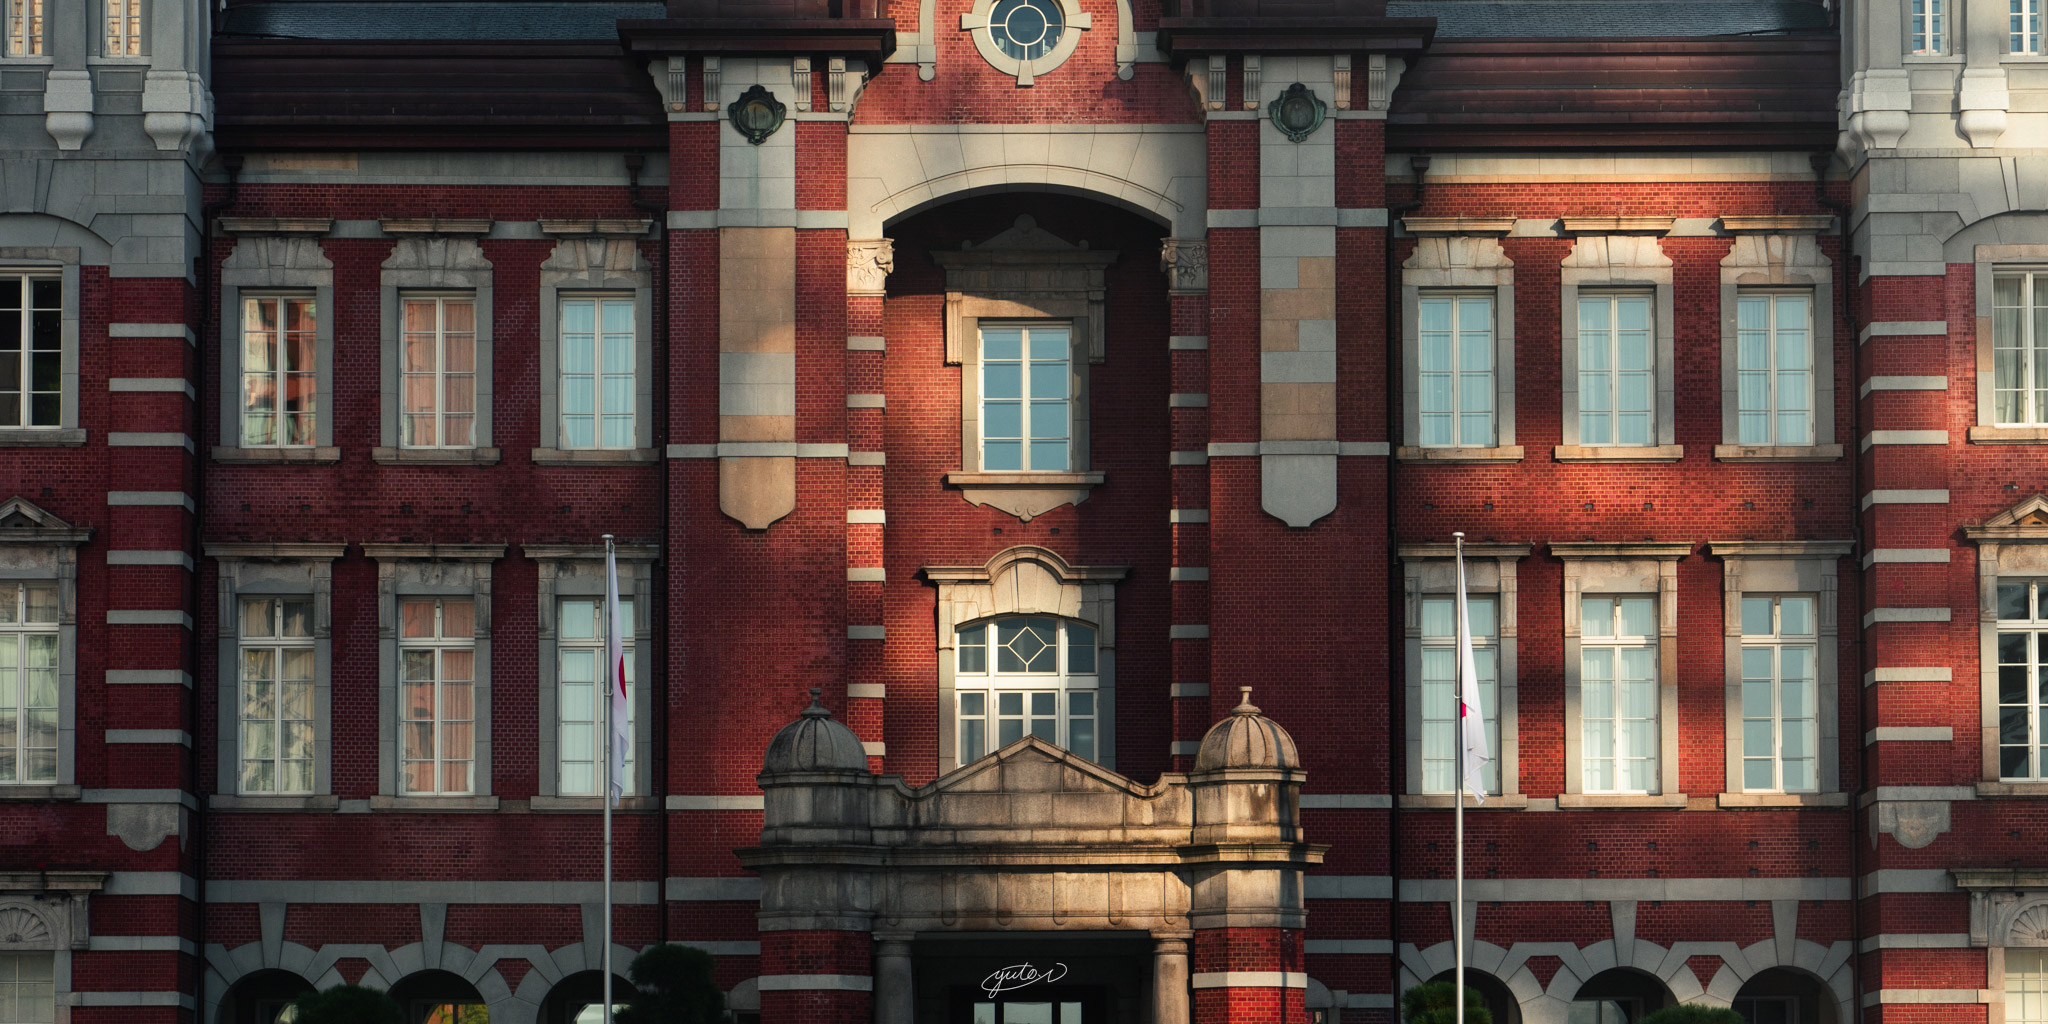
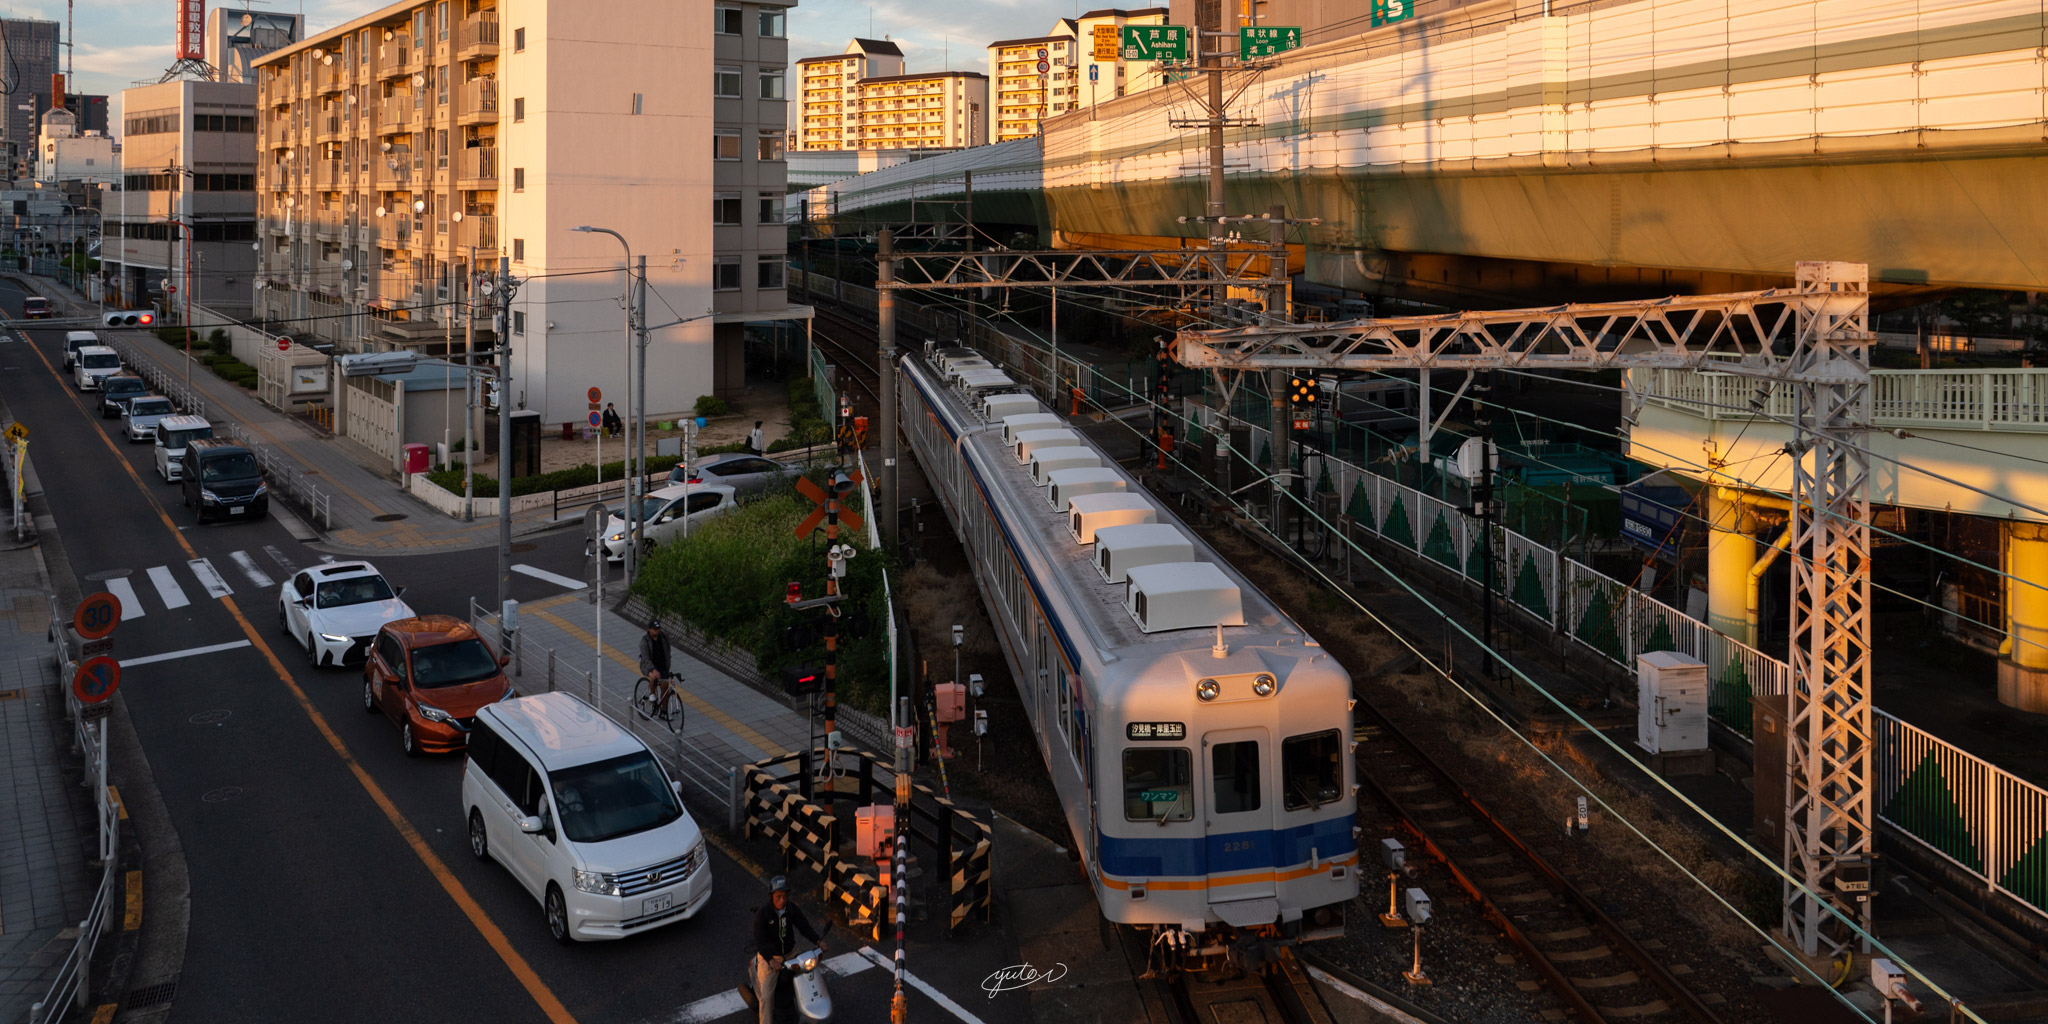
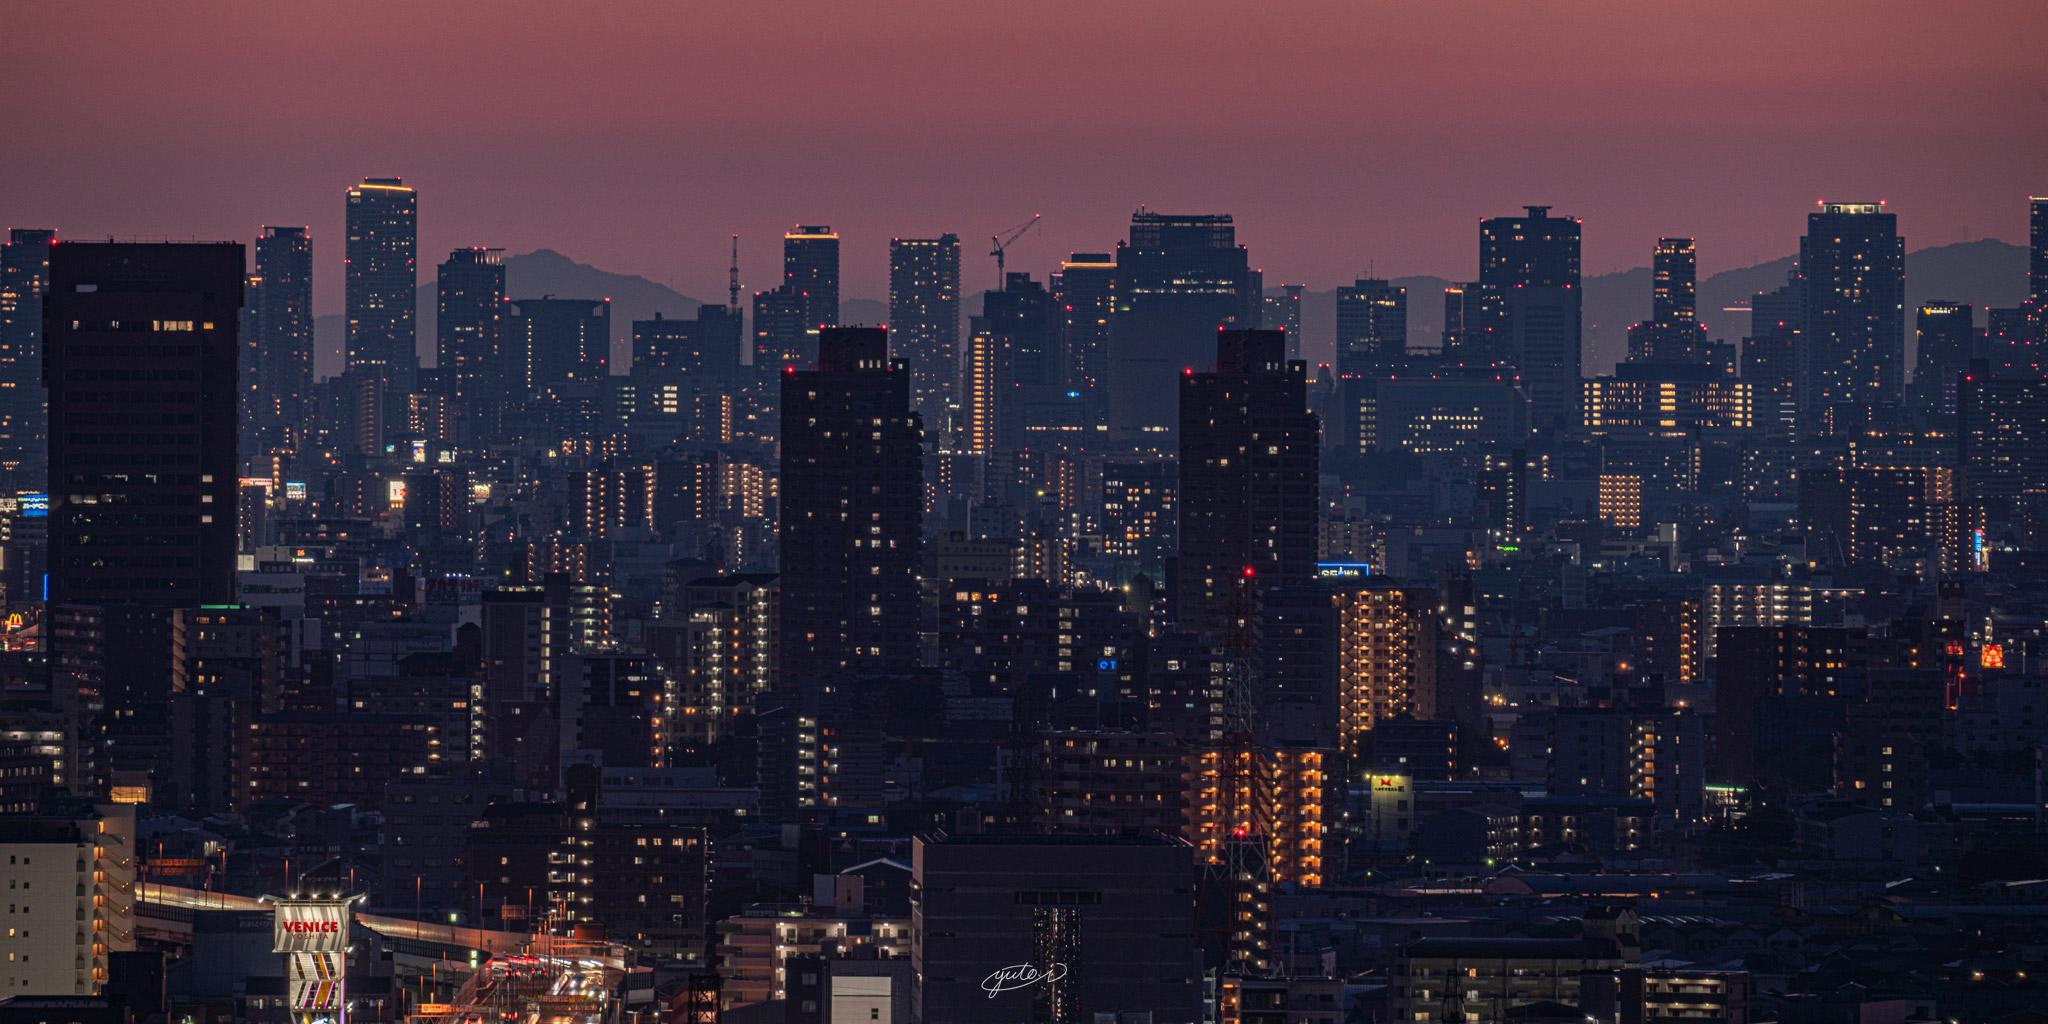
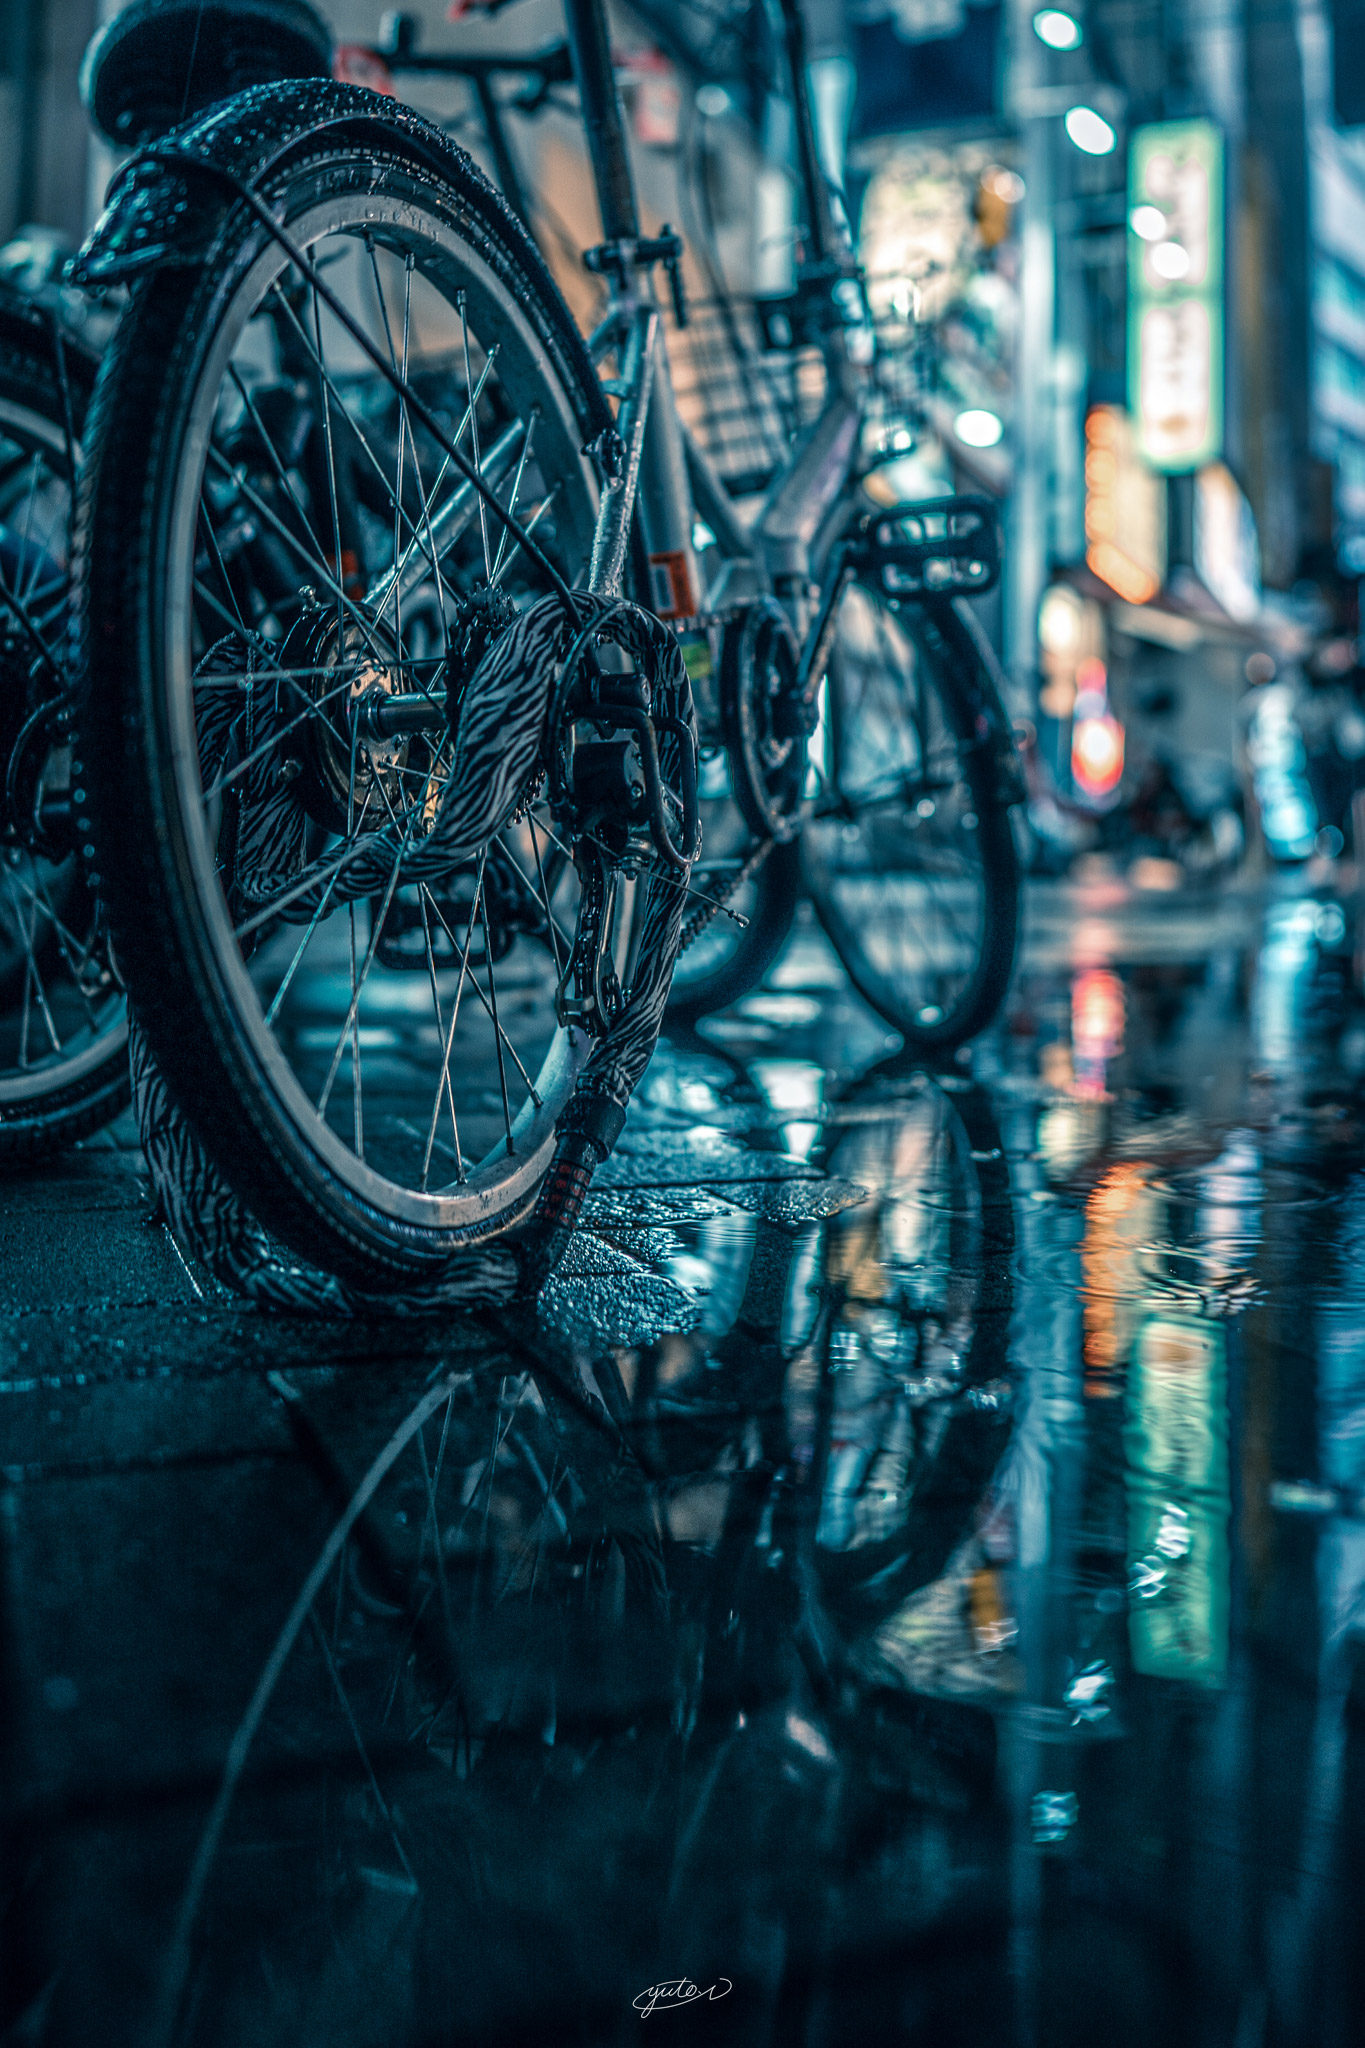
This preset was created using only cityscapes and snaps. I’ve expanded the range of expression by adding some new ones and others derived from the previous preset.
The result is more accurate due to the fact that it is specialized for cities.
If you are not sure how to finish your photos, please consider this preset.
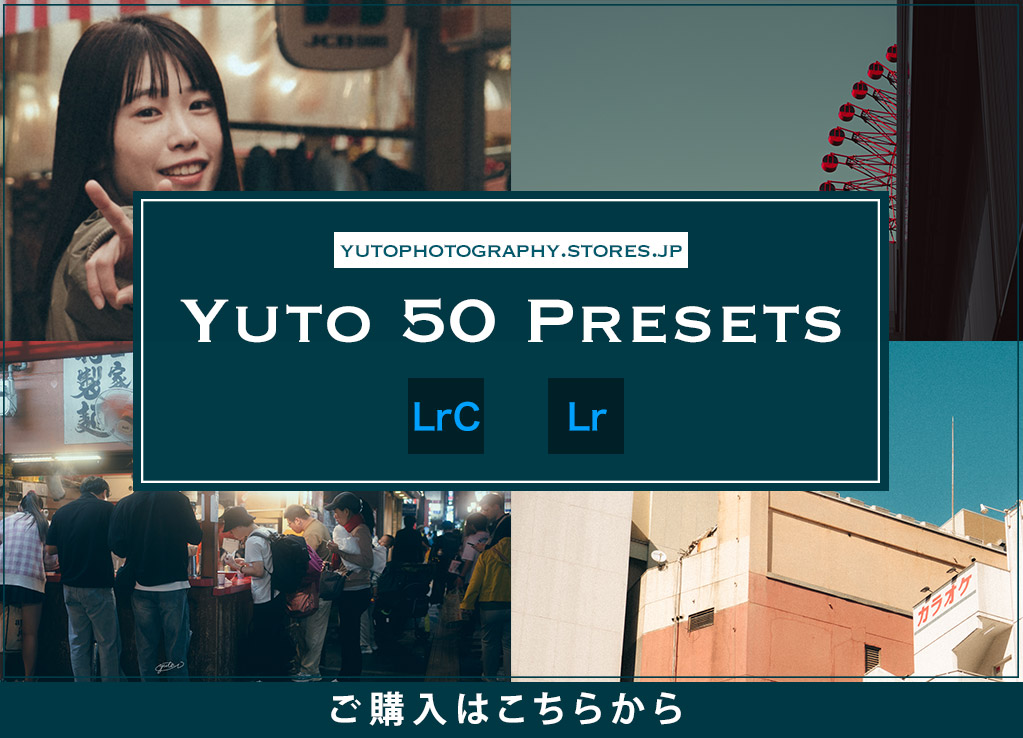
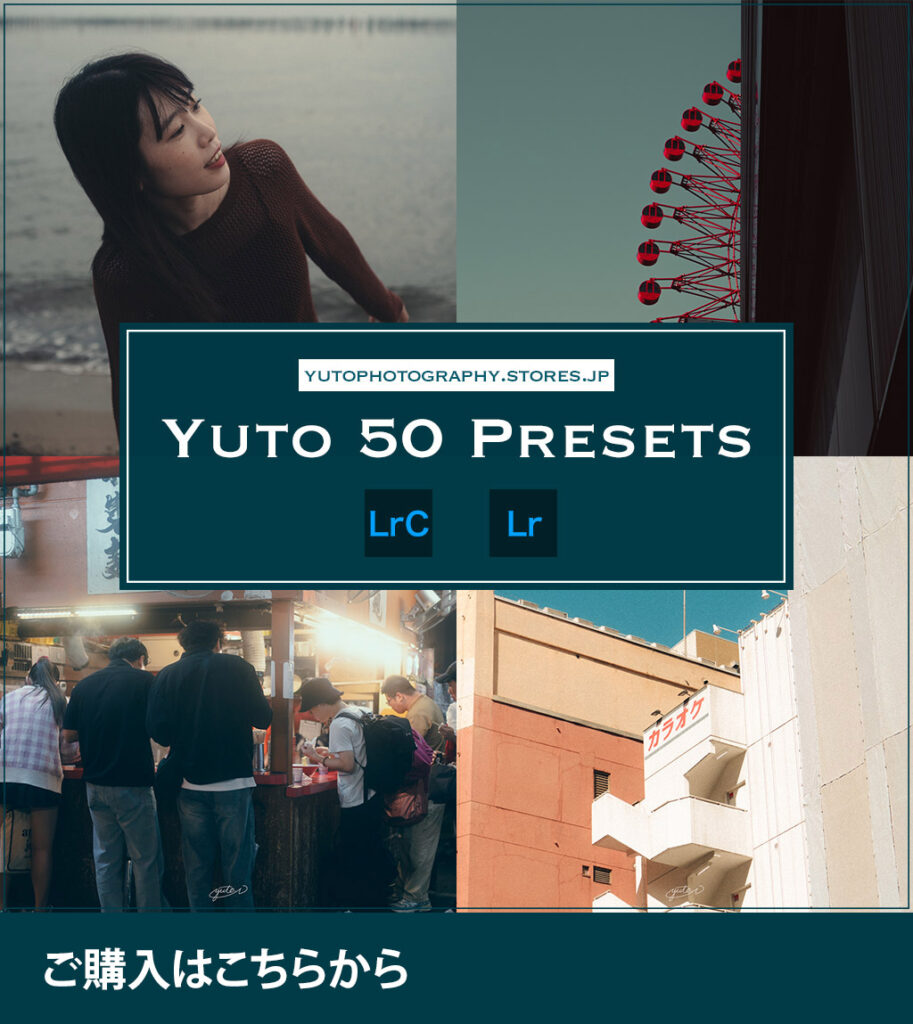

Packed with 30 presets
There are a total of 30 presets for this project.
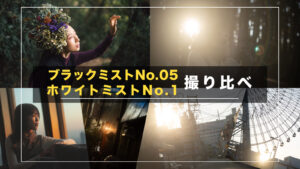
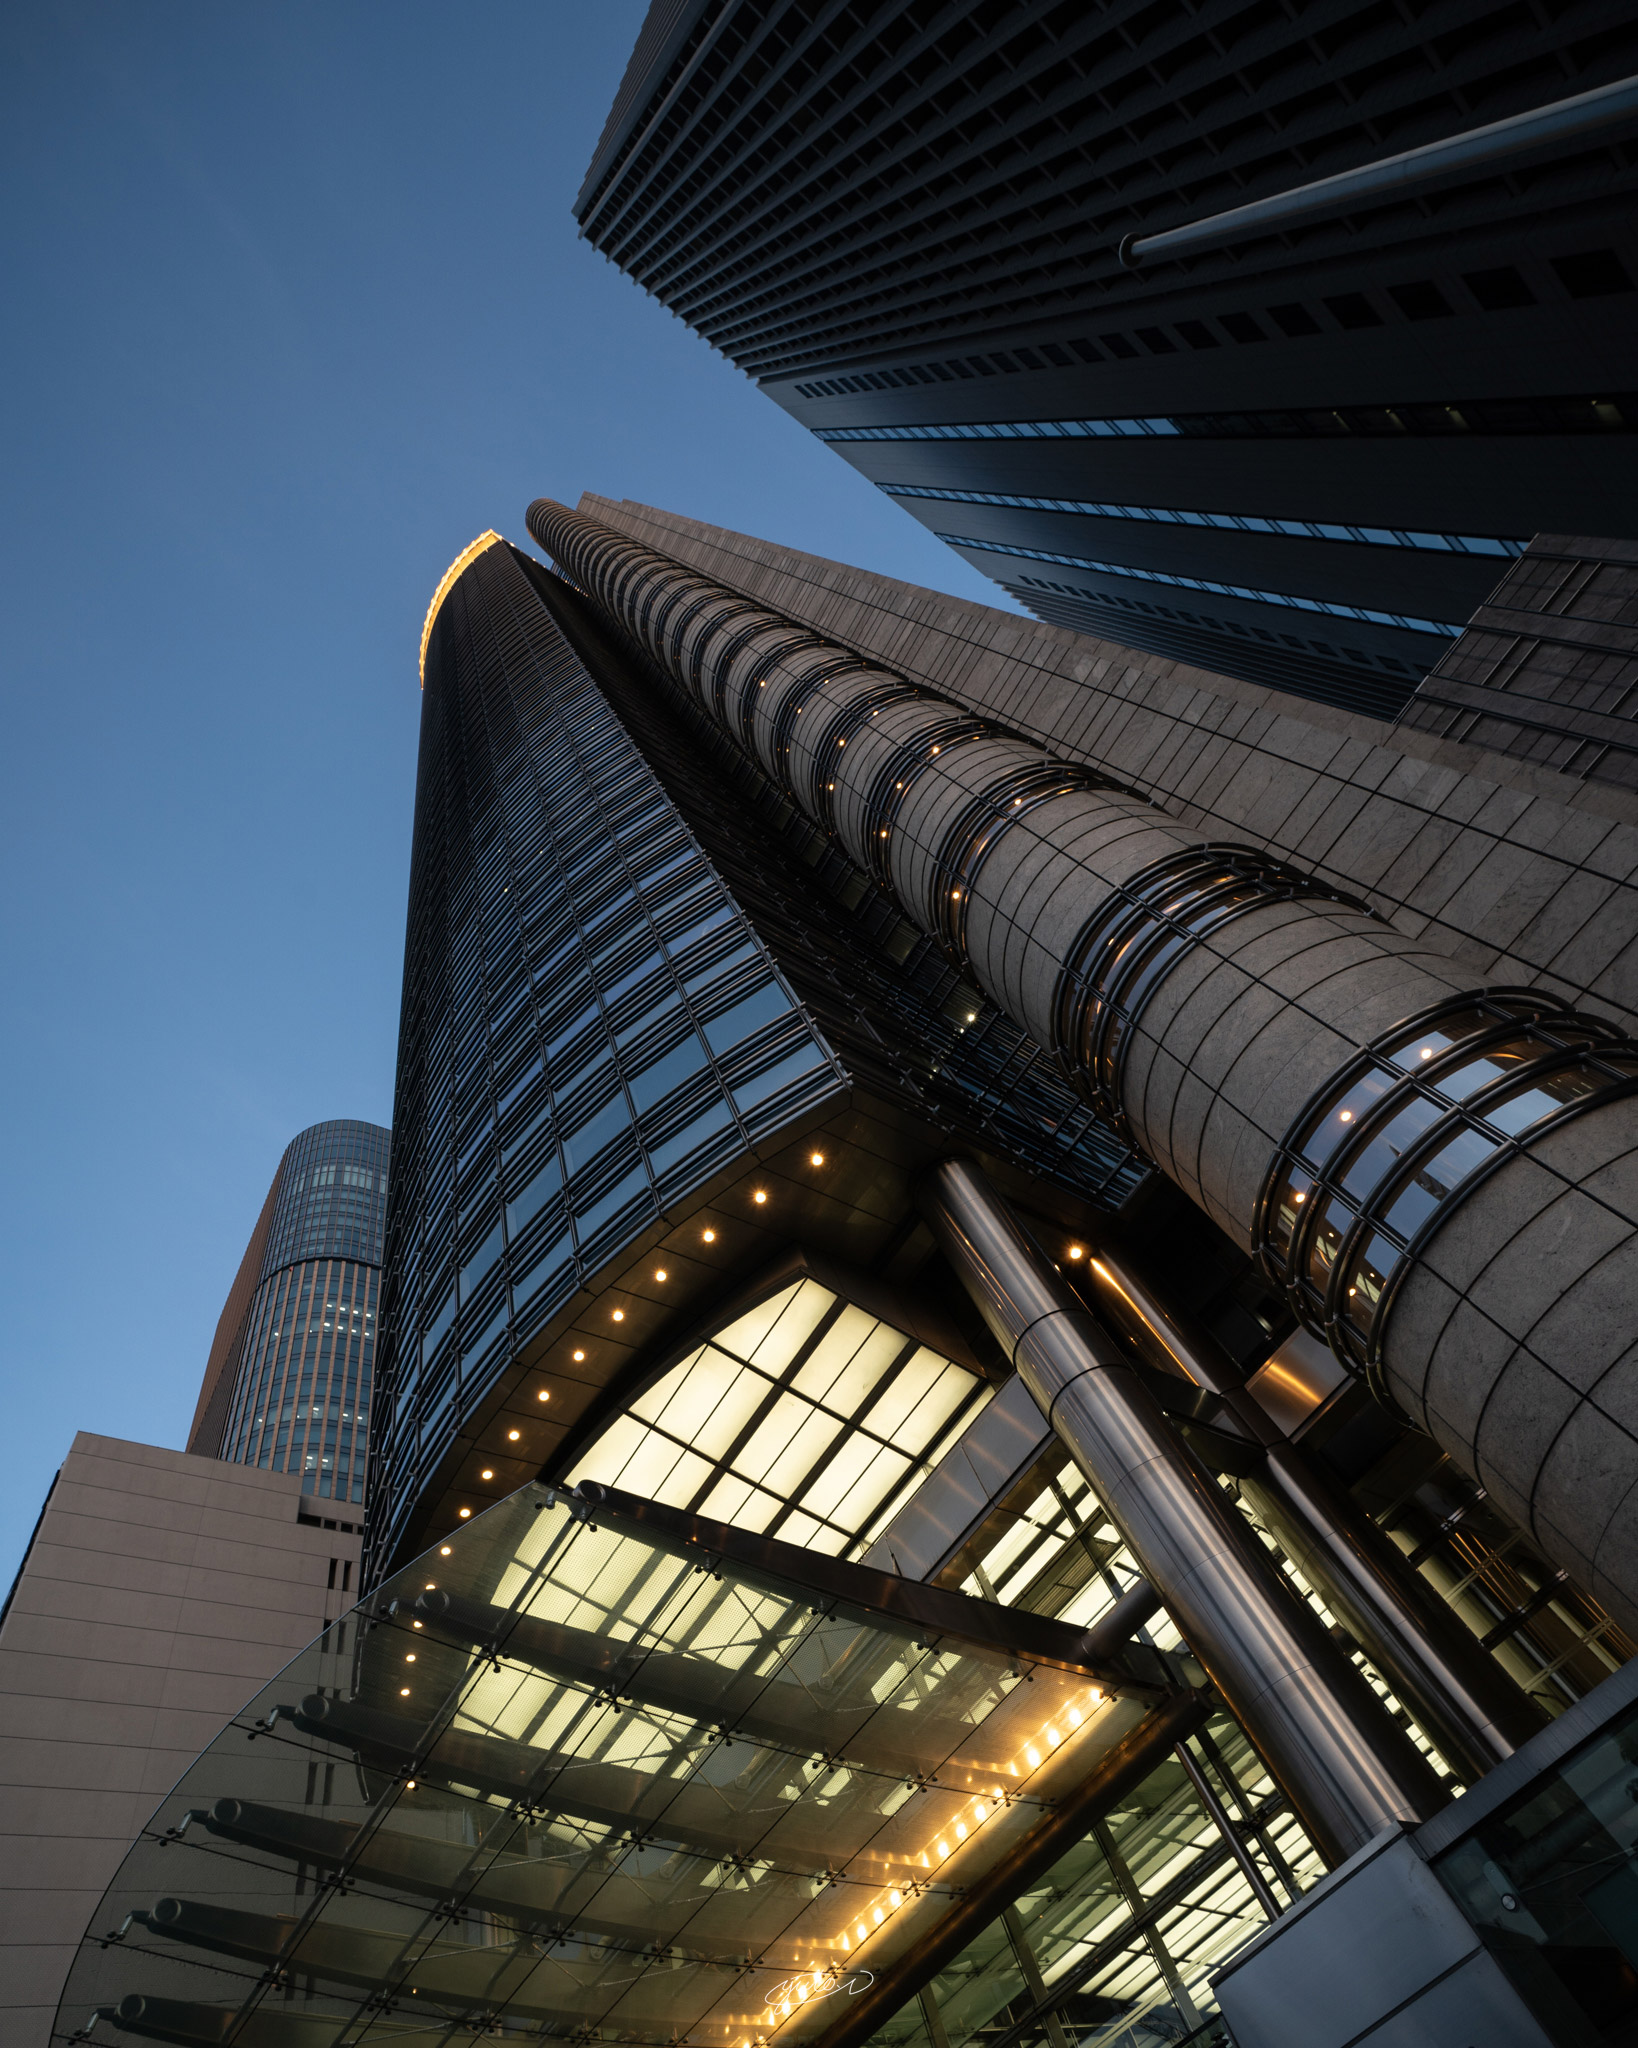
I created presets for a wide range of weather and time of day while shooting urban landscapes and snaps.
I have published my work using these presets under the theme Cinematic Osaka on the X account that I usually run.
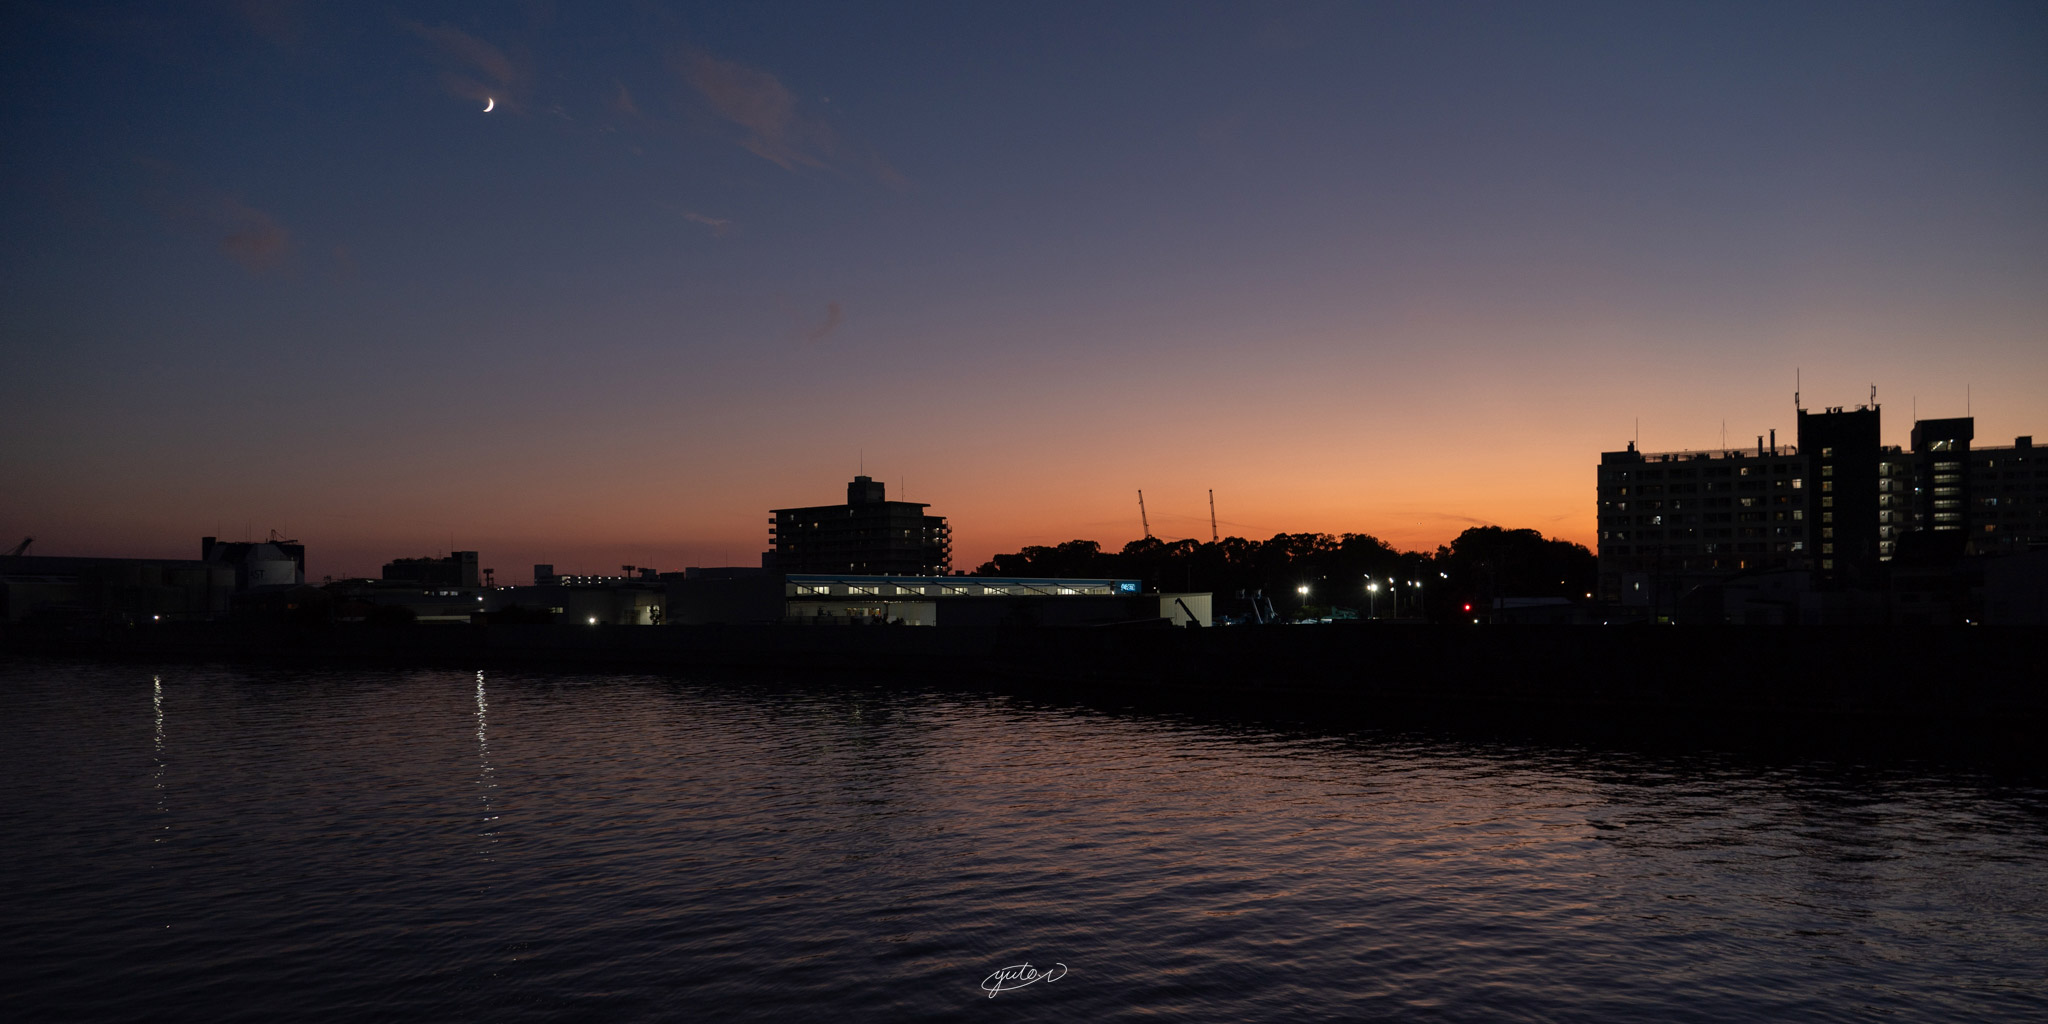
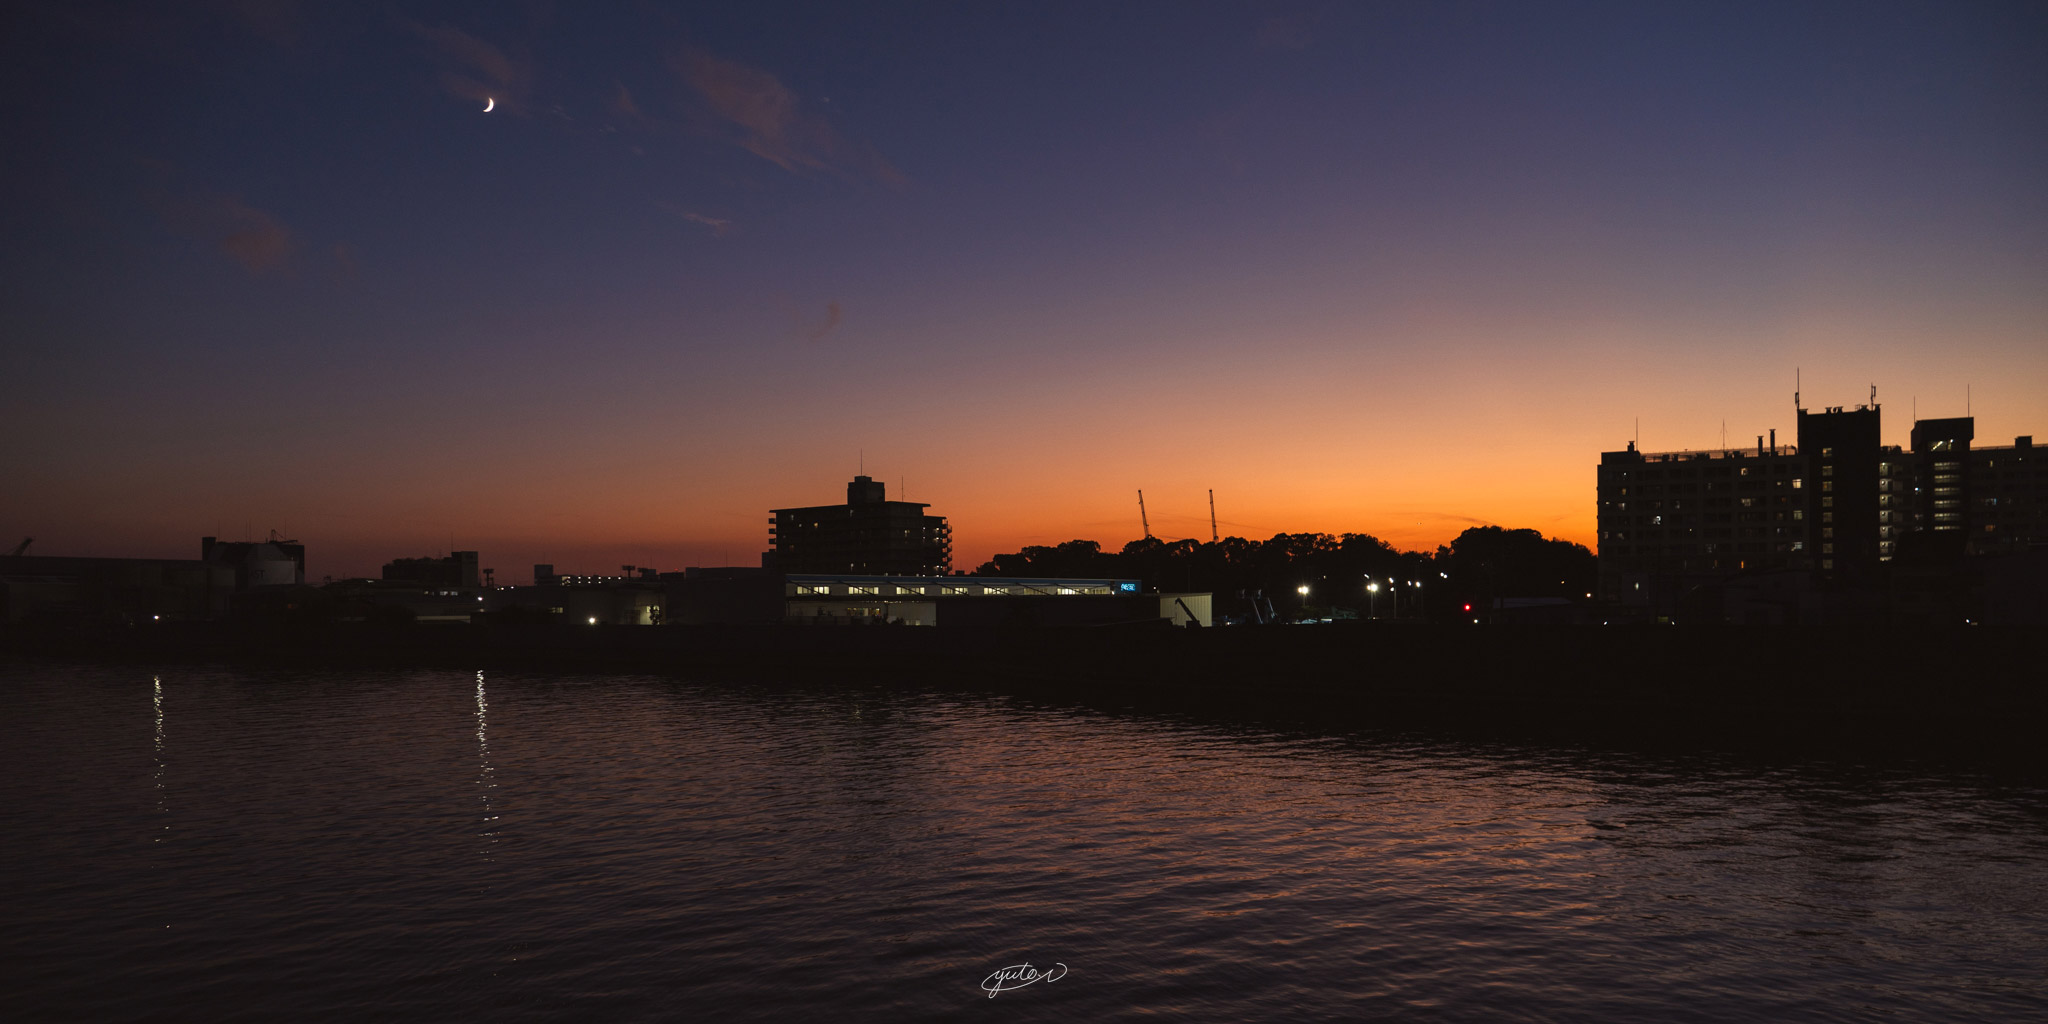
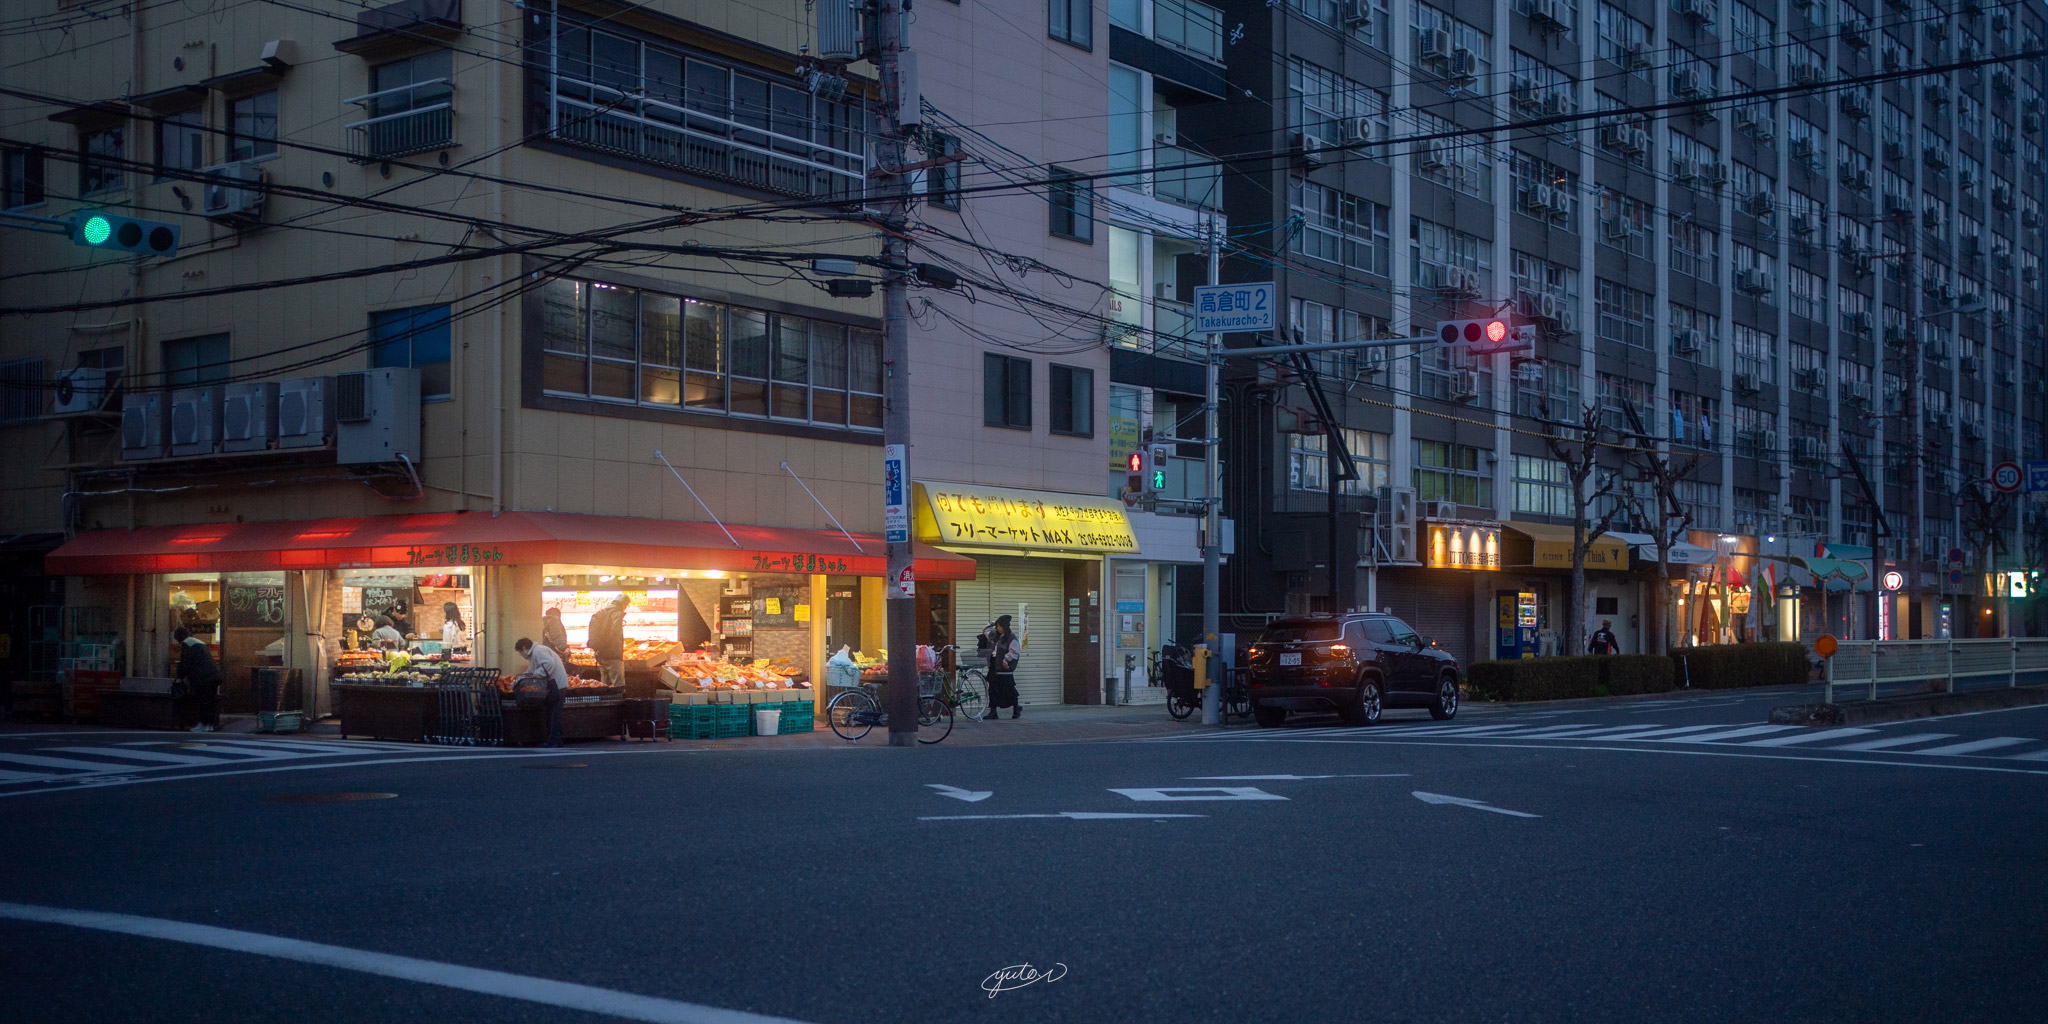
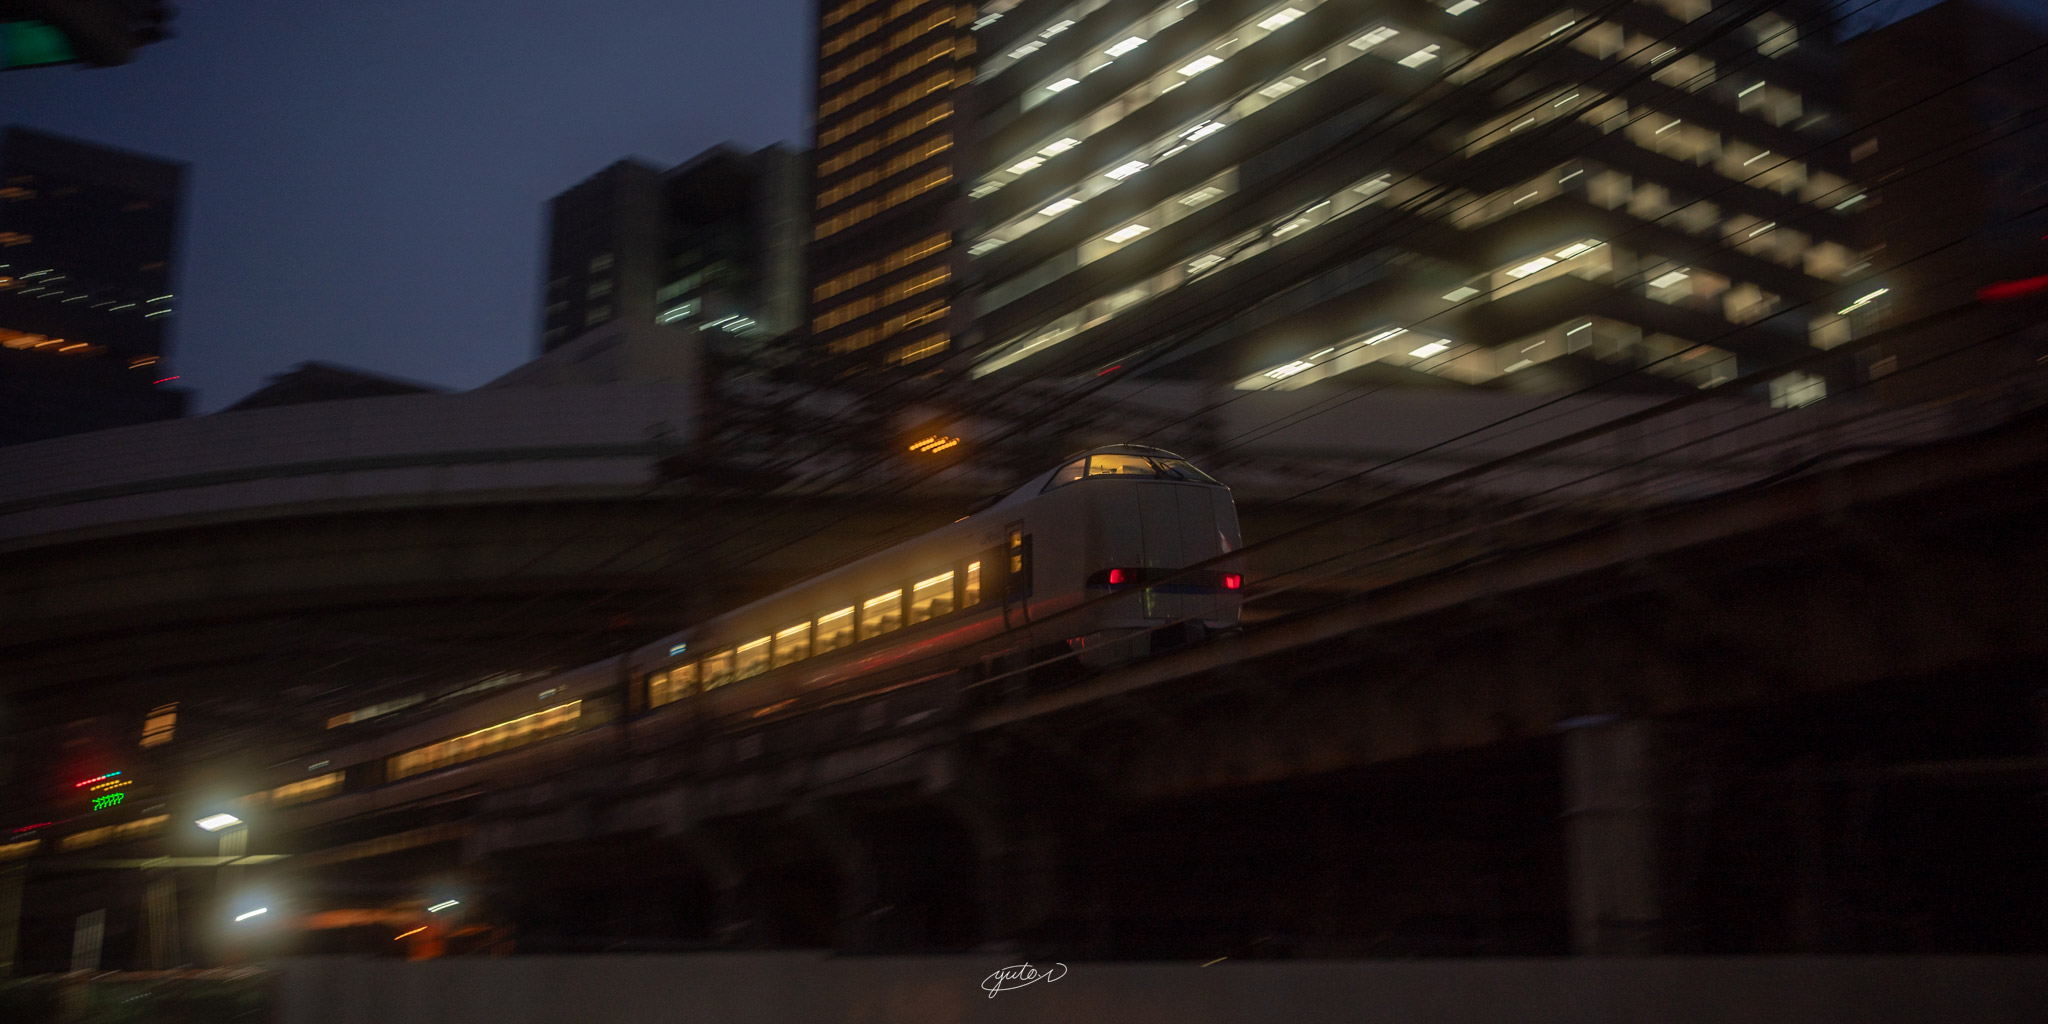
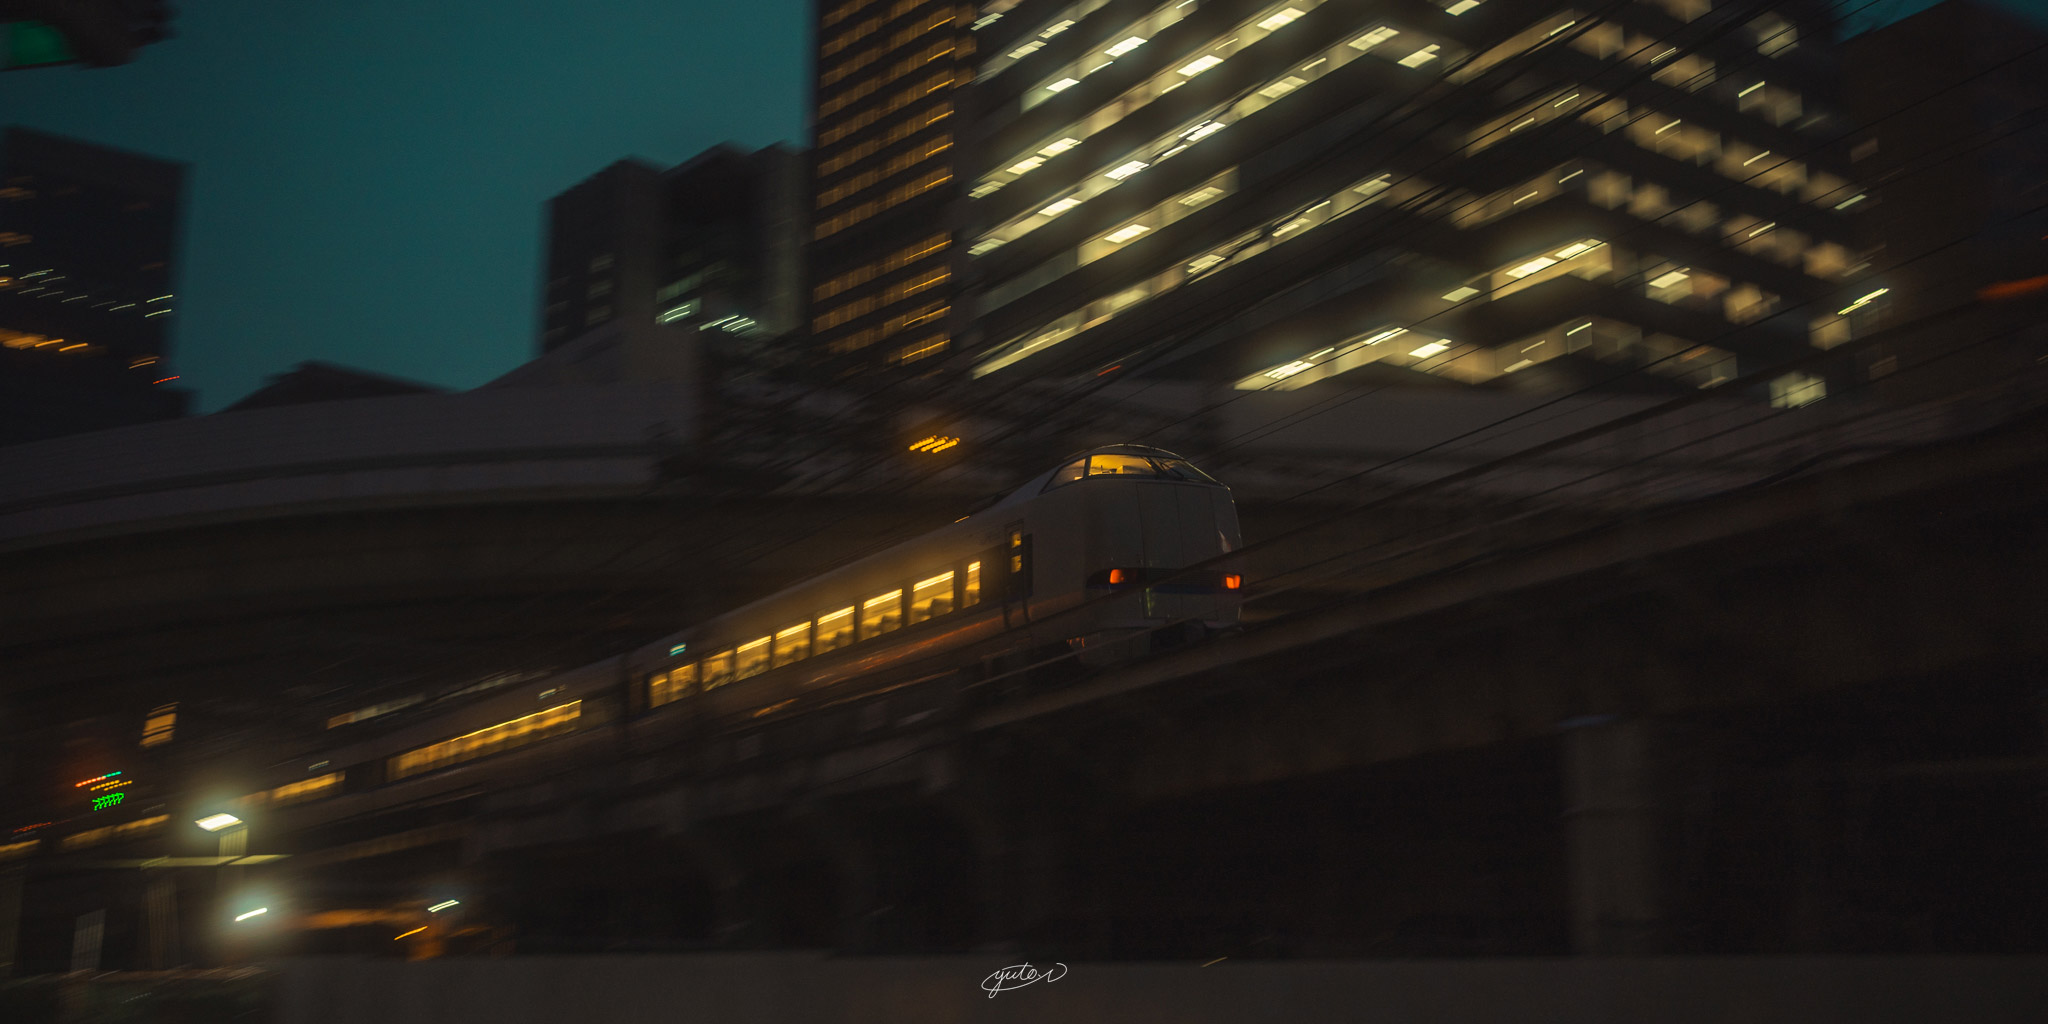
Example


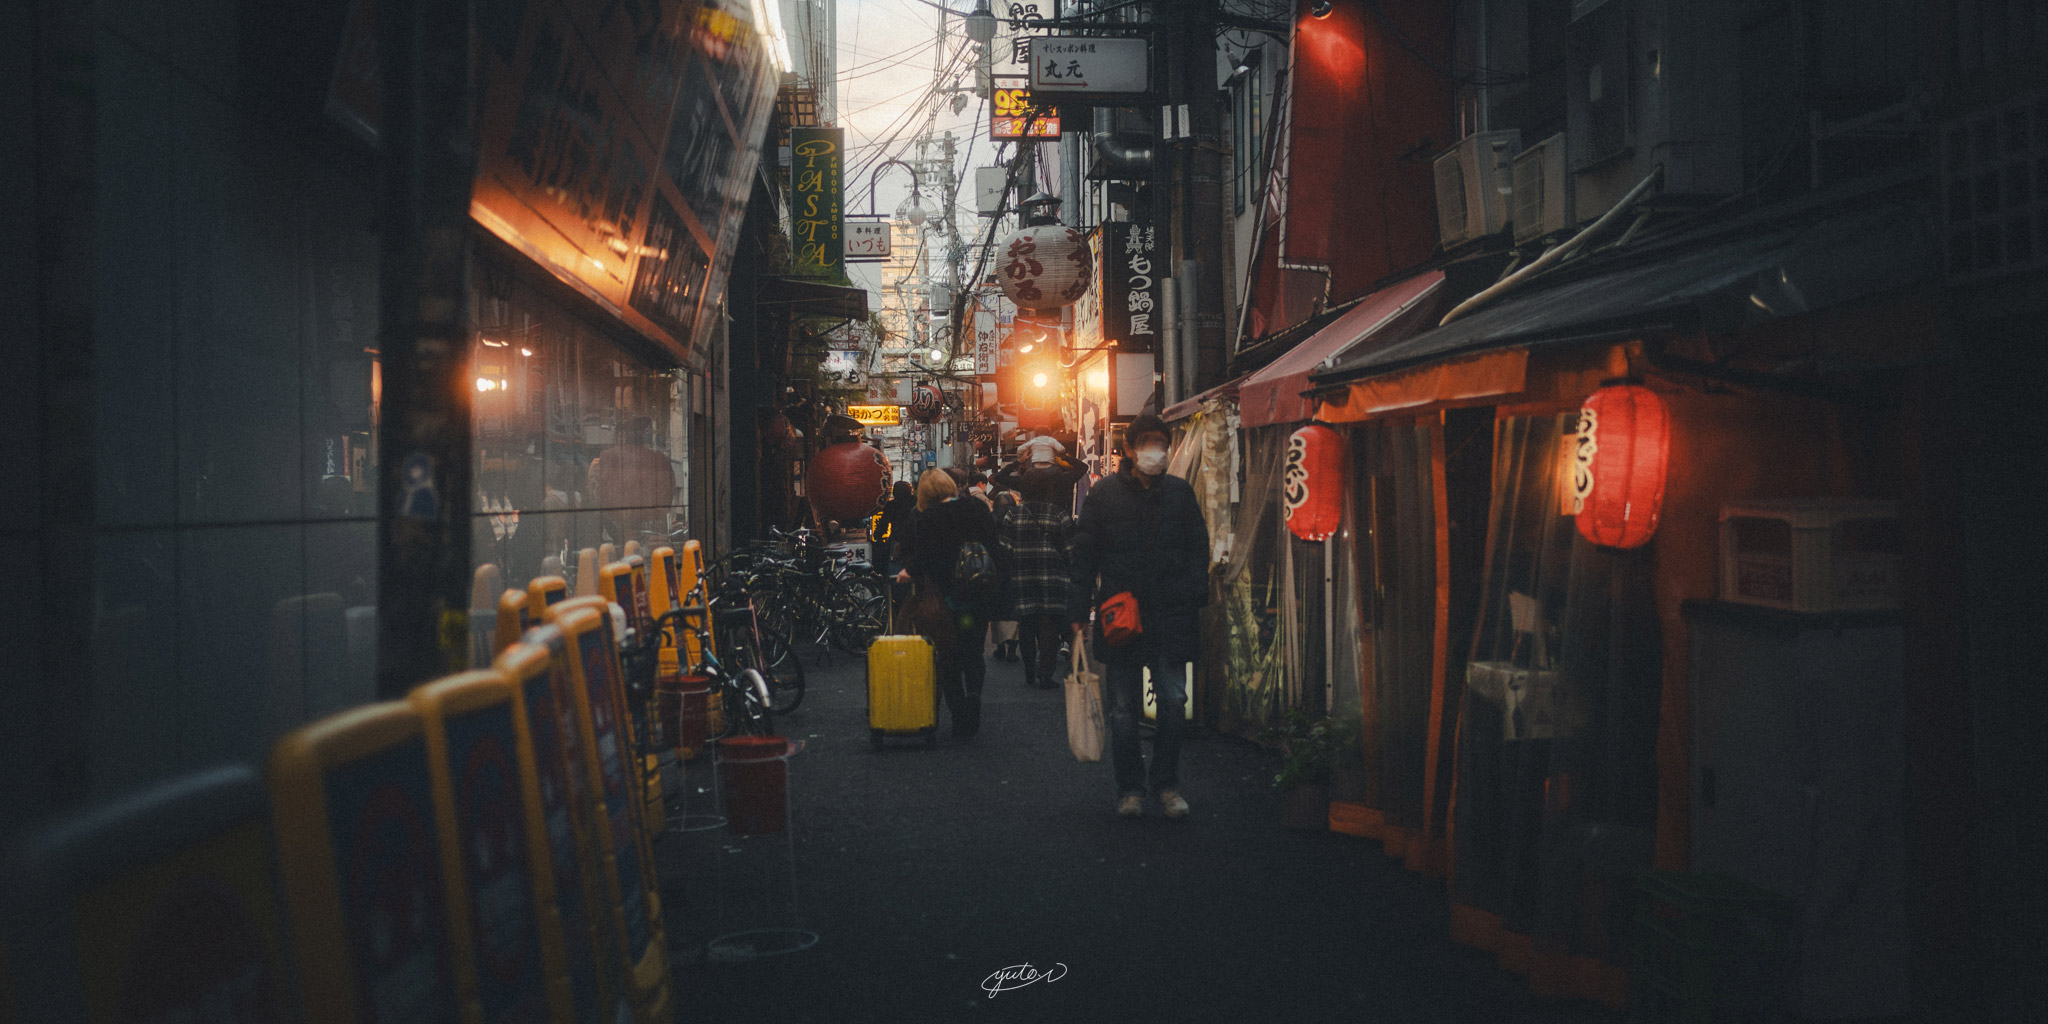
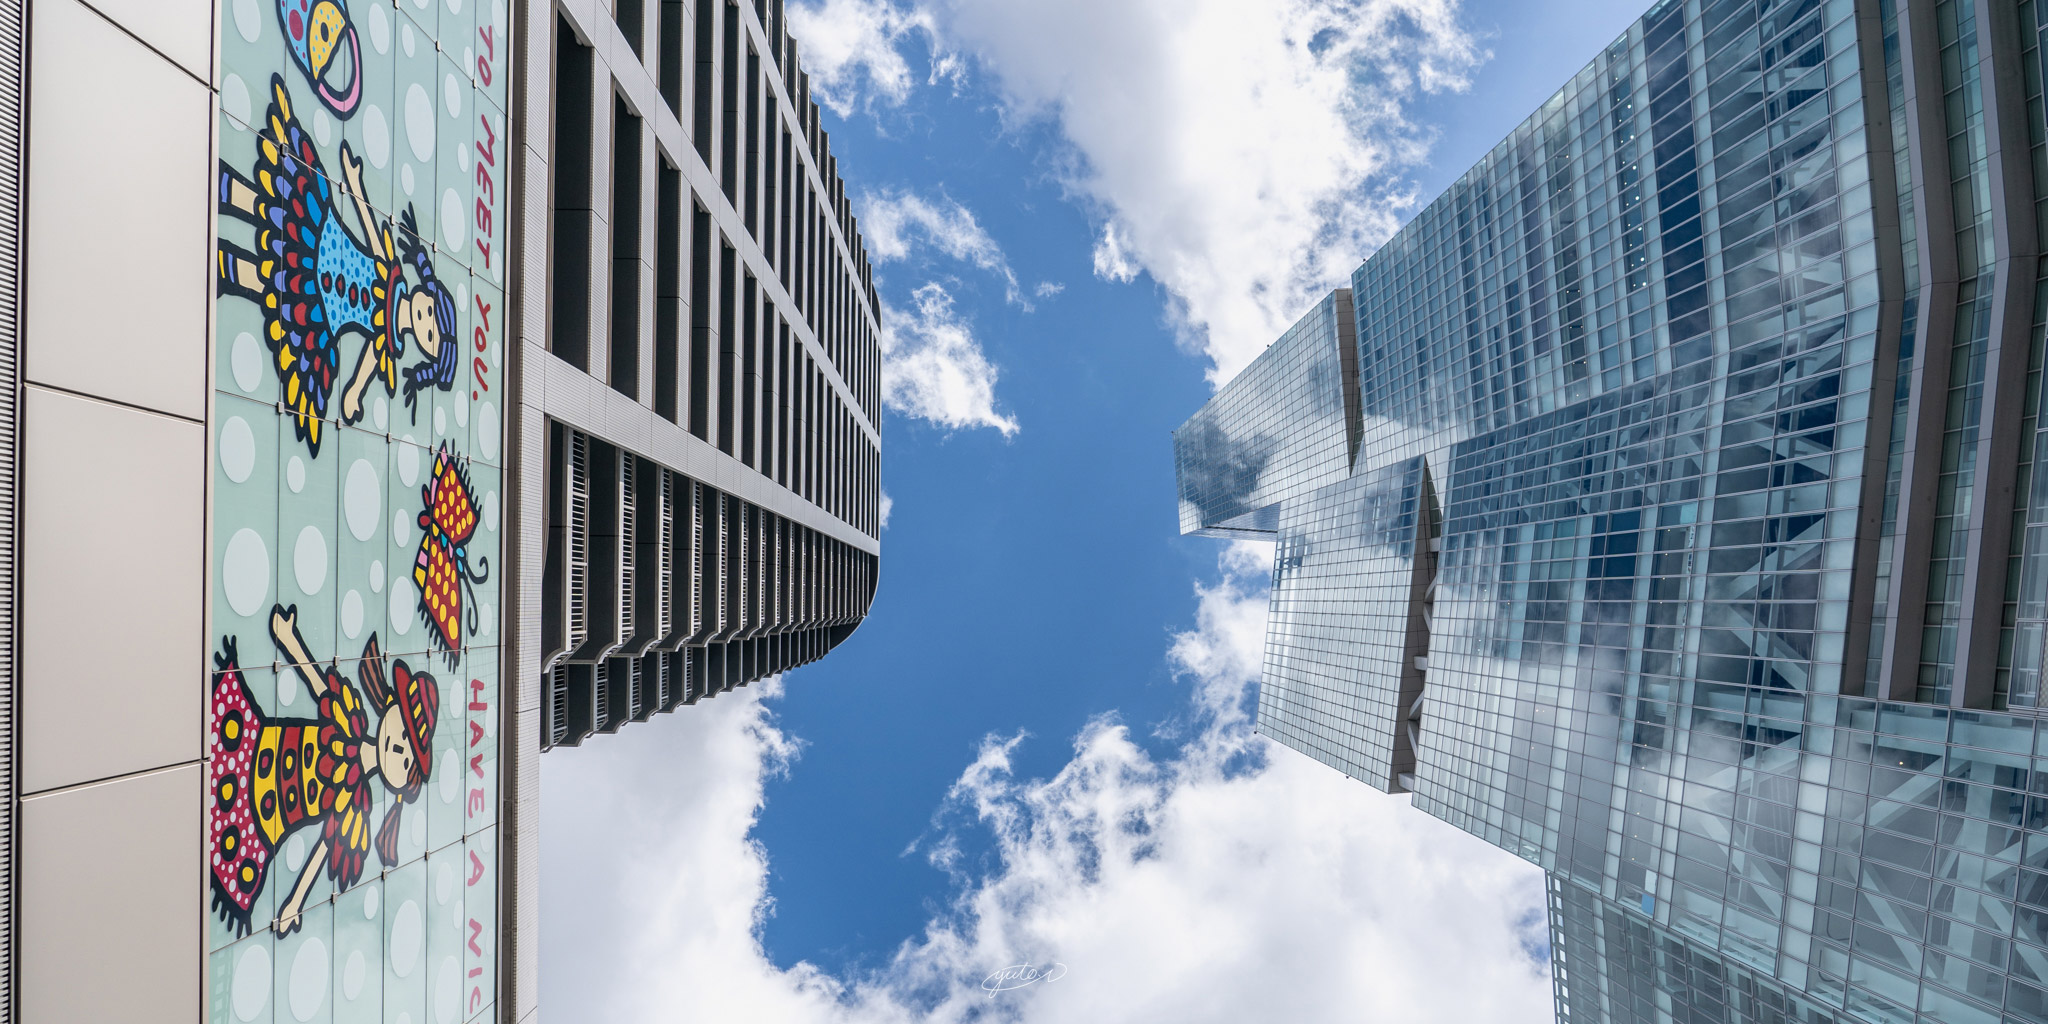
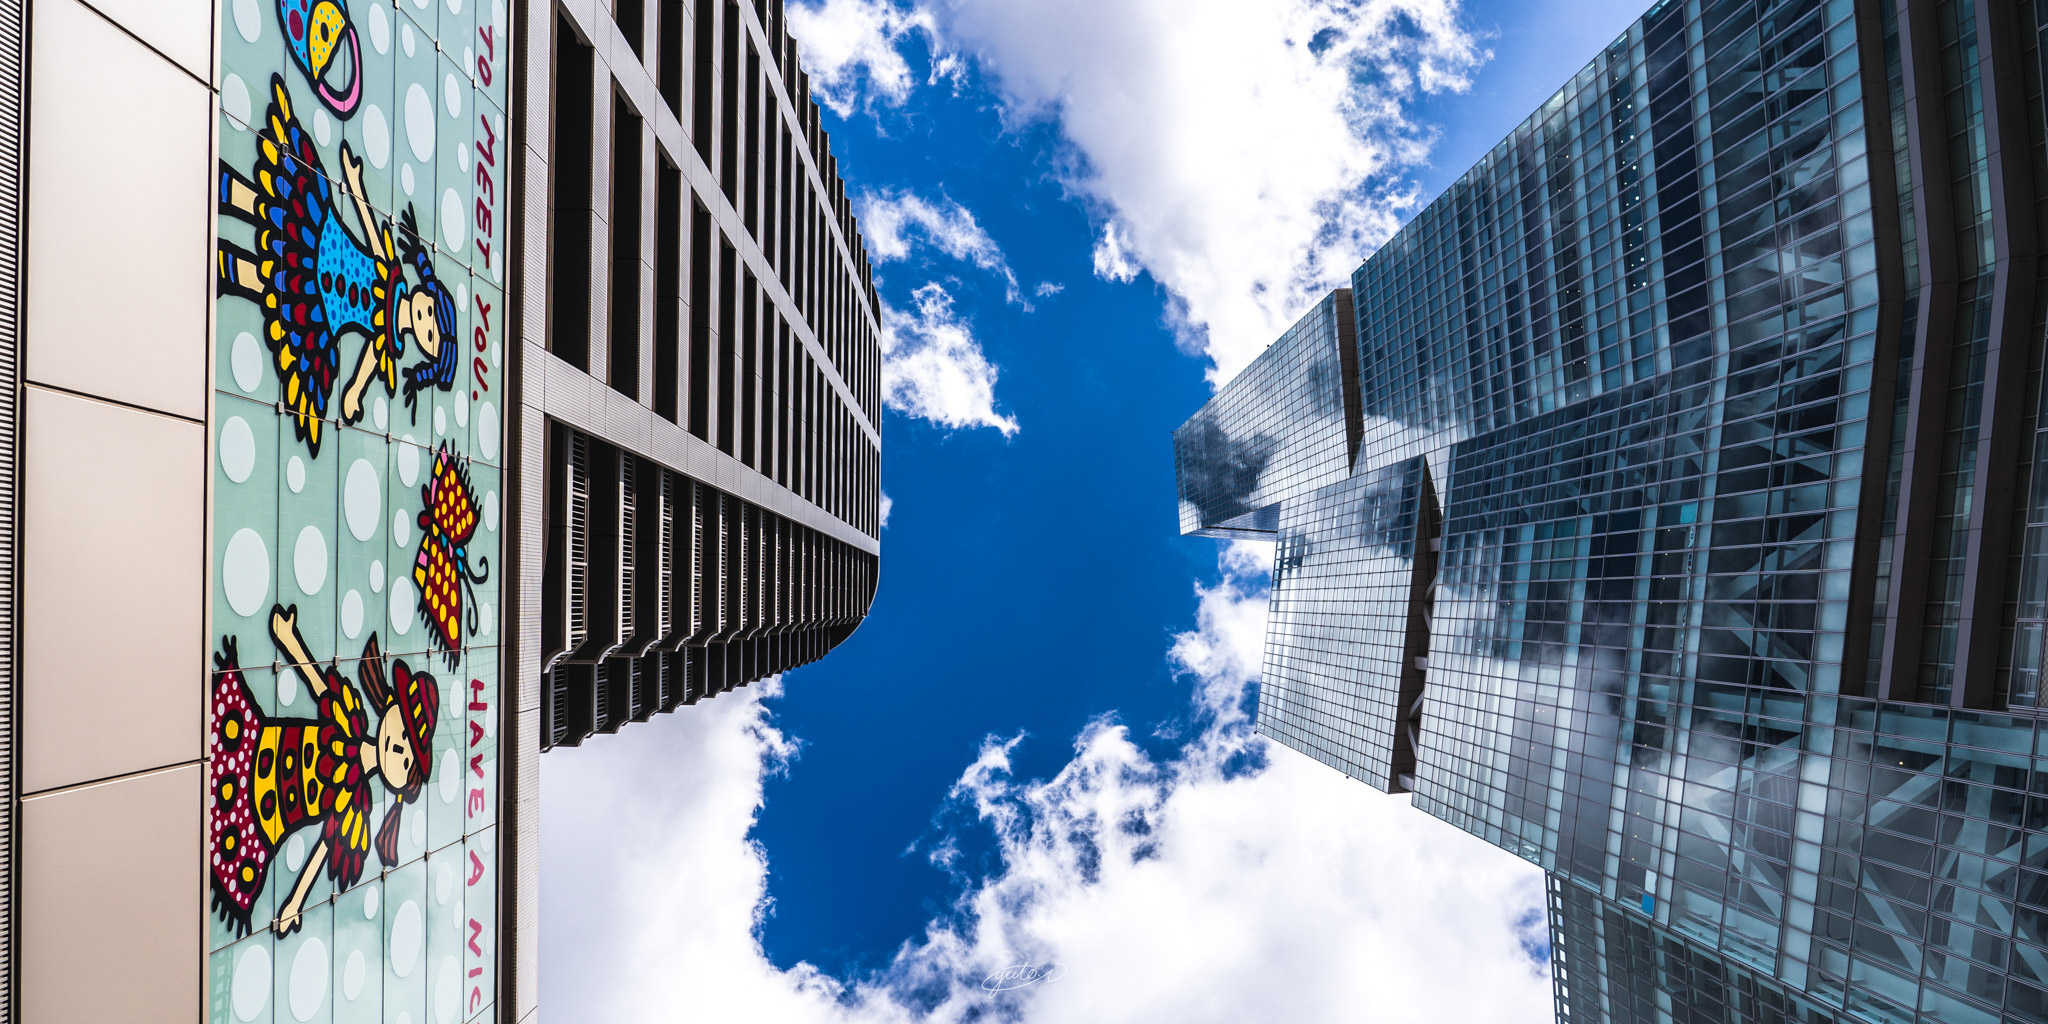
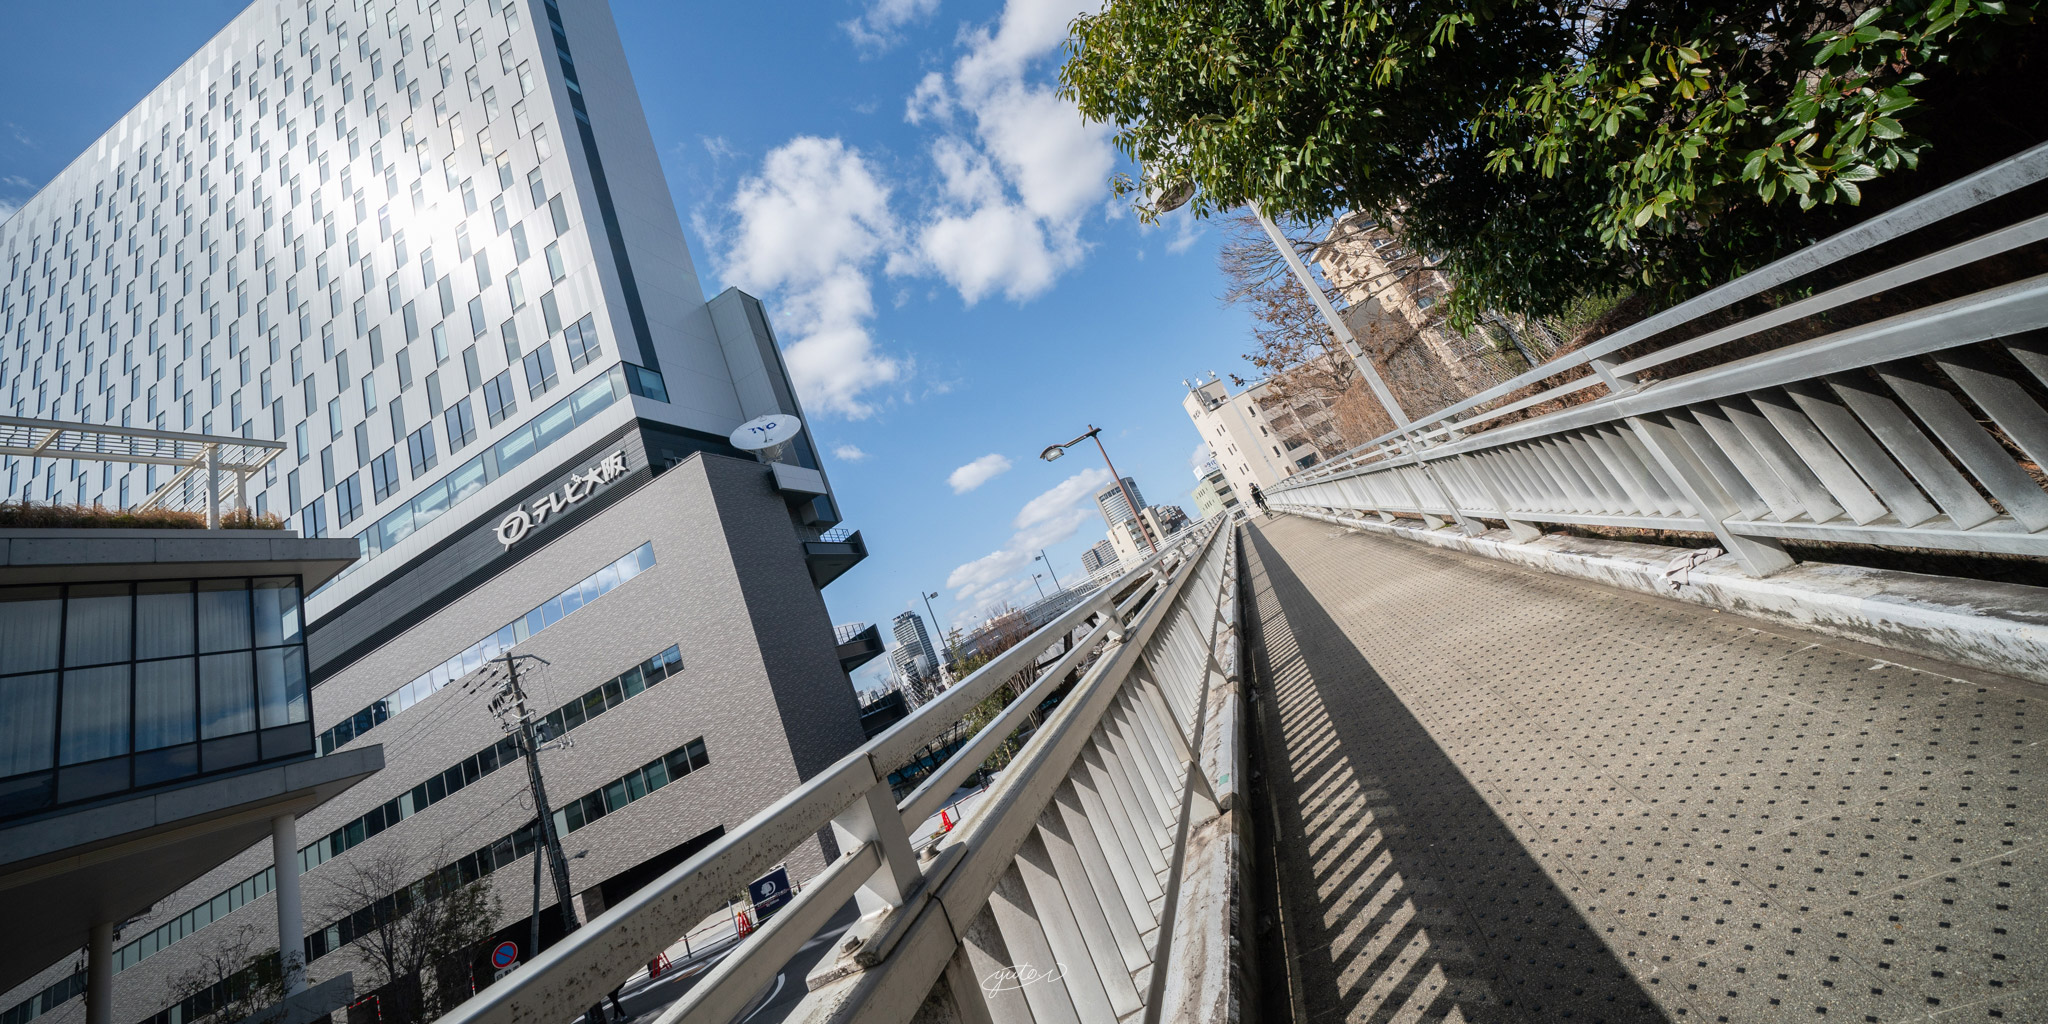
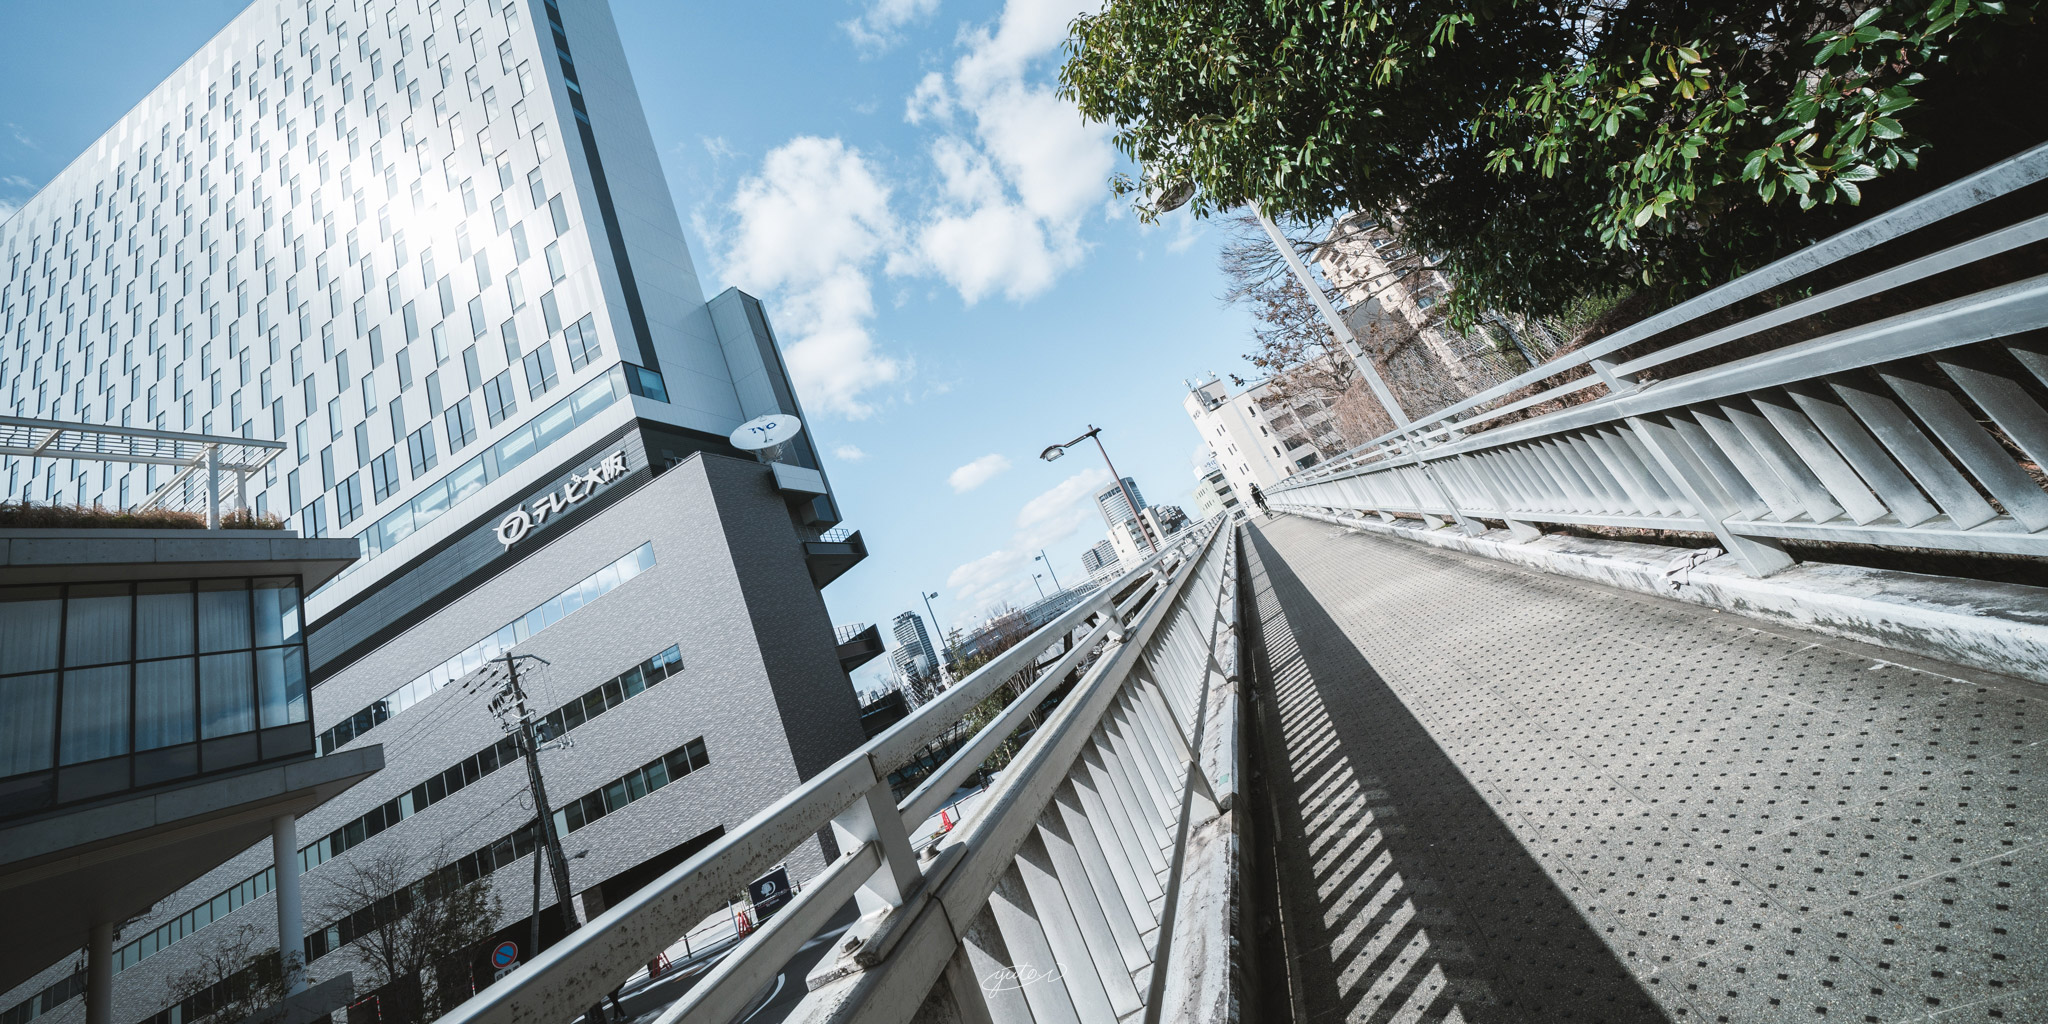
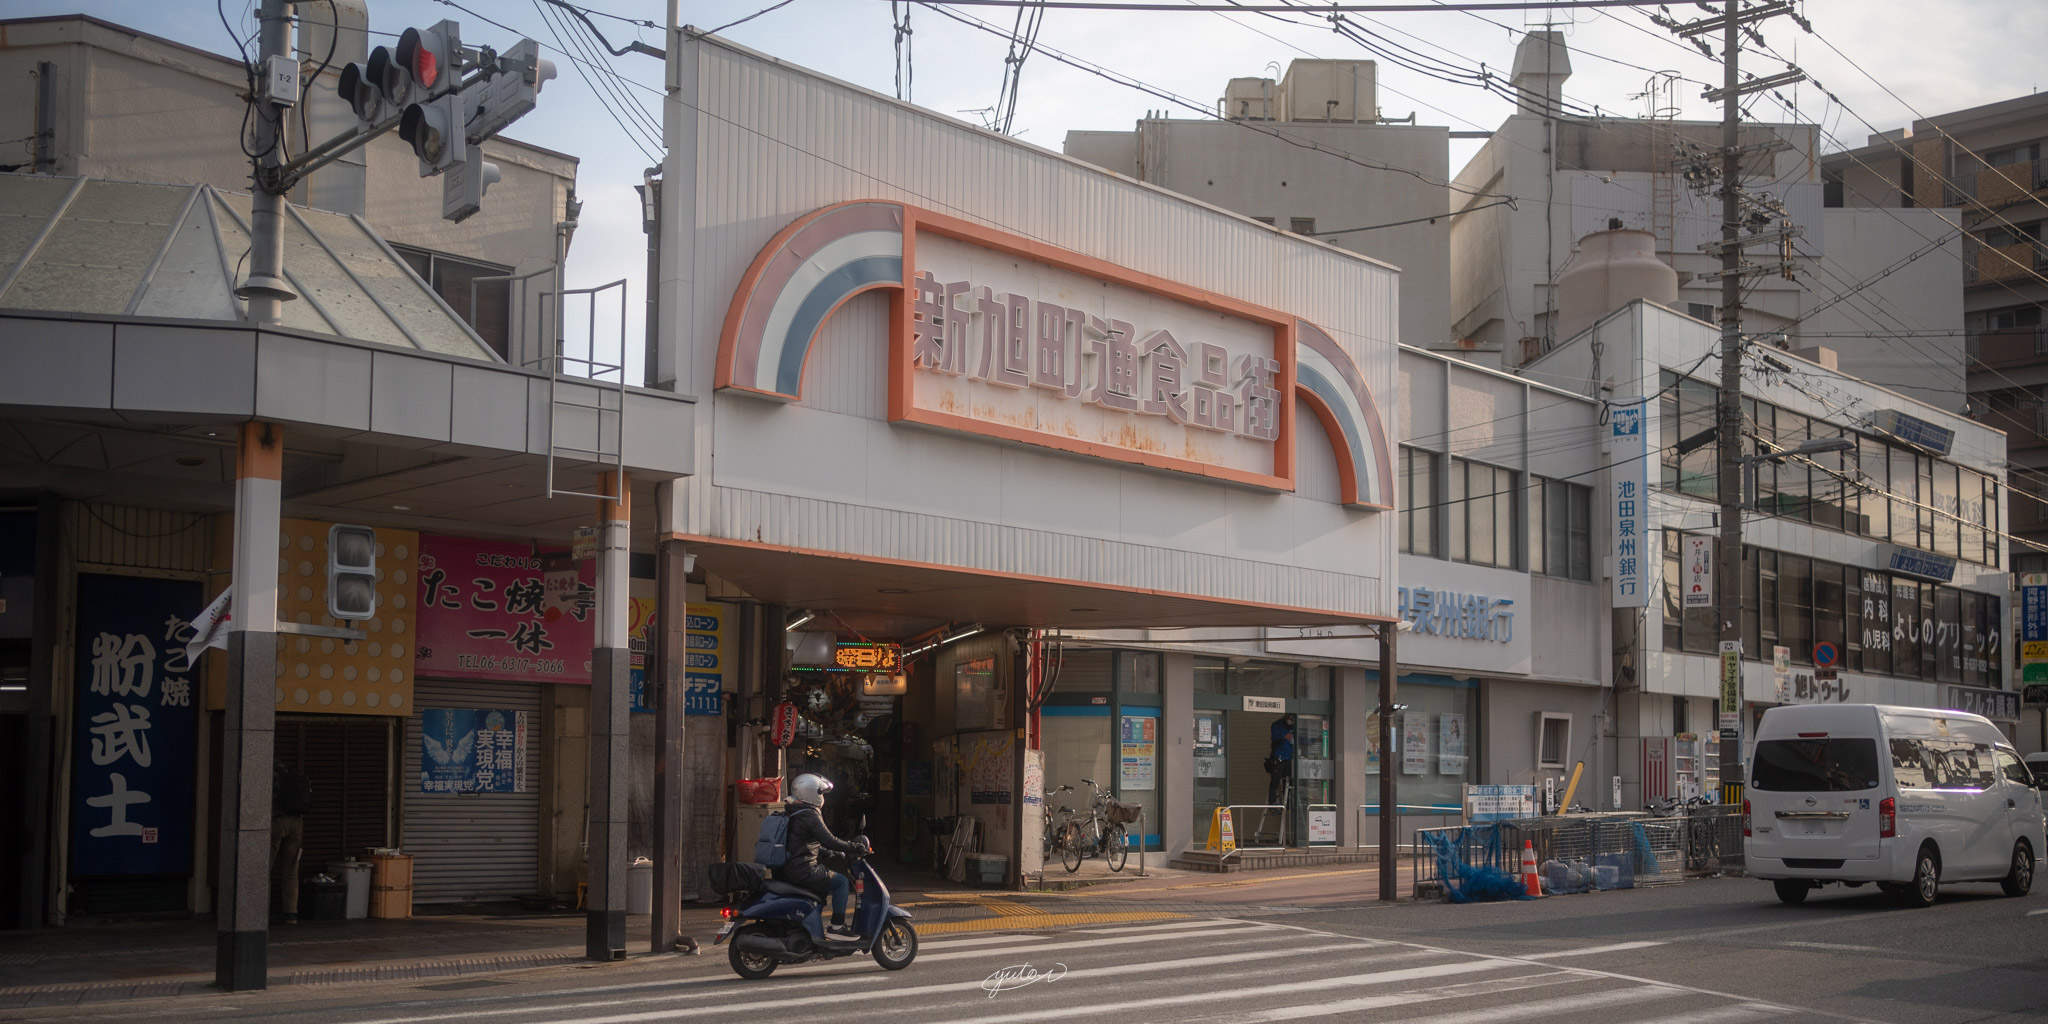
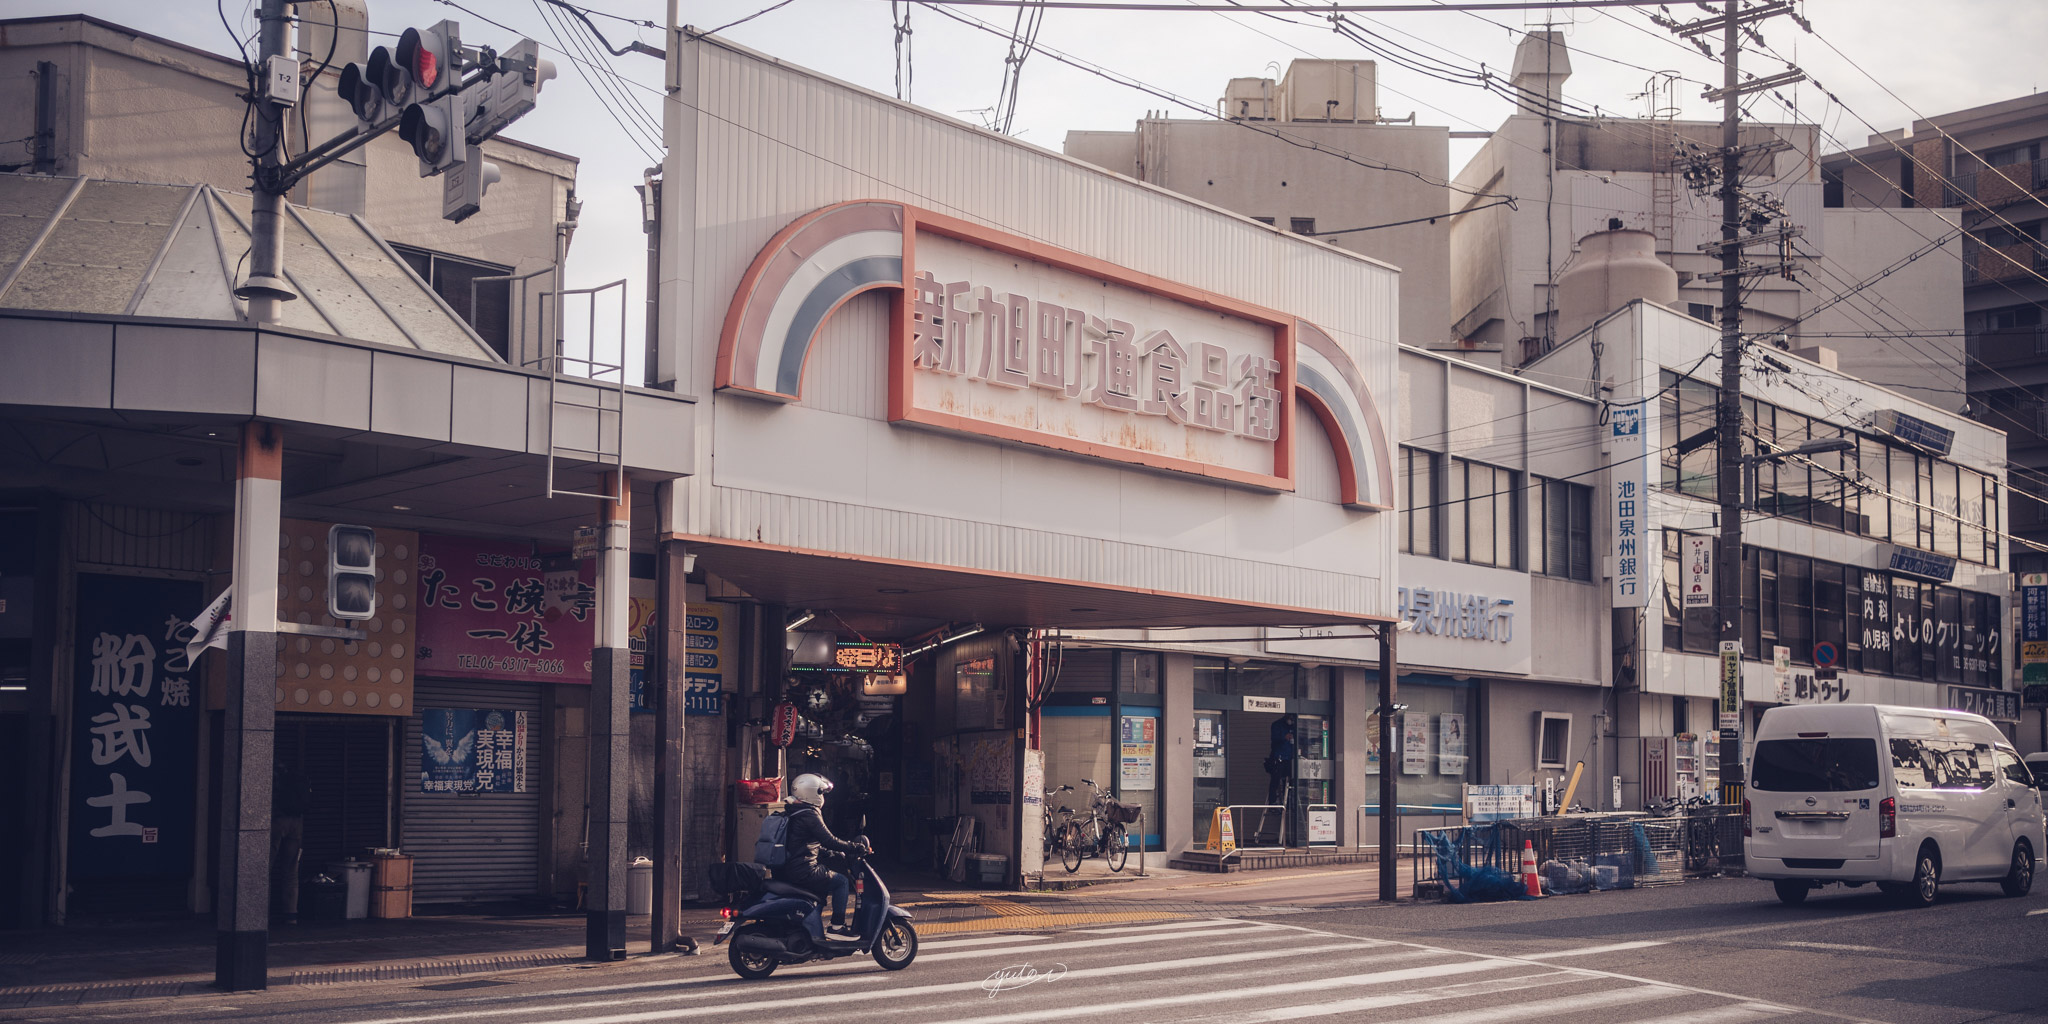
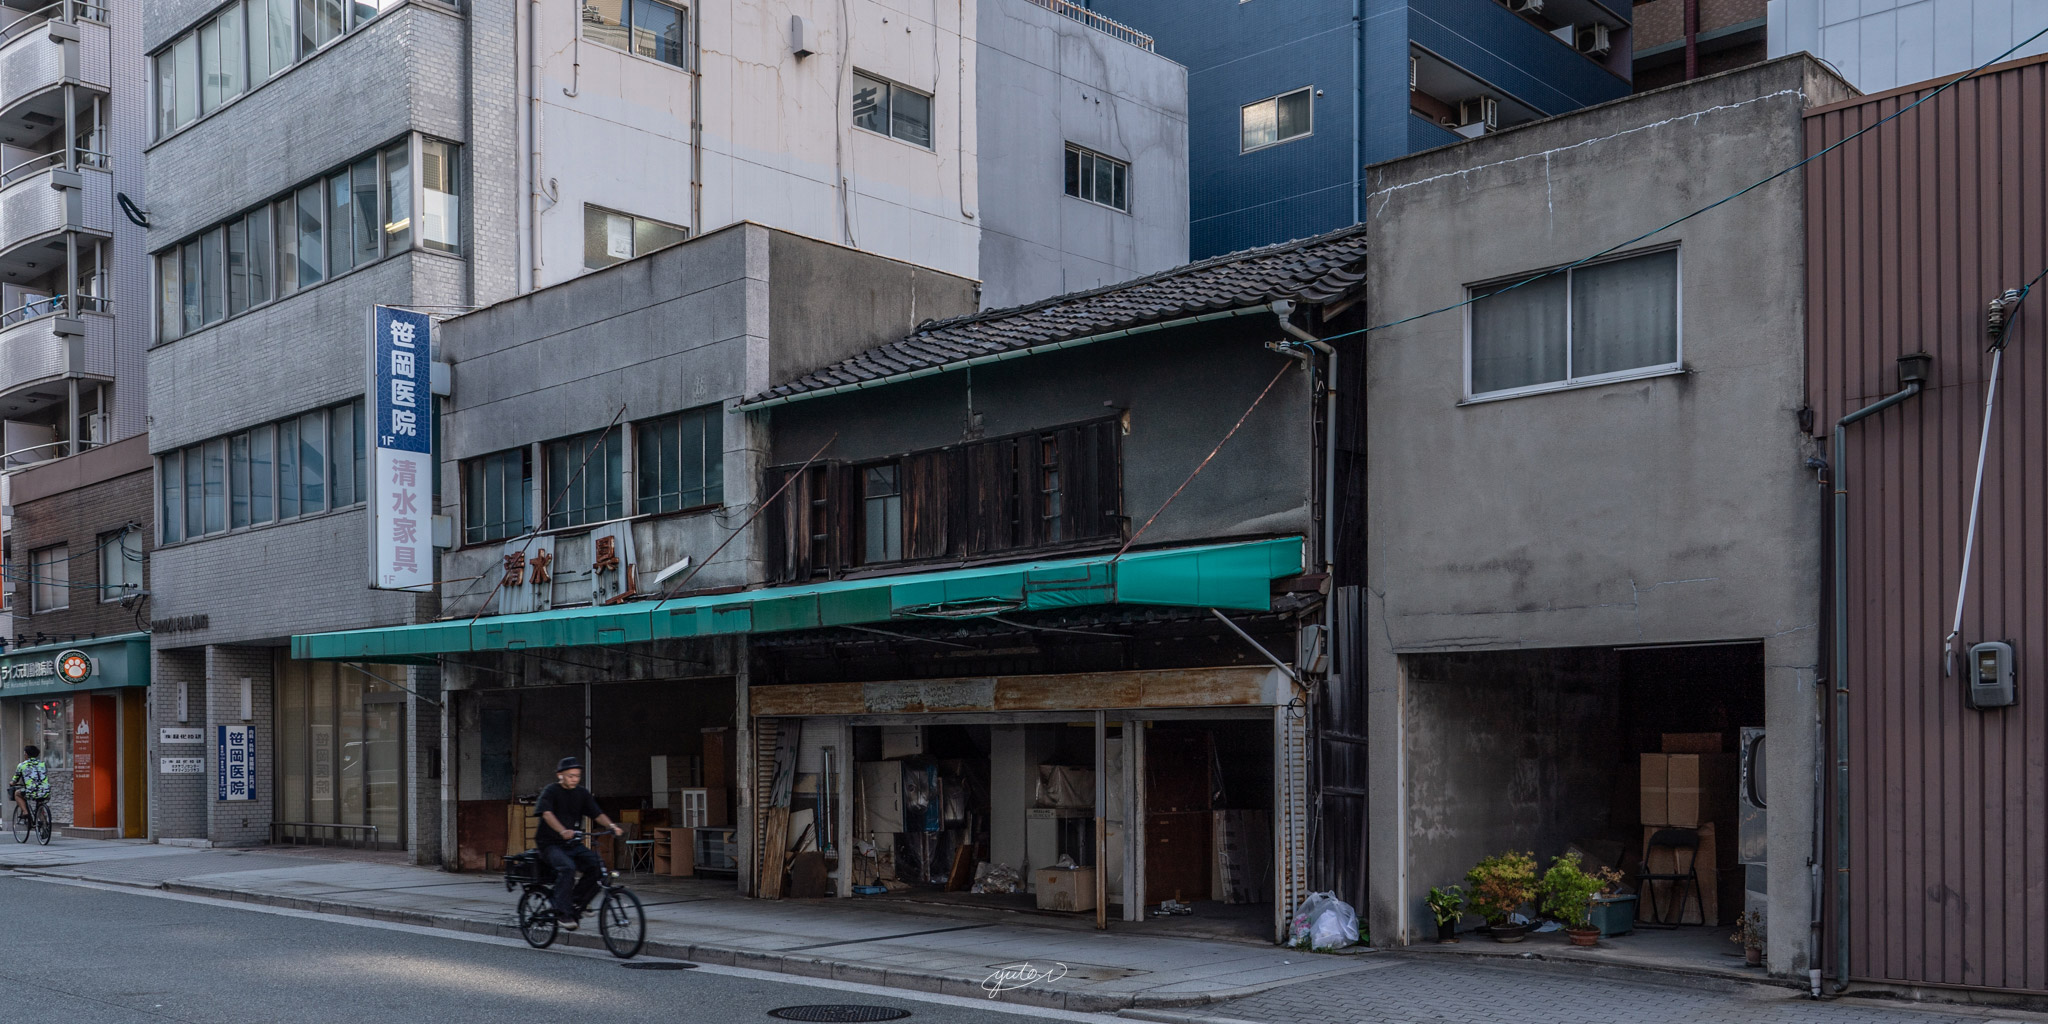
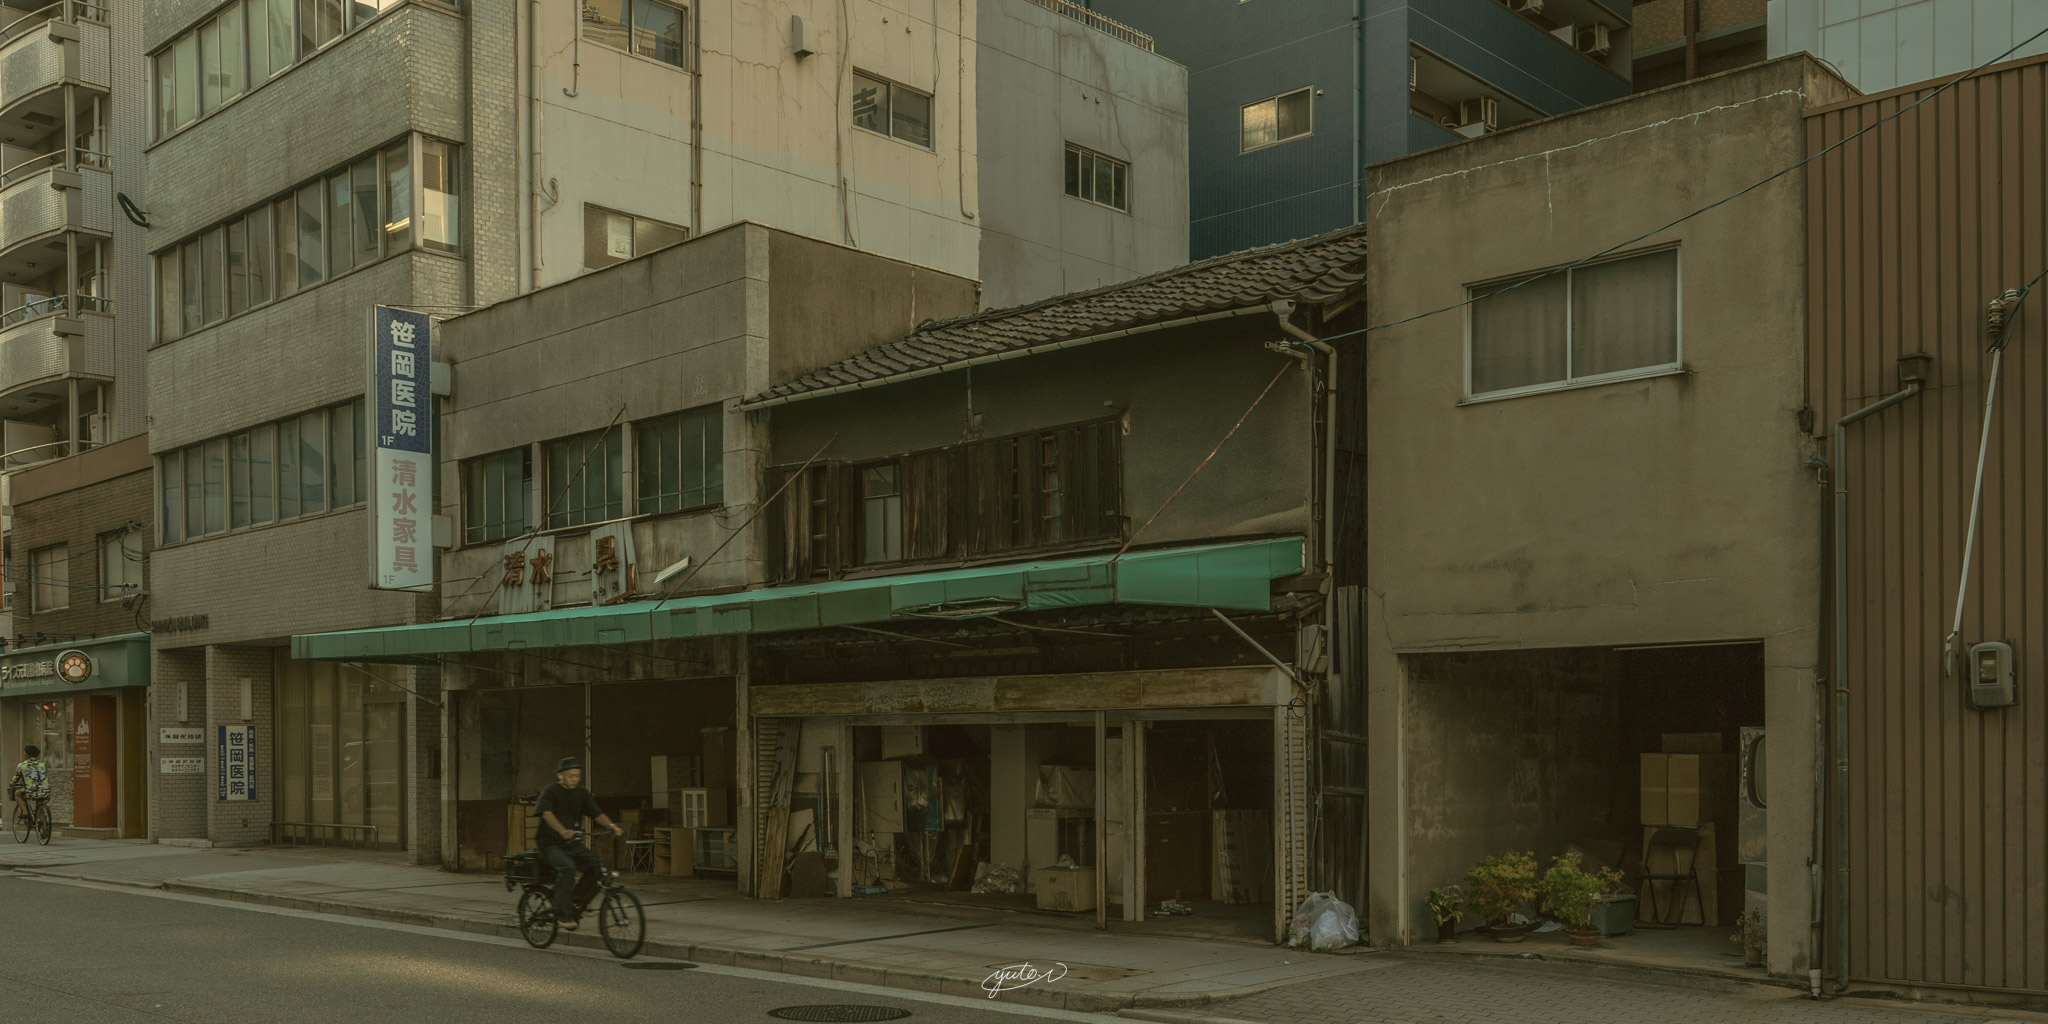
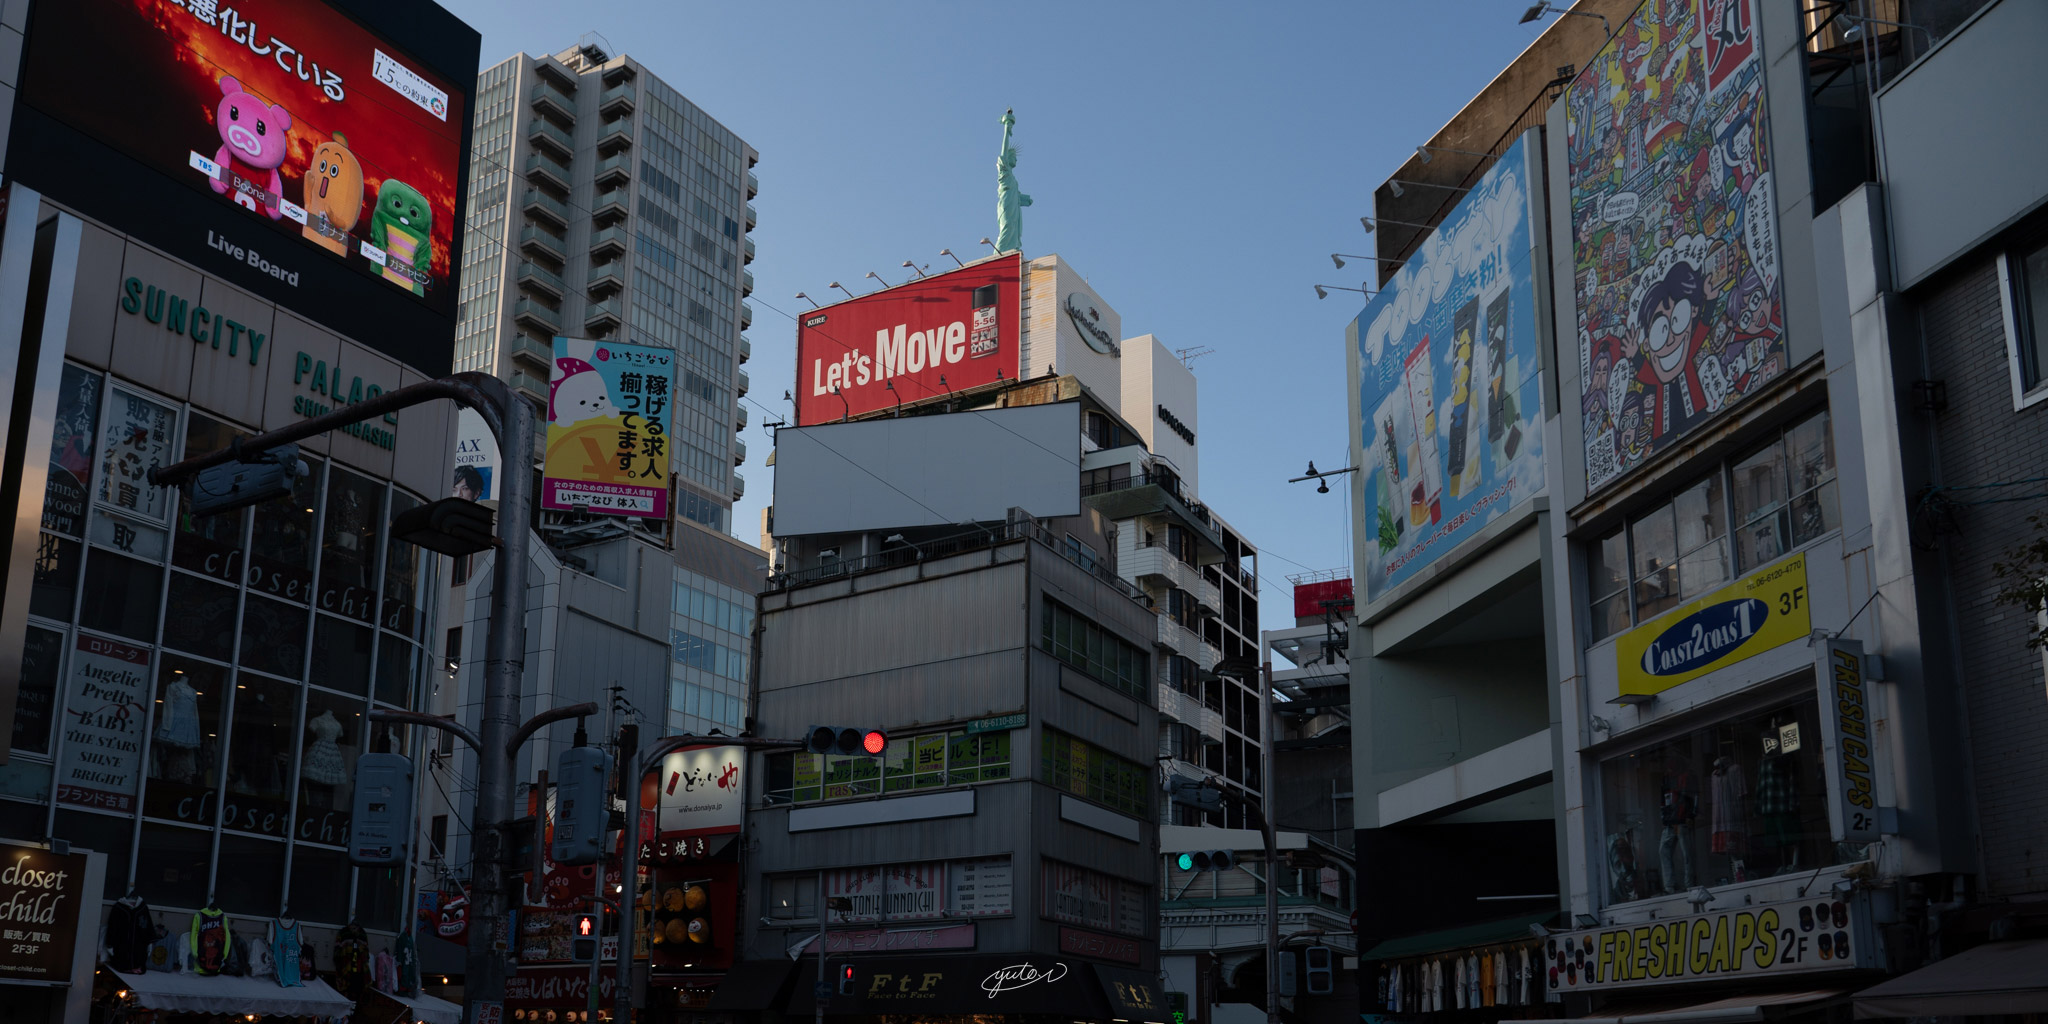
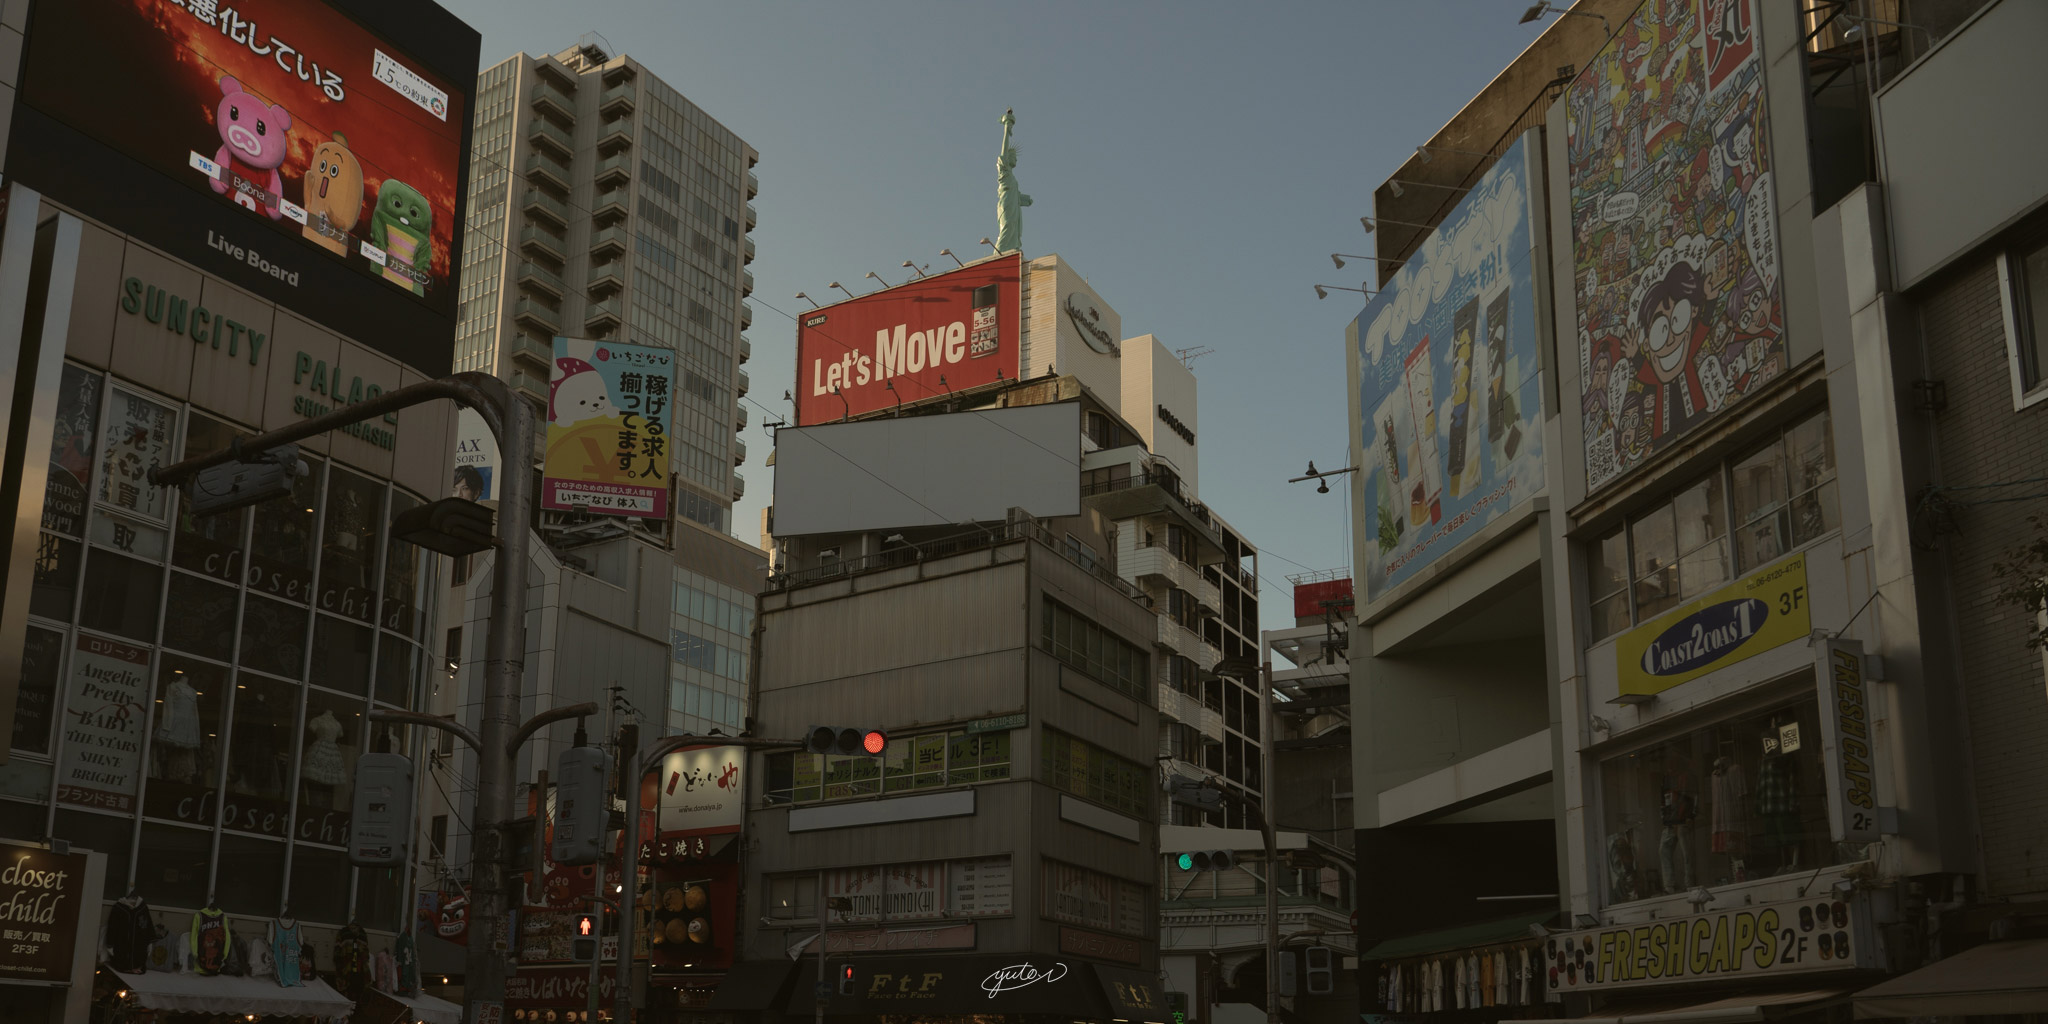
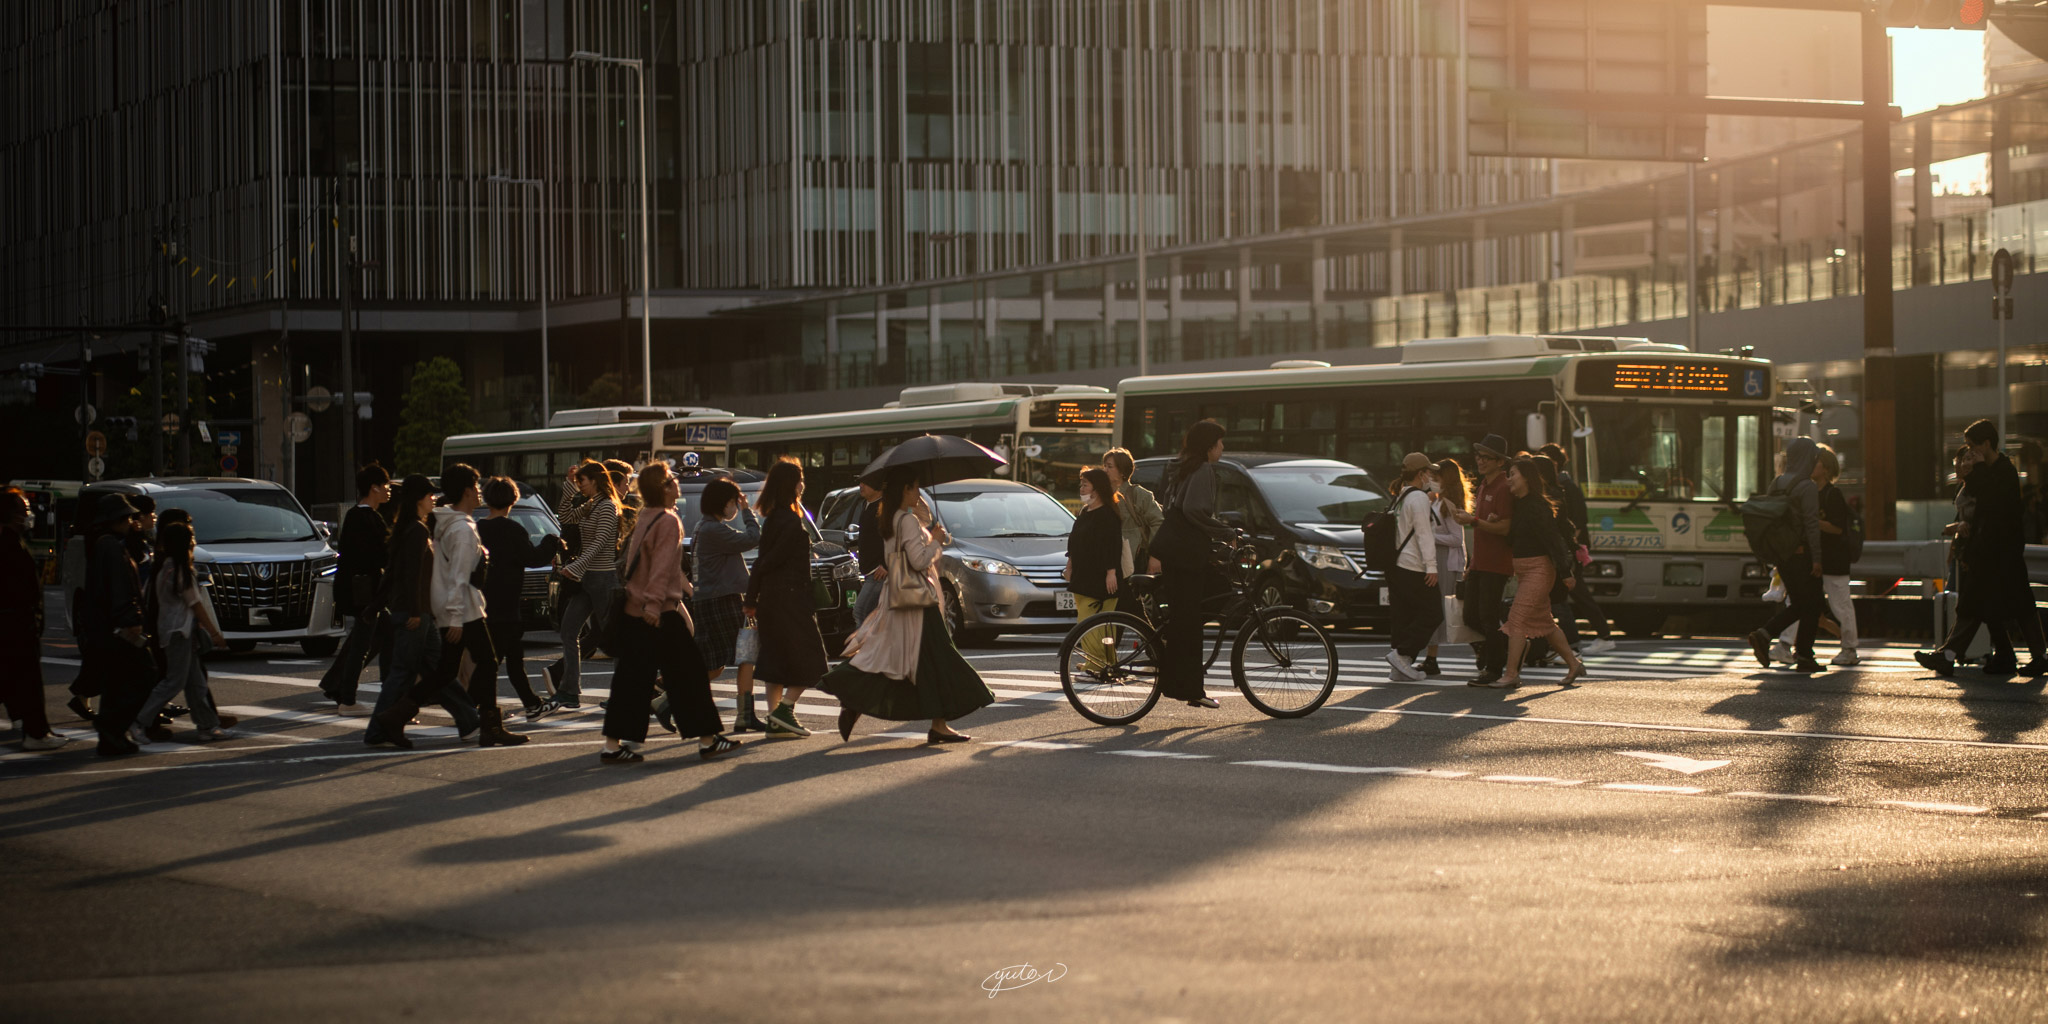
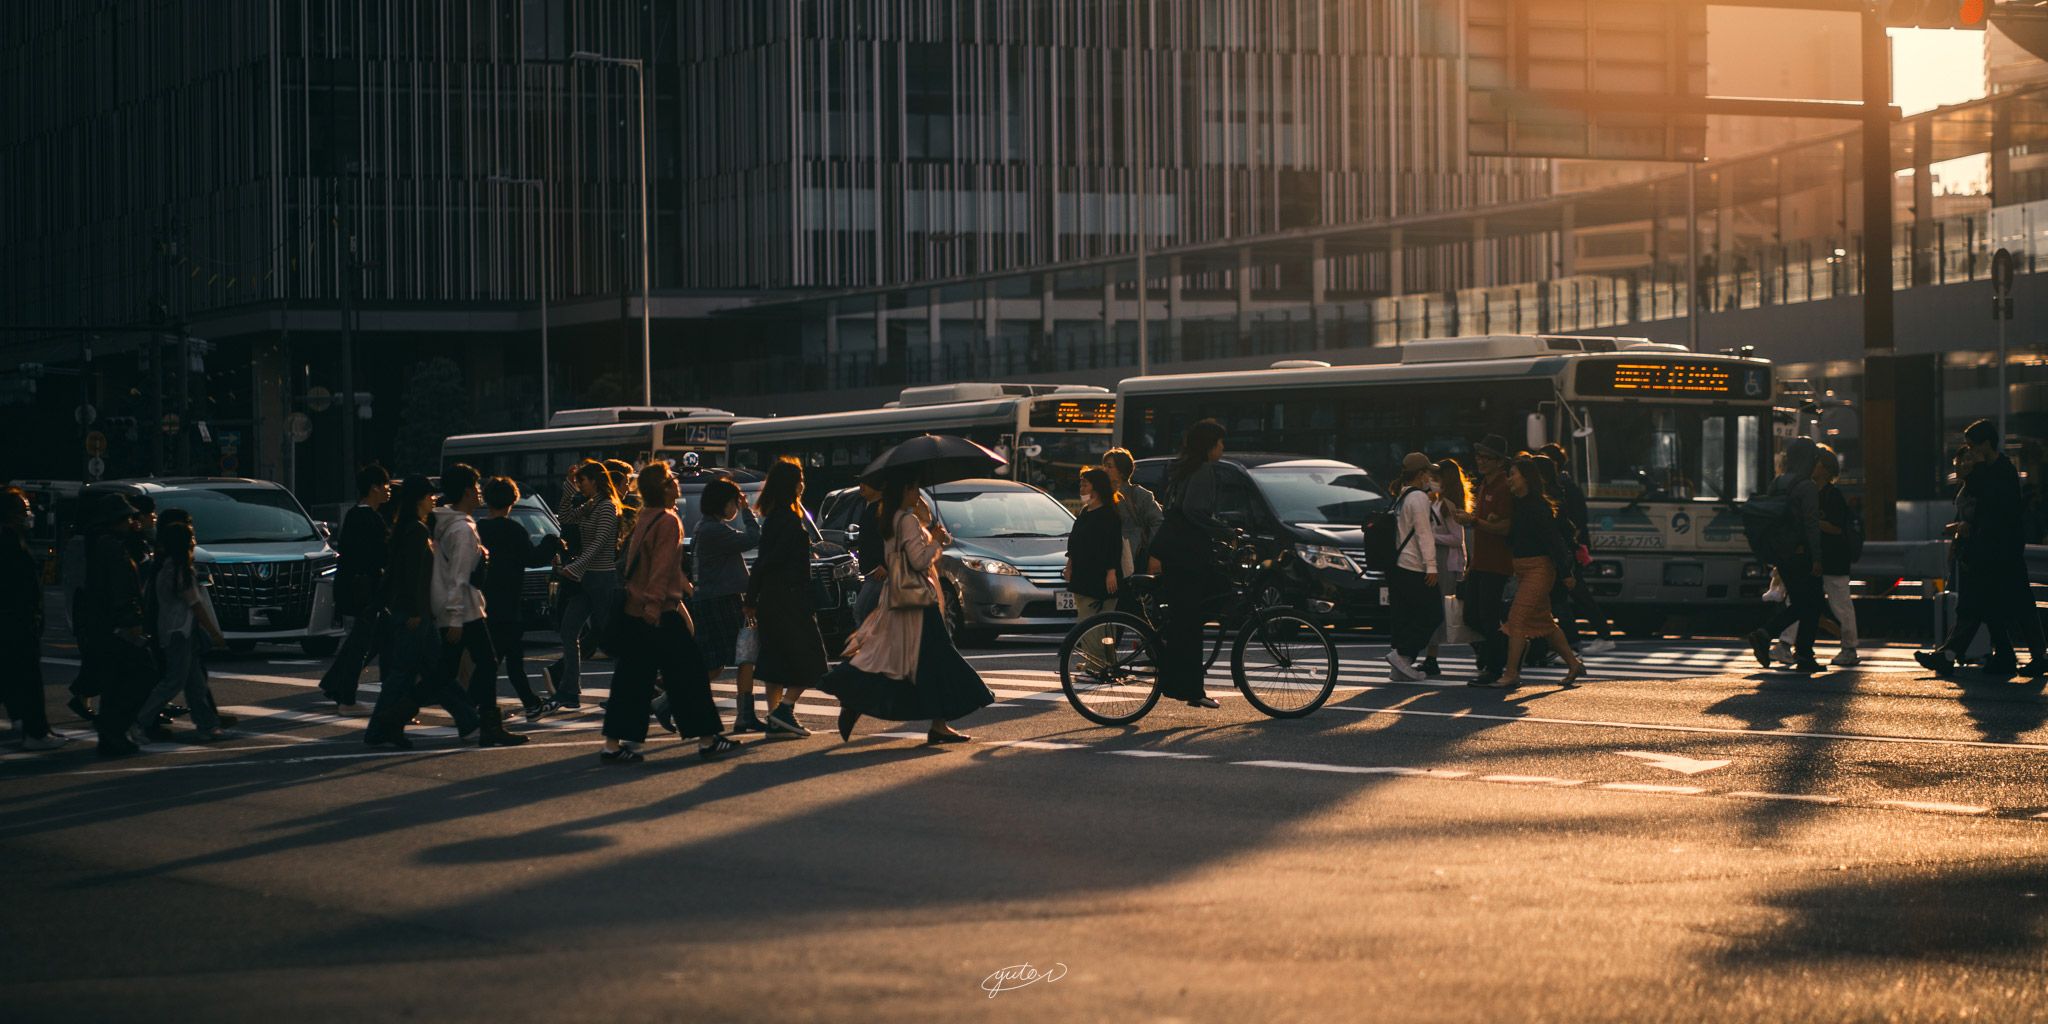
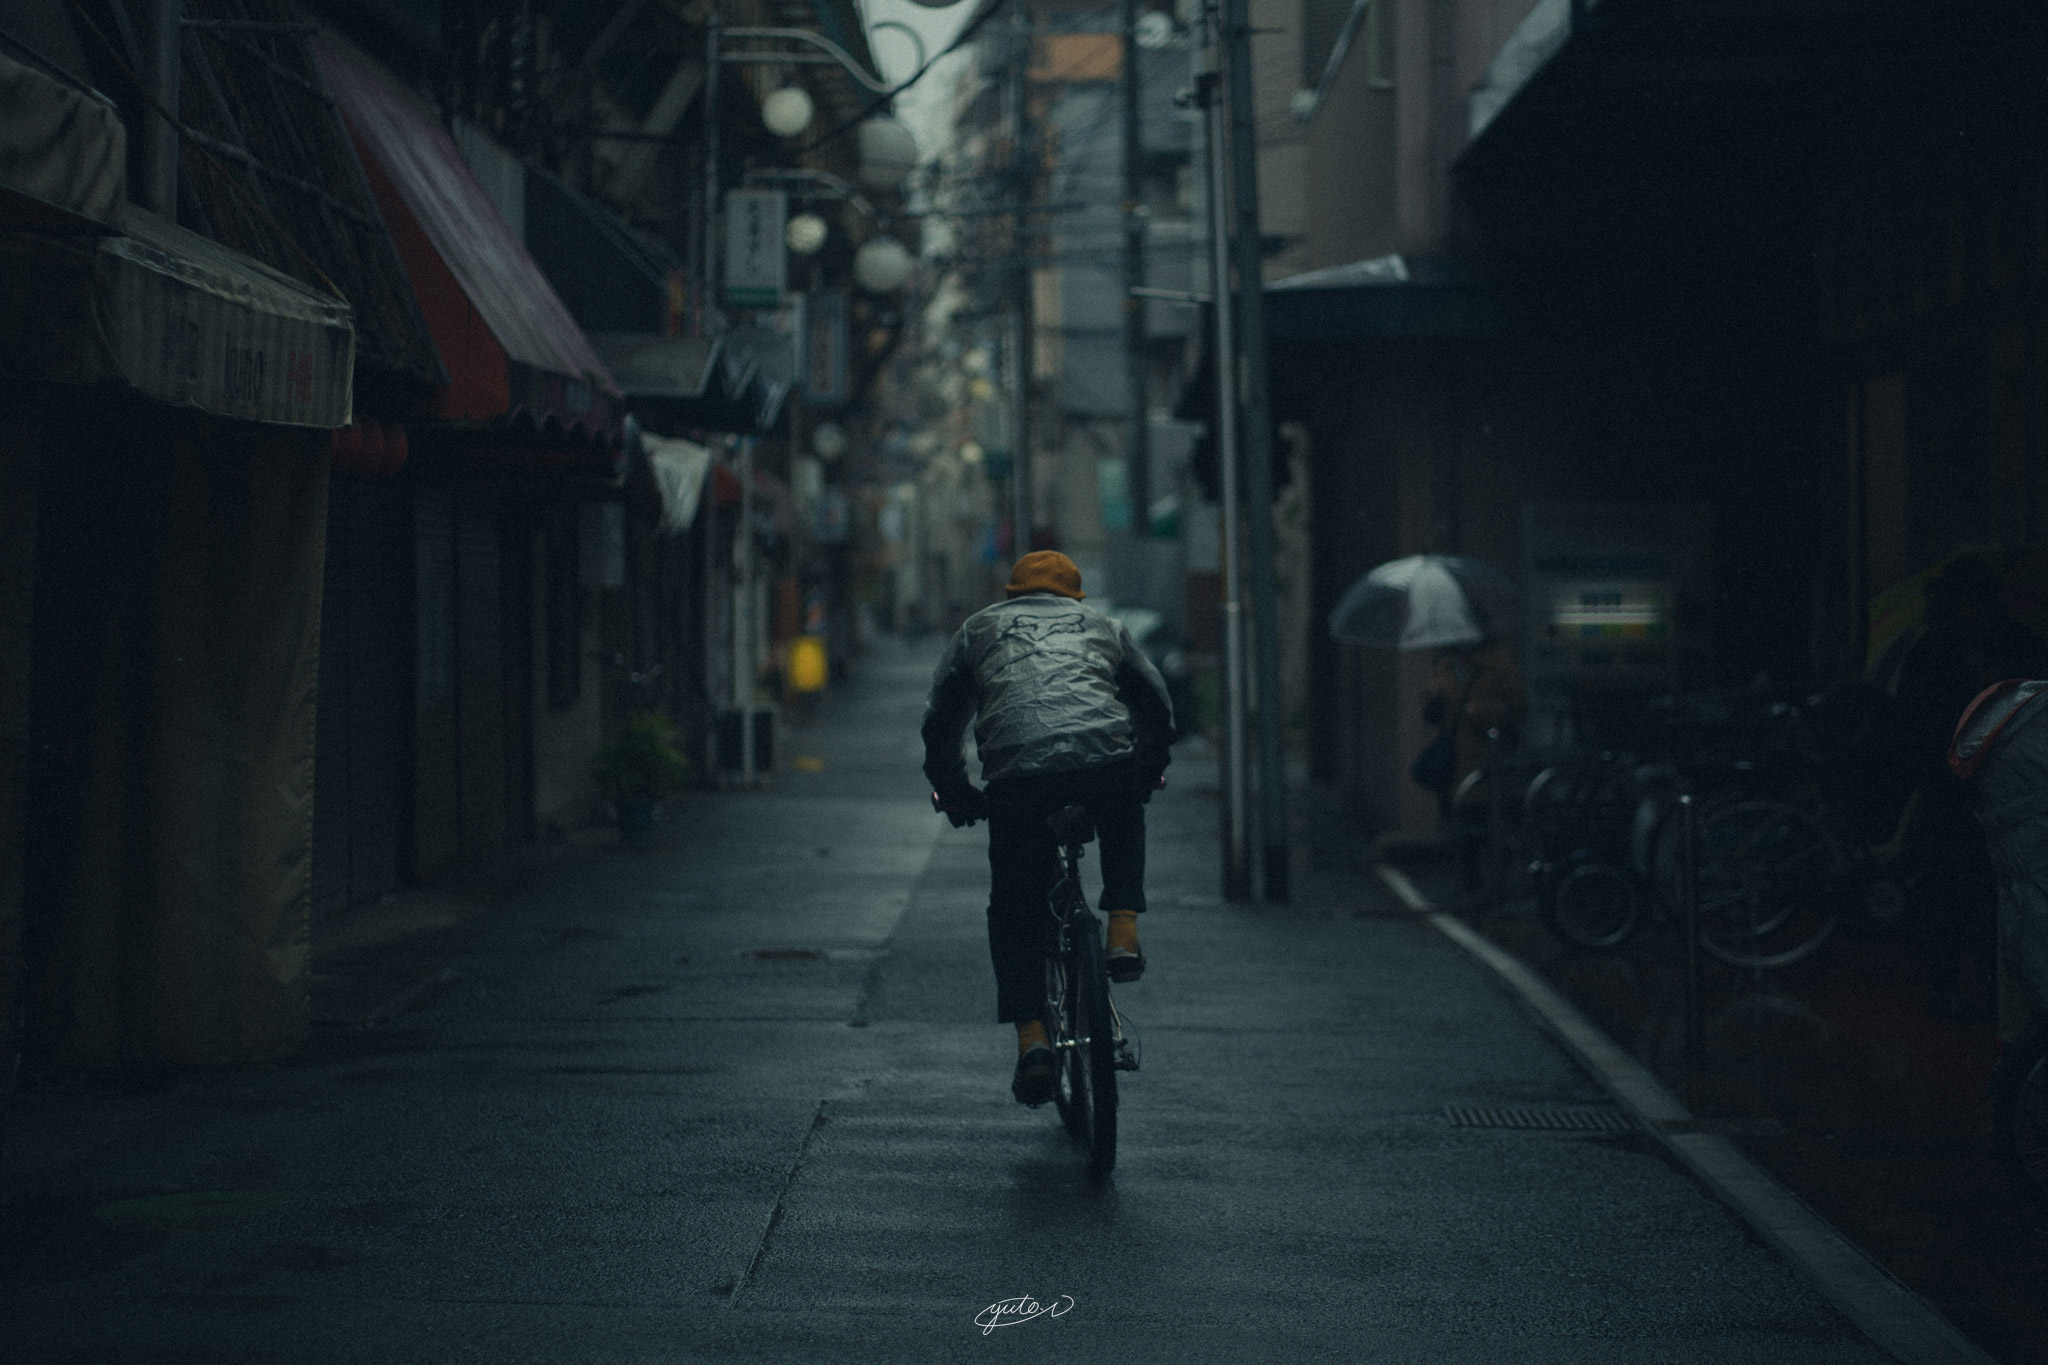
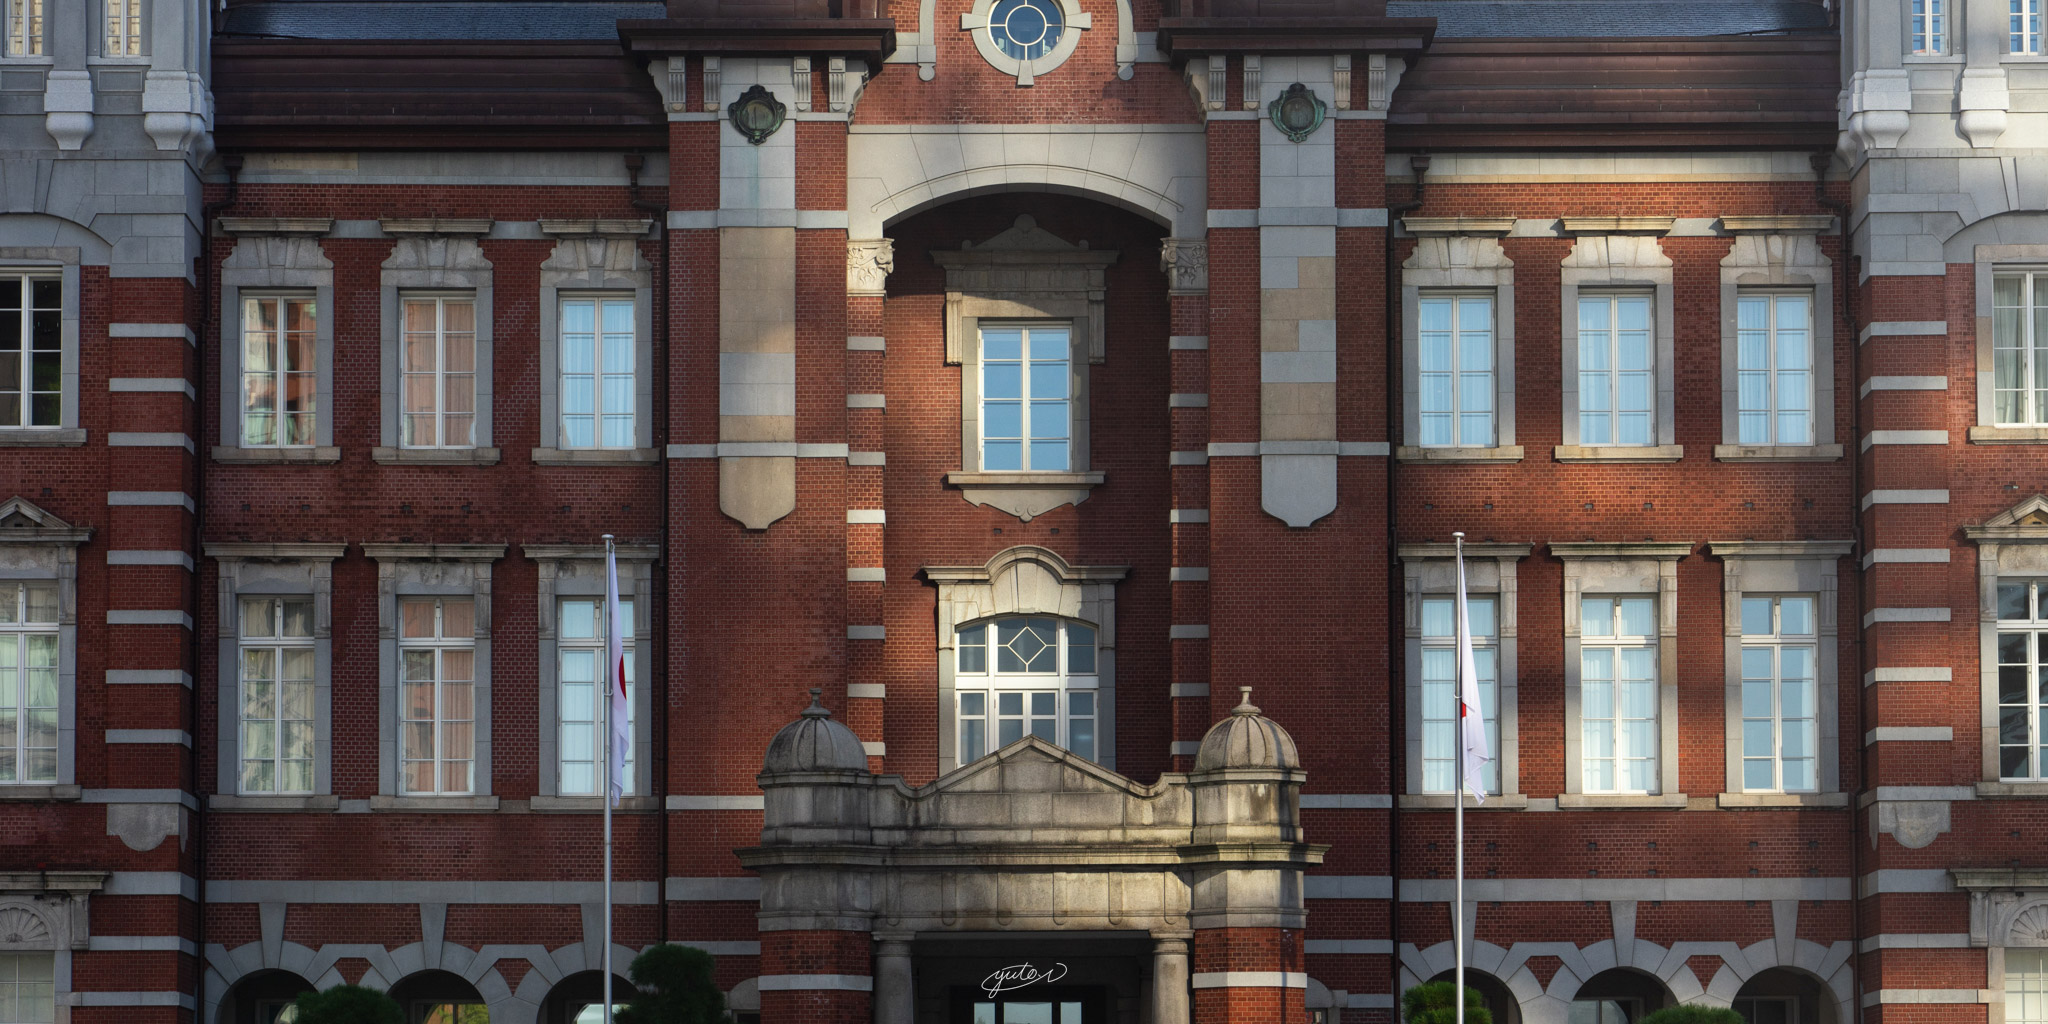
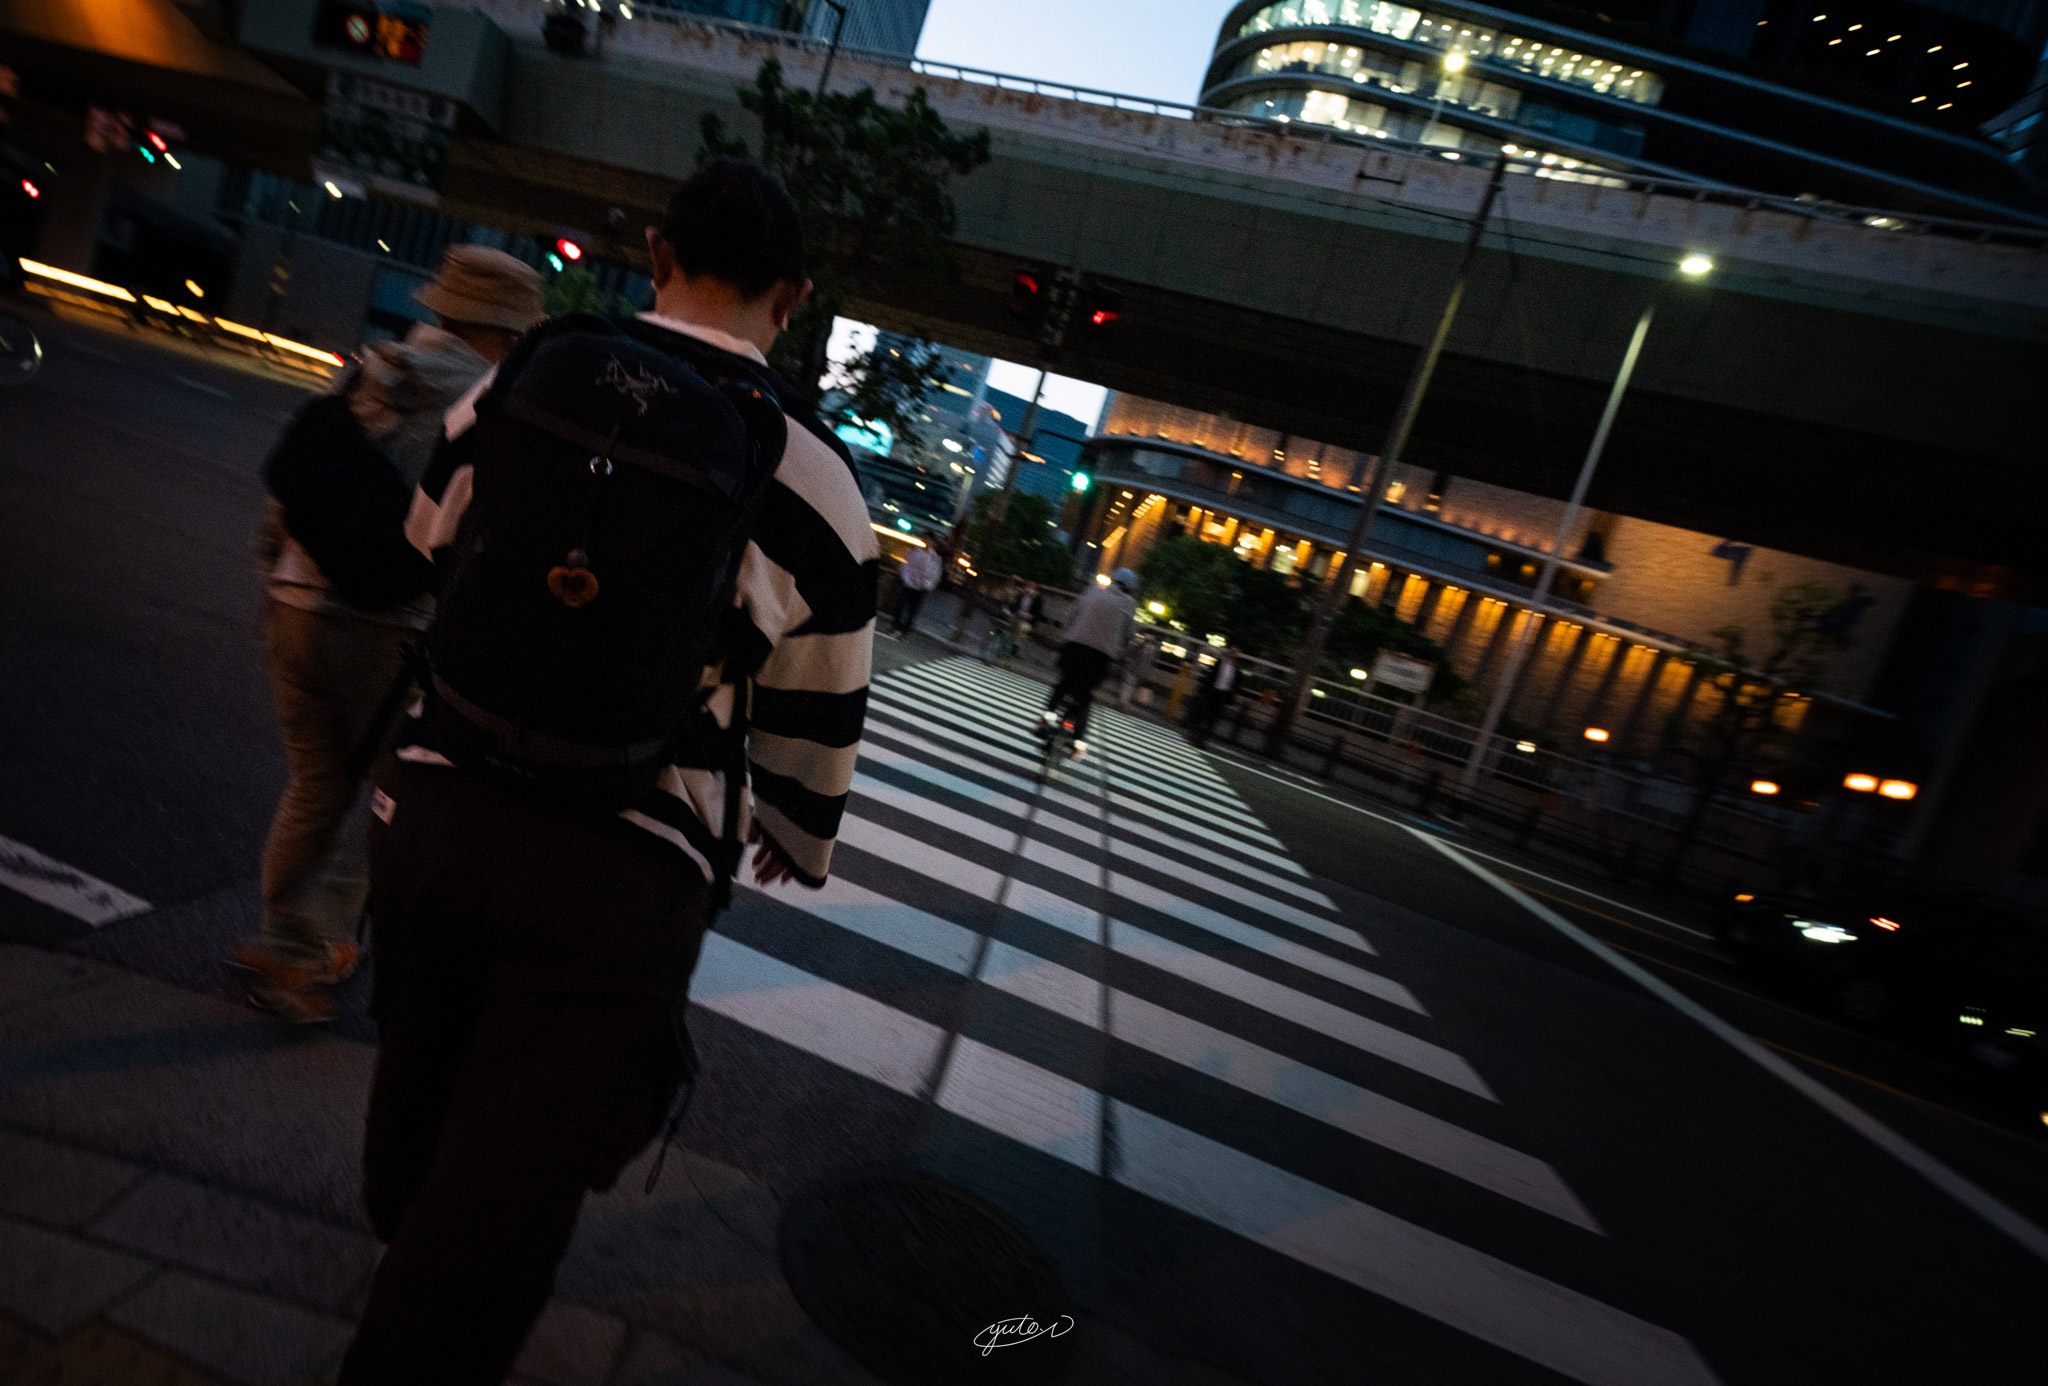
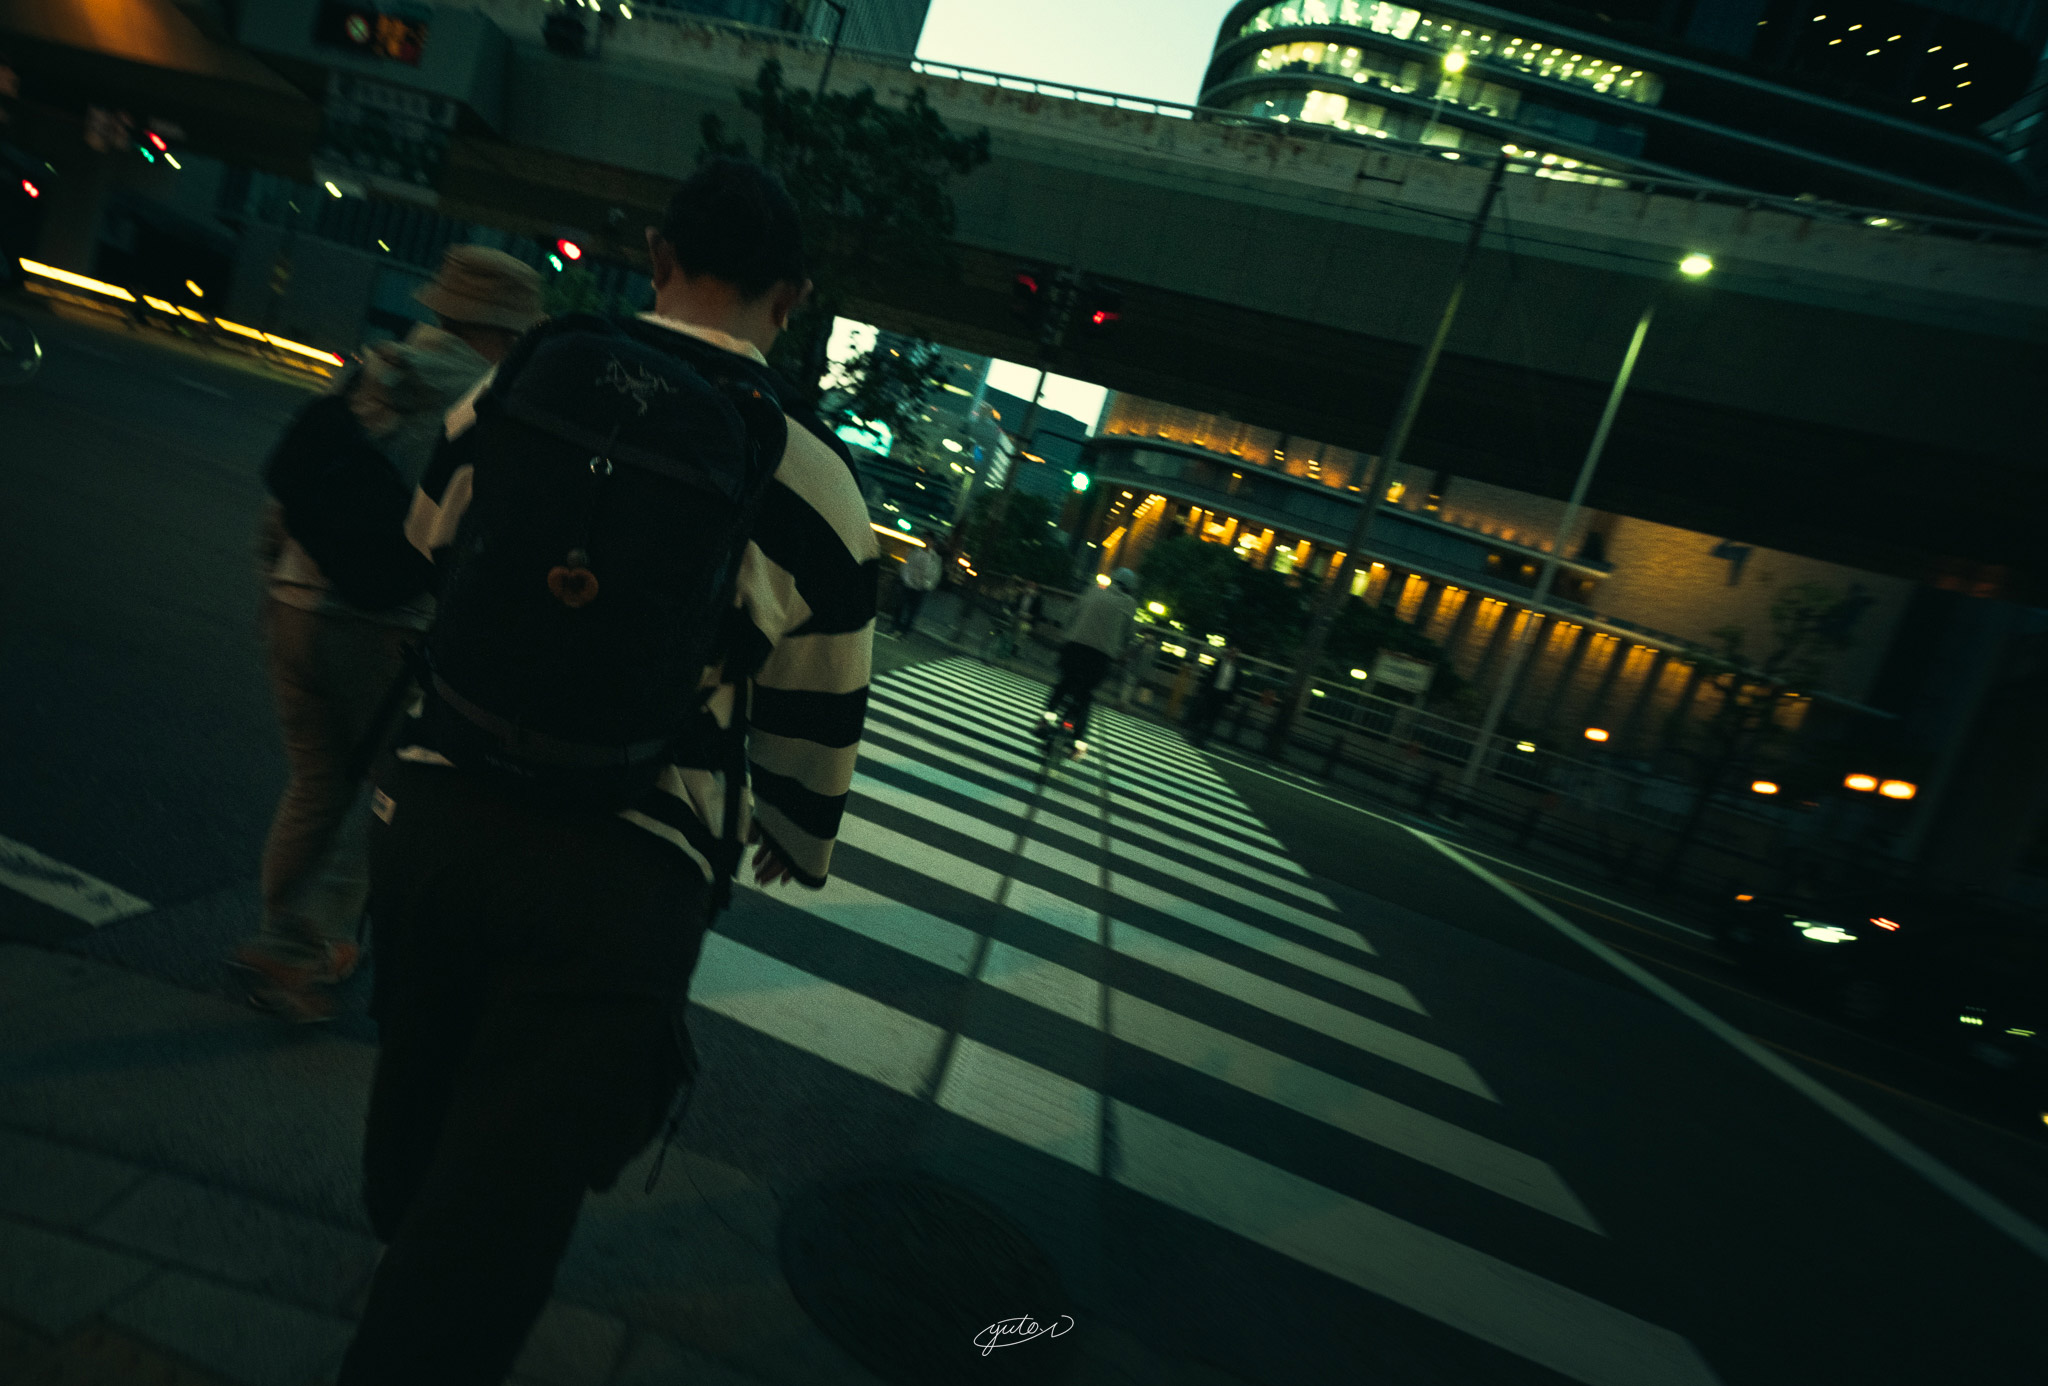
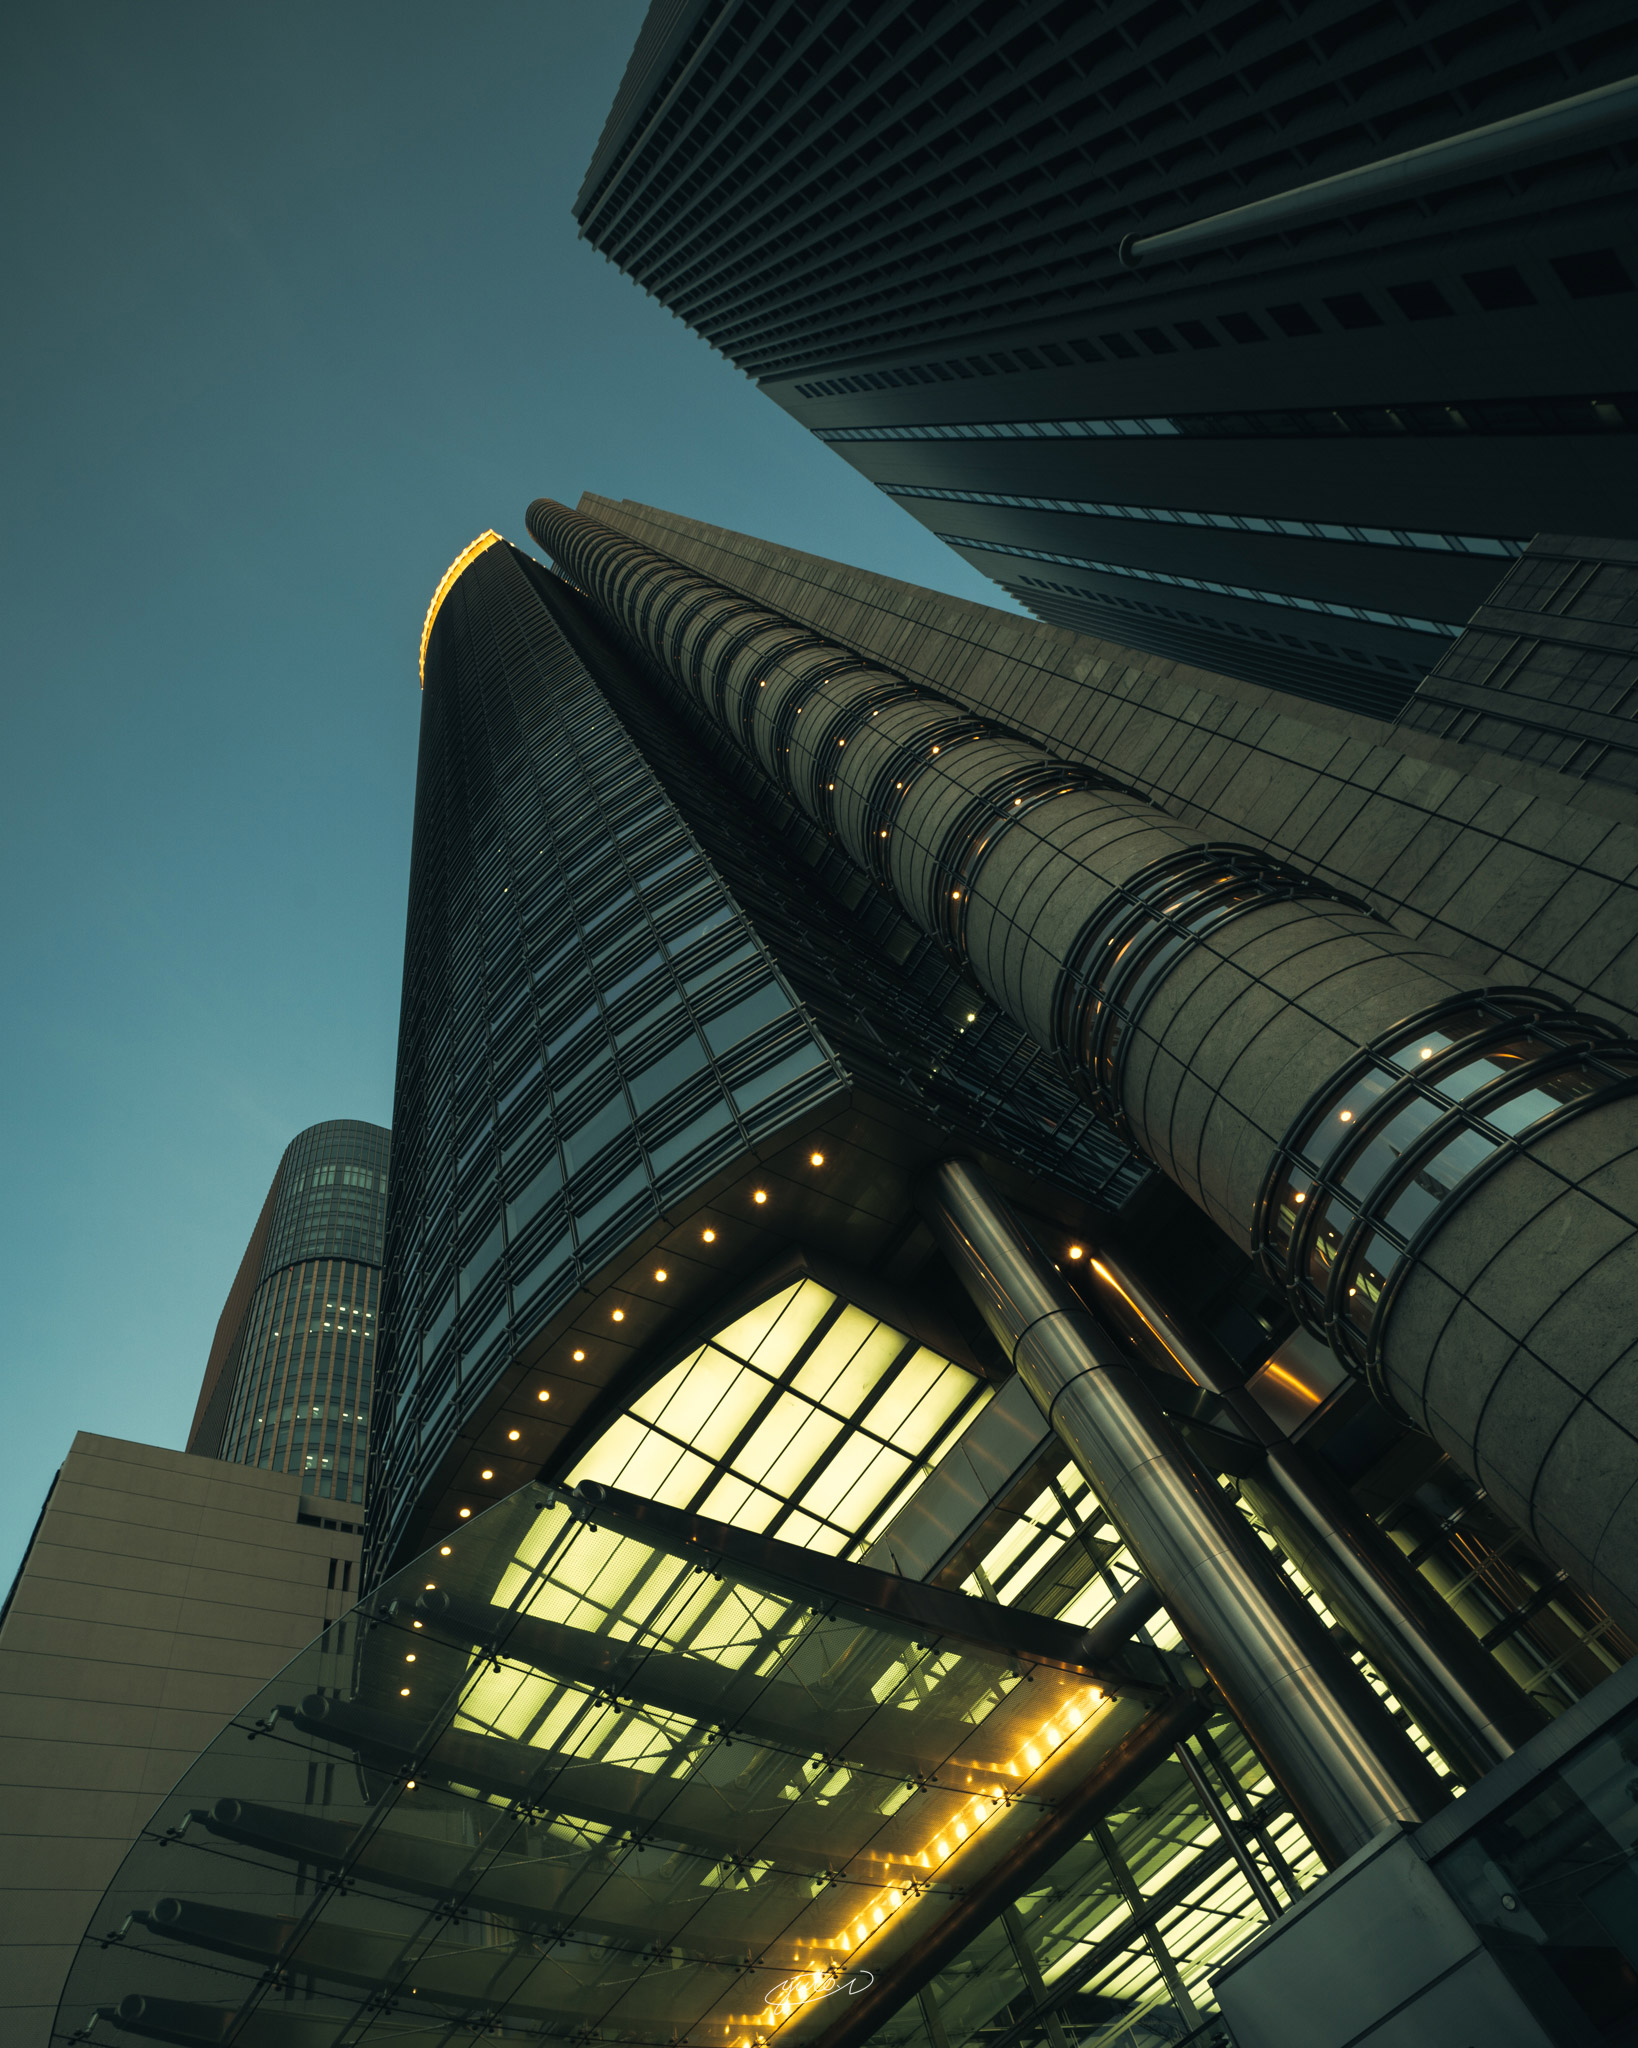
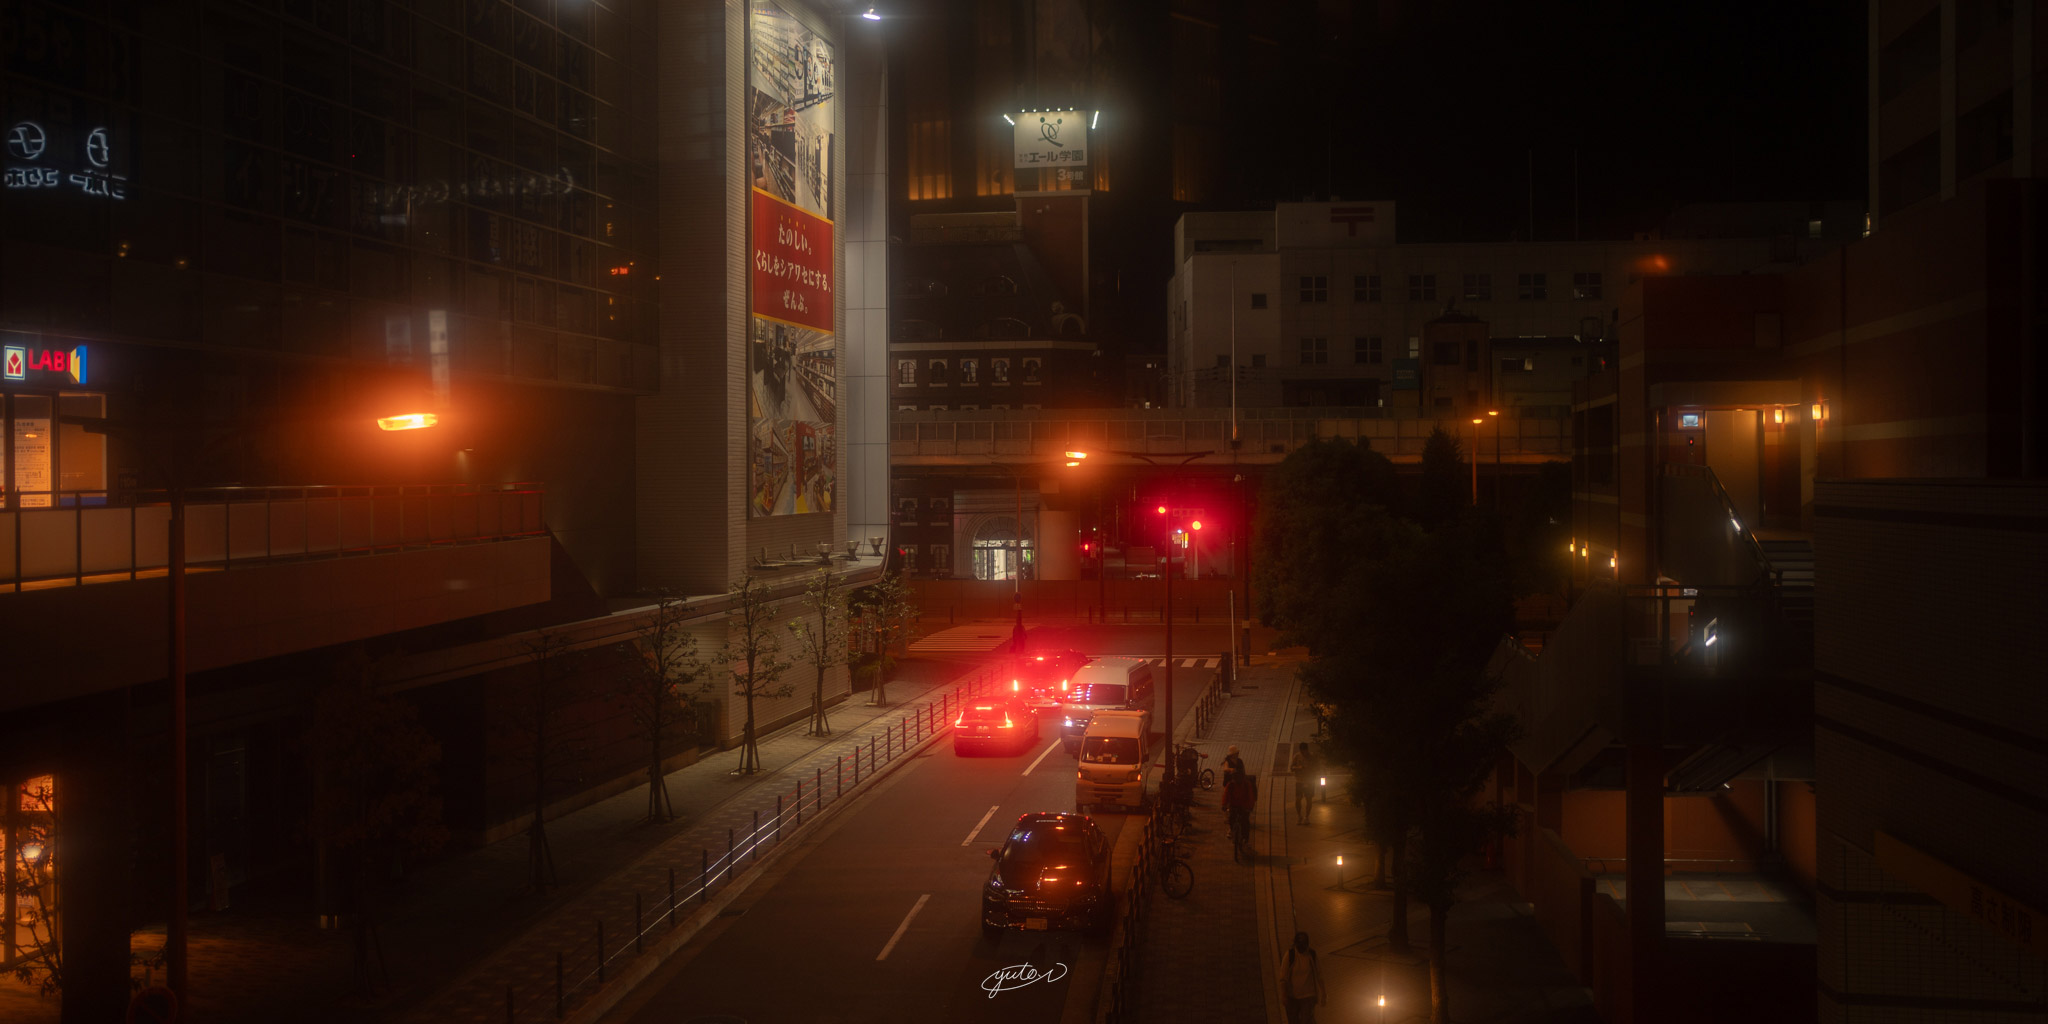
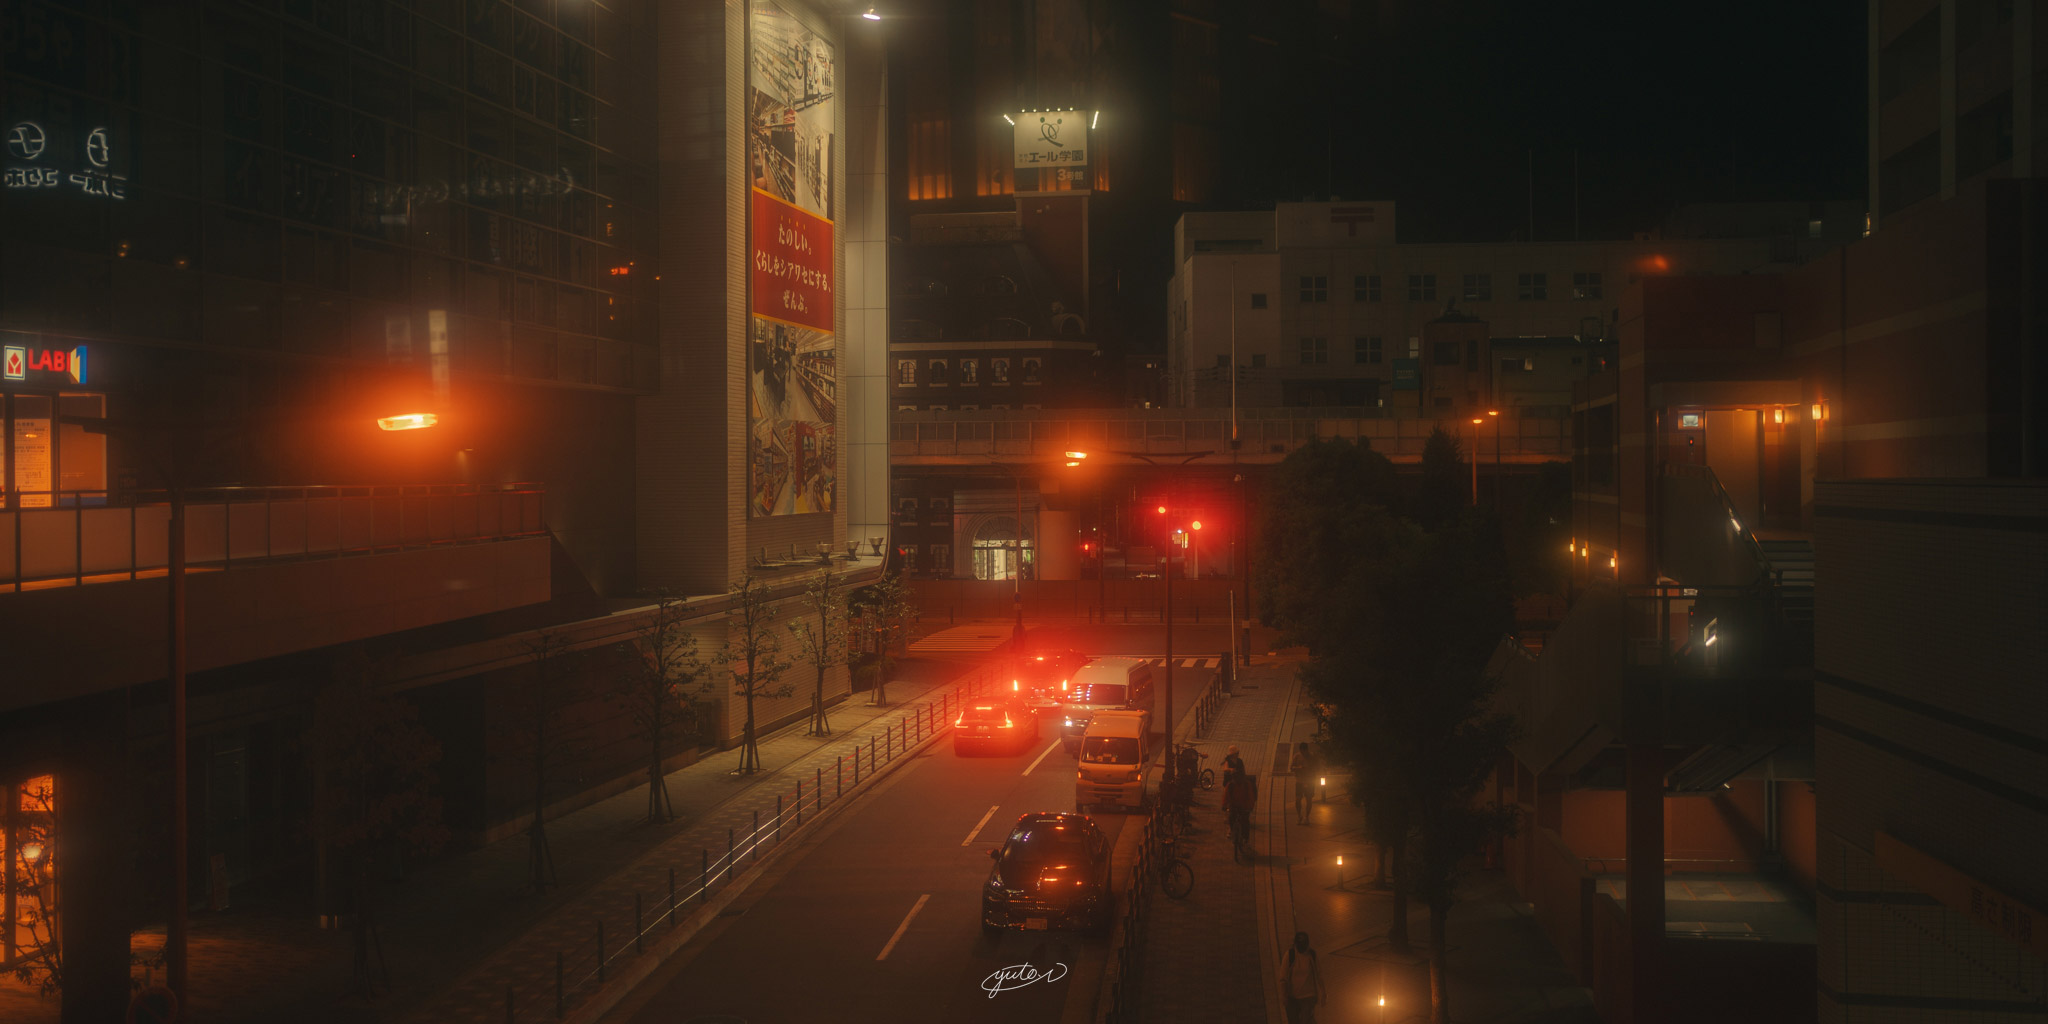
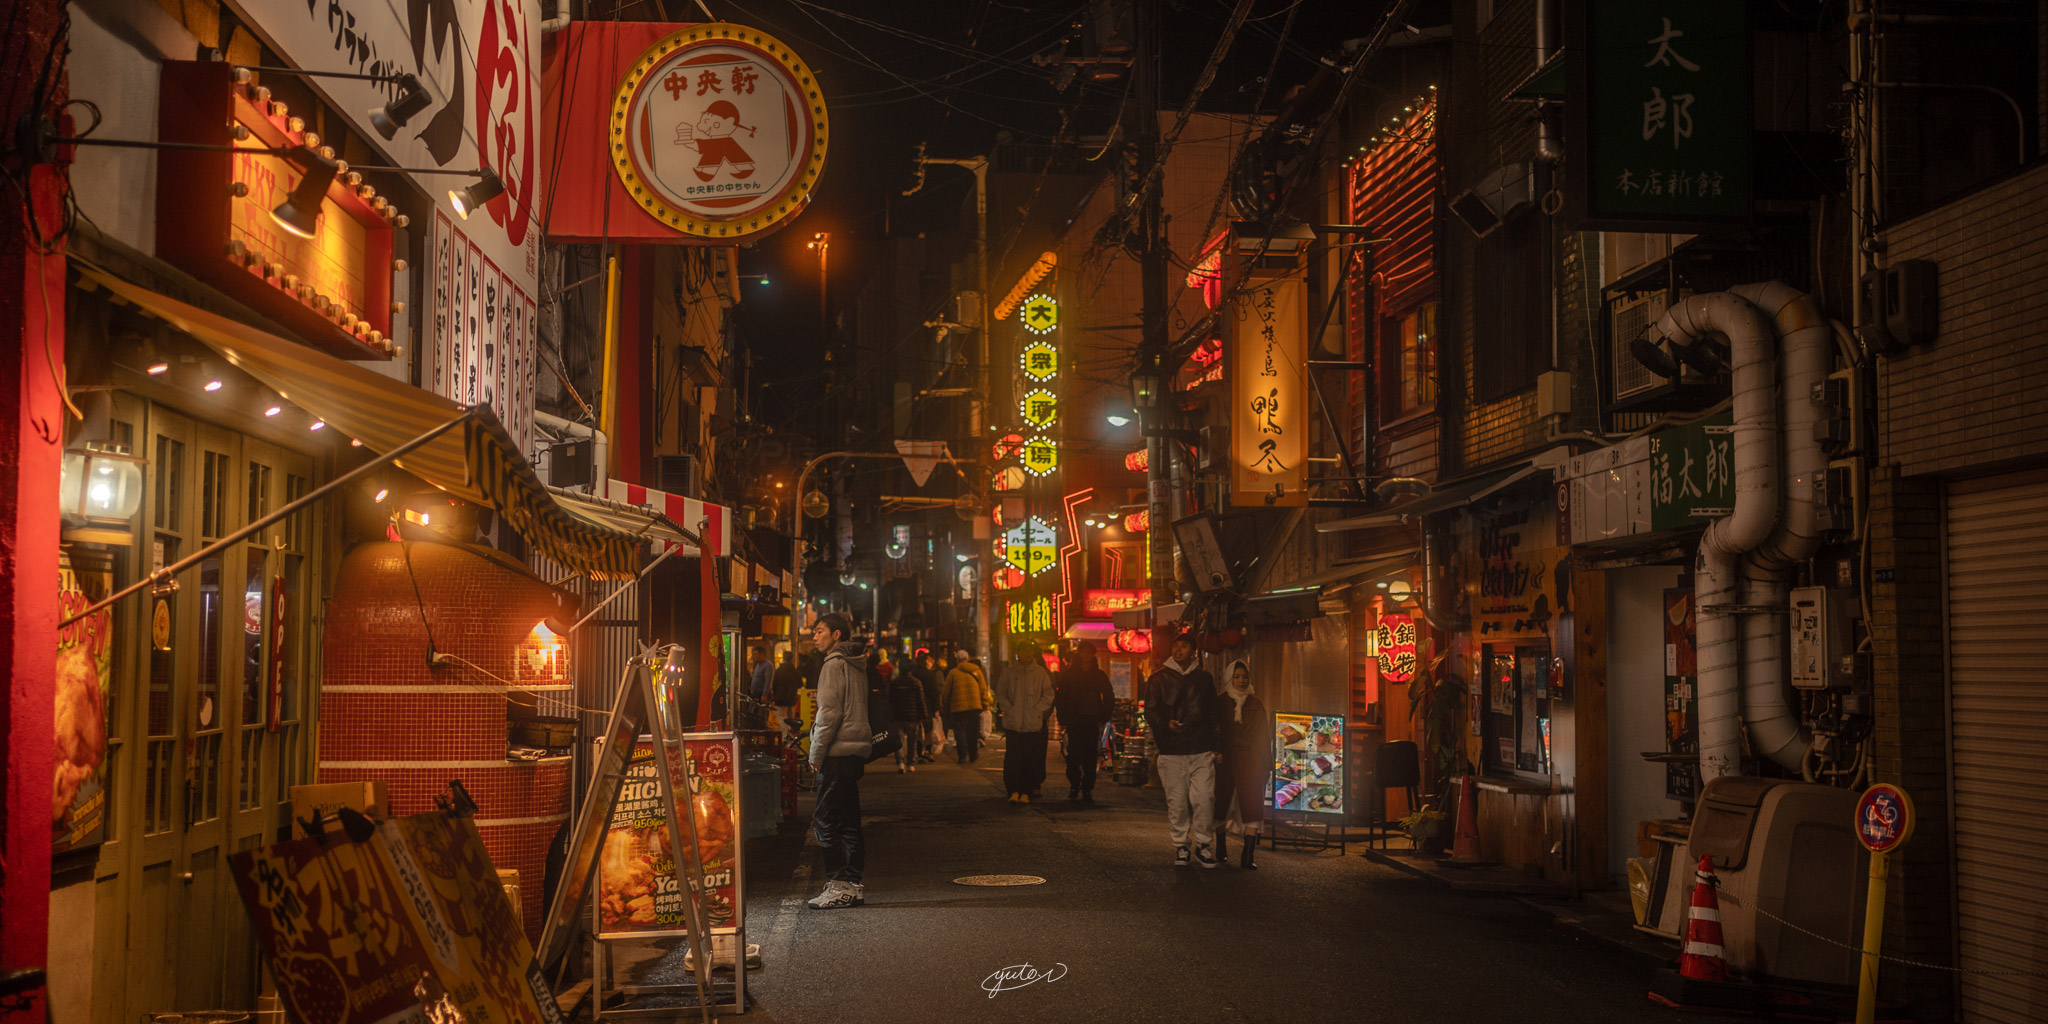
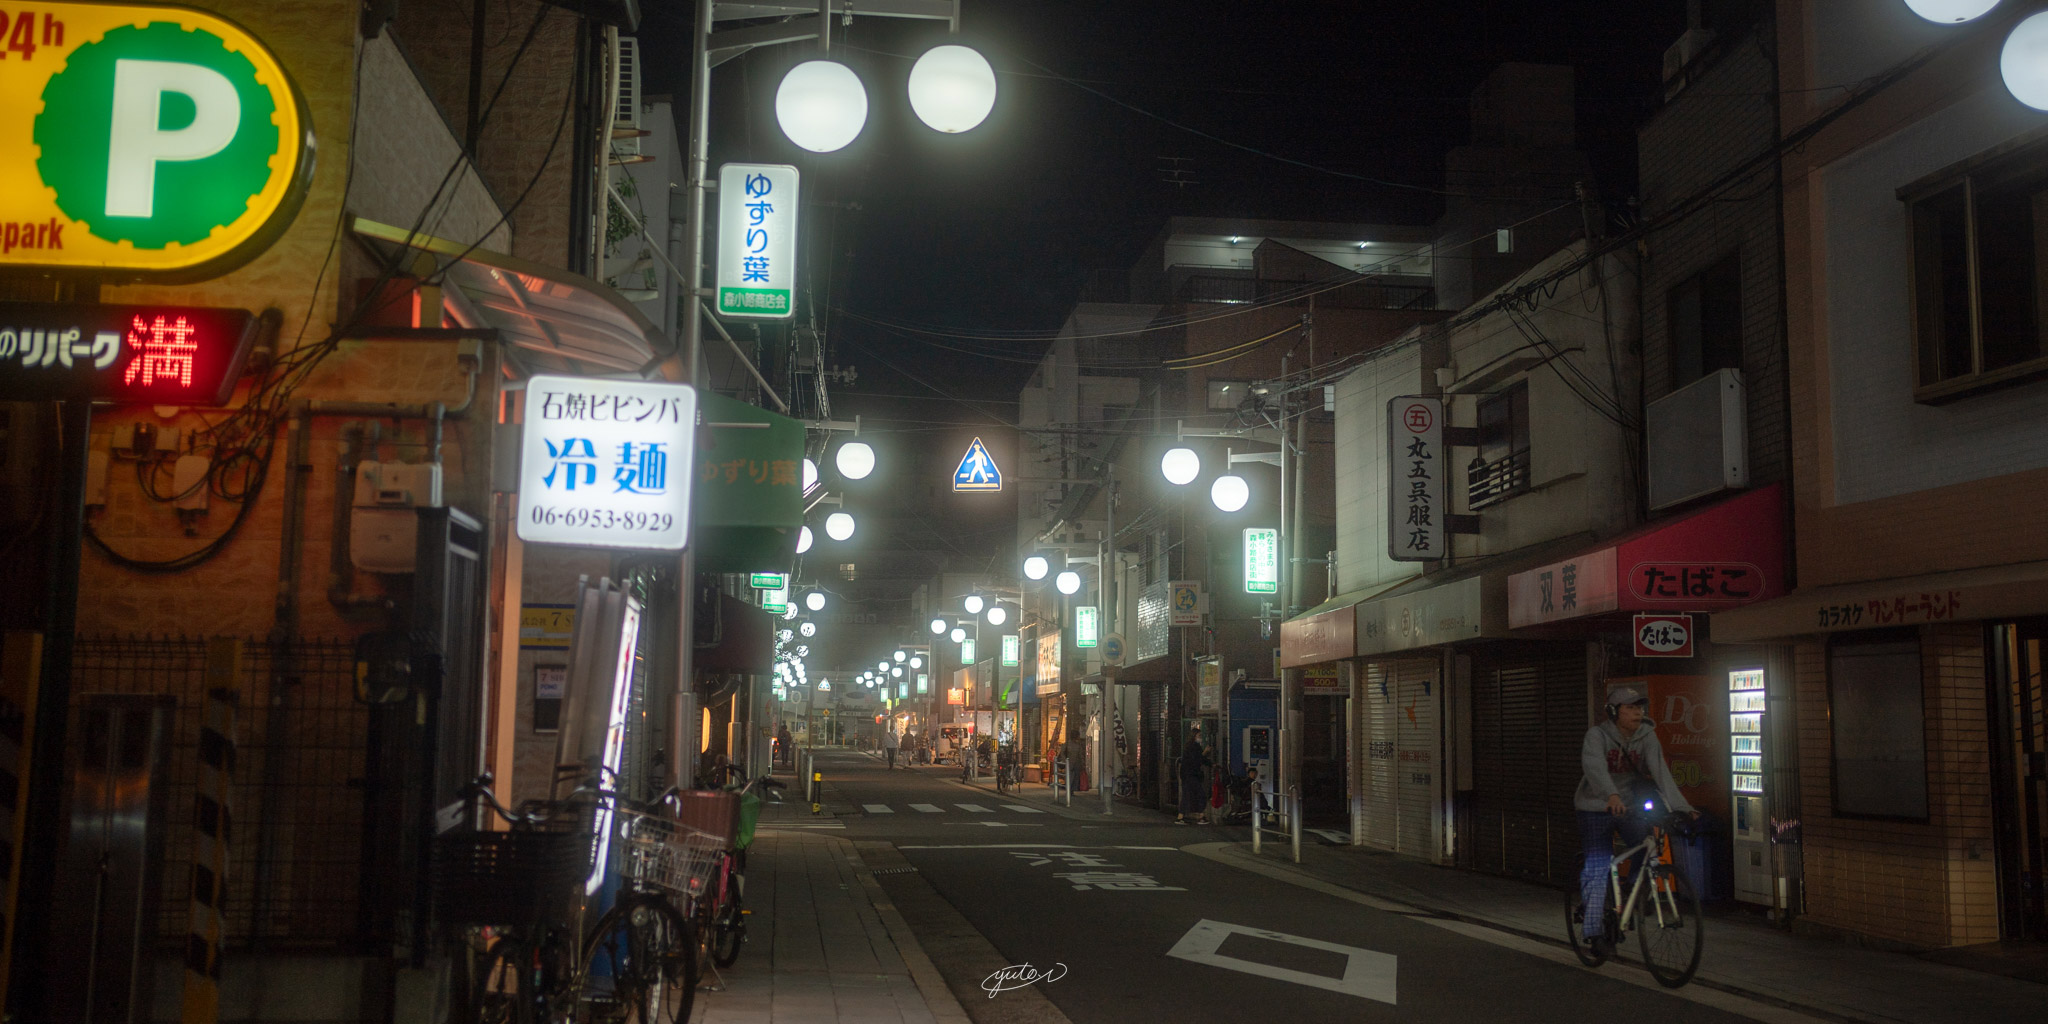
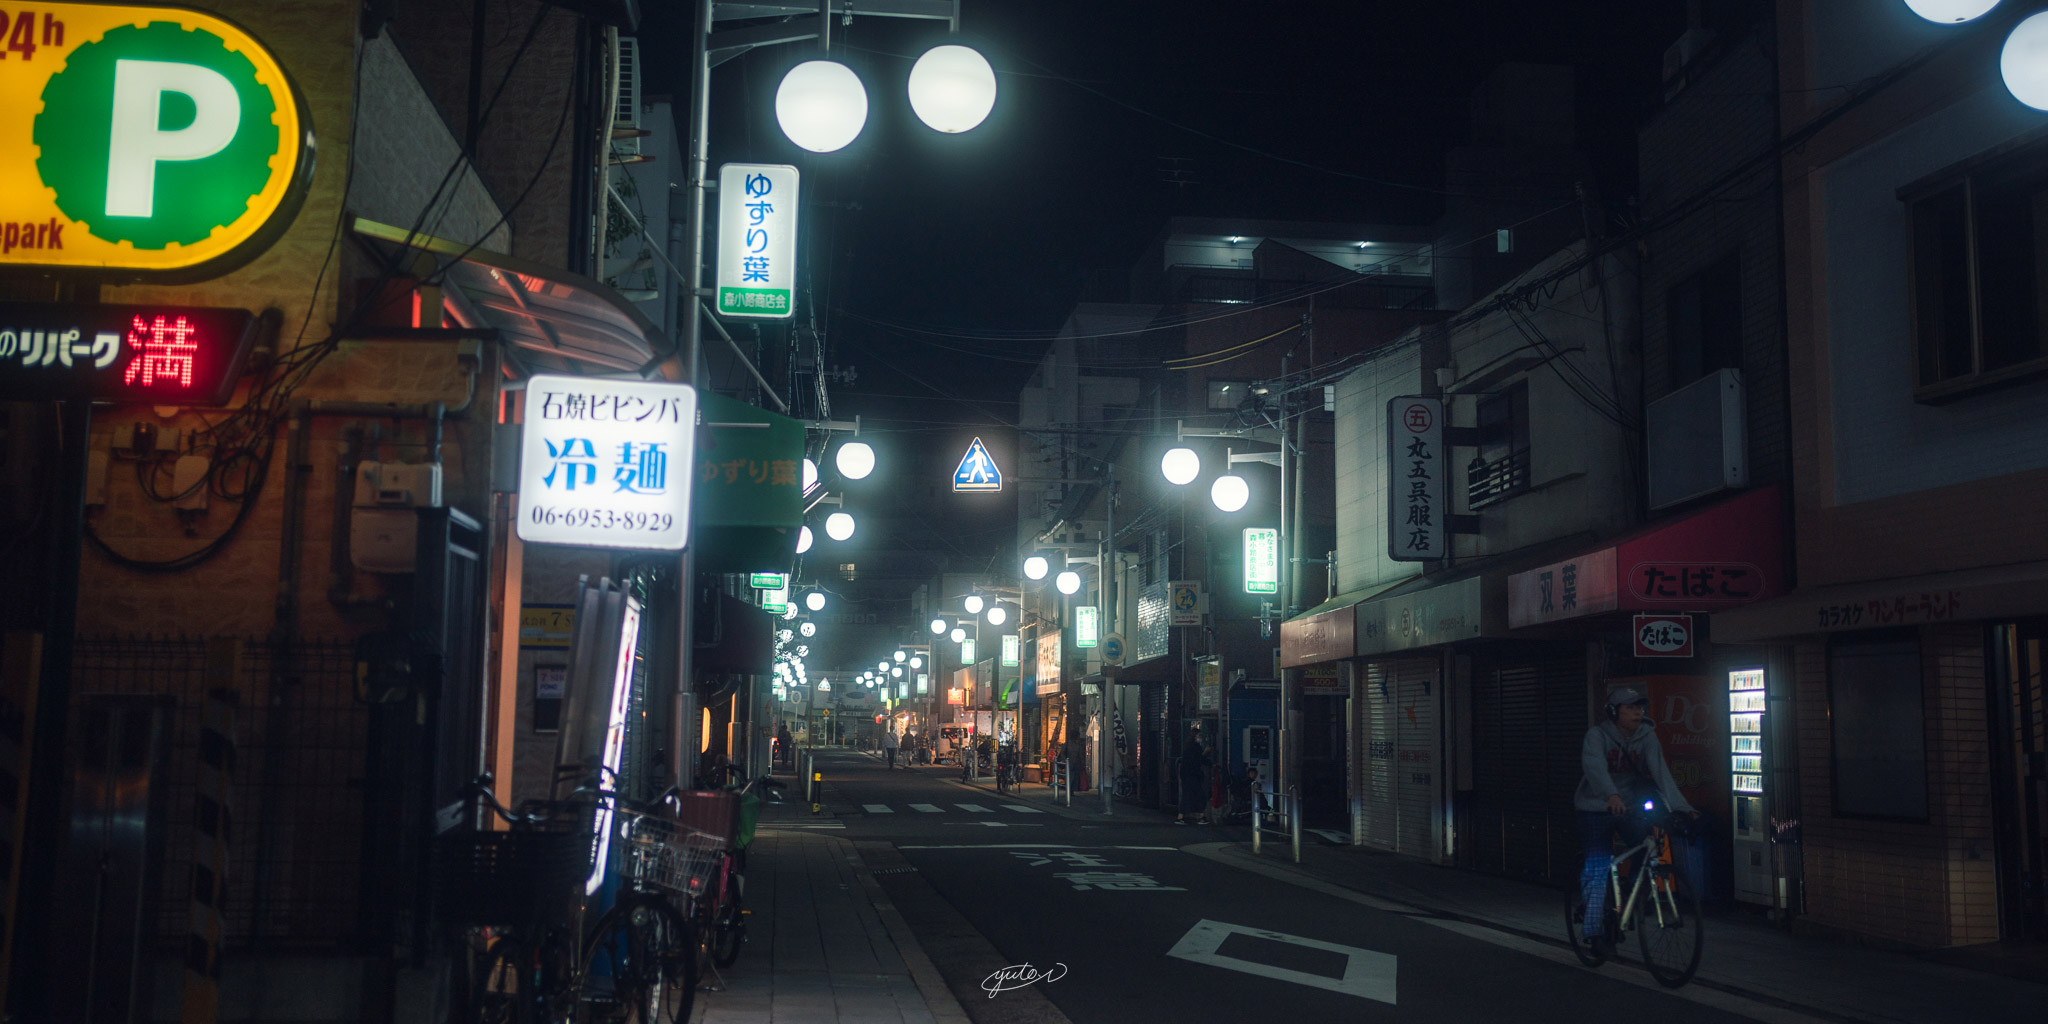
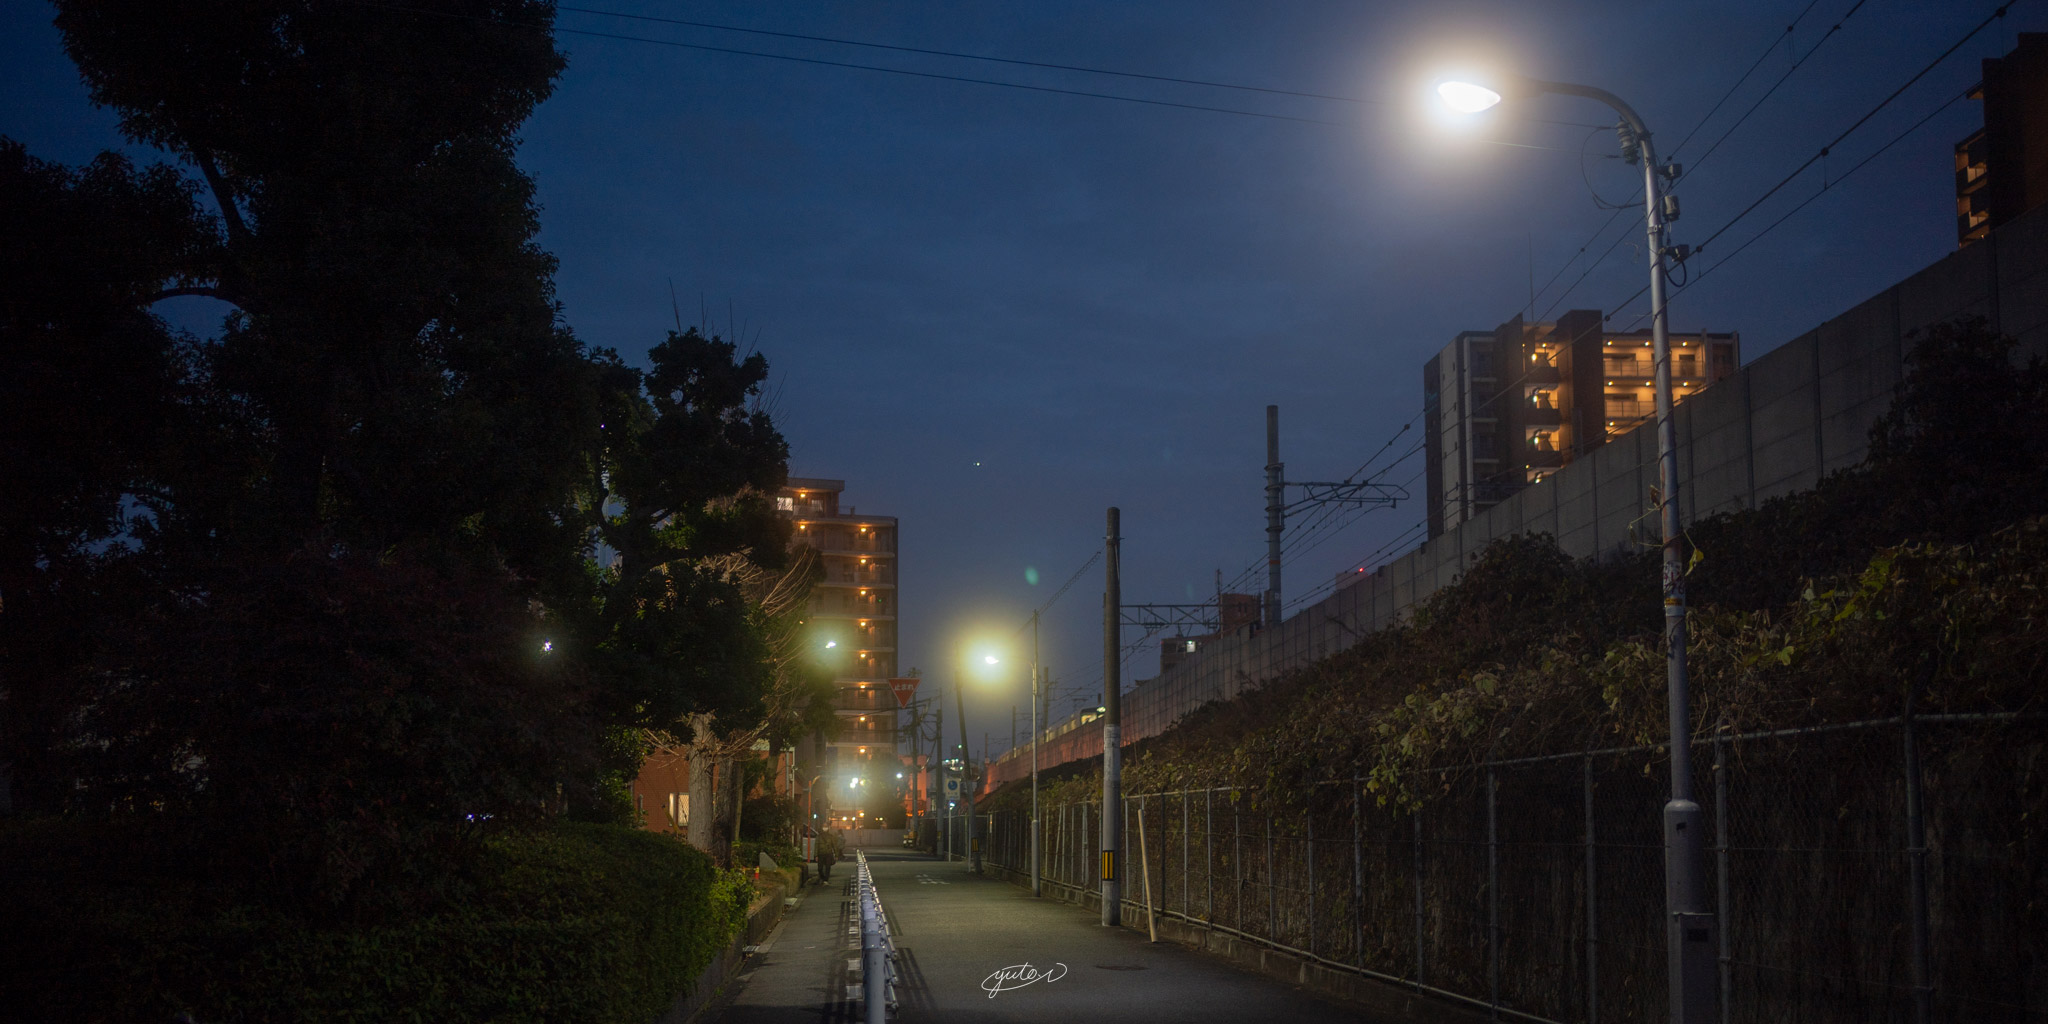
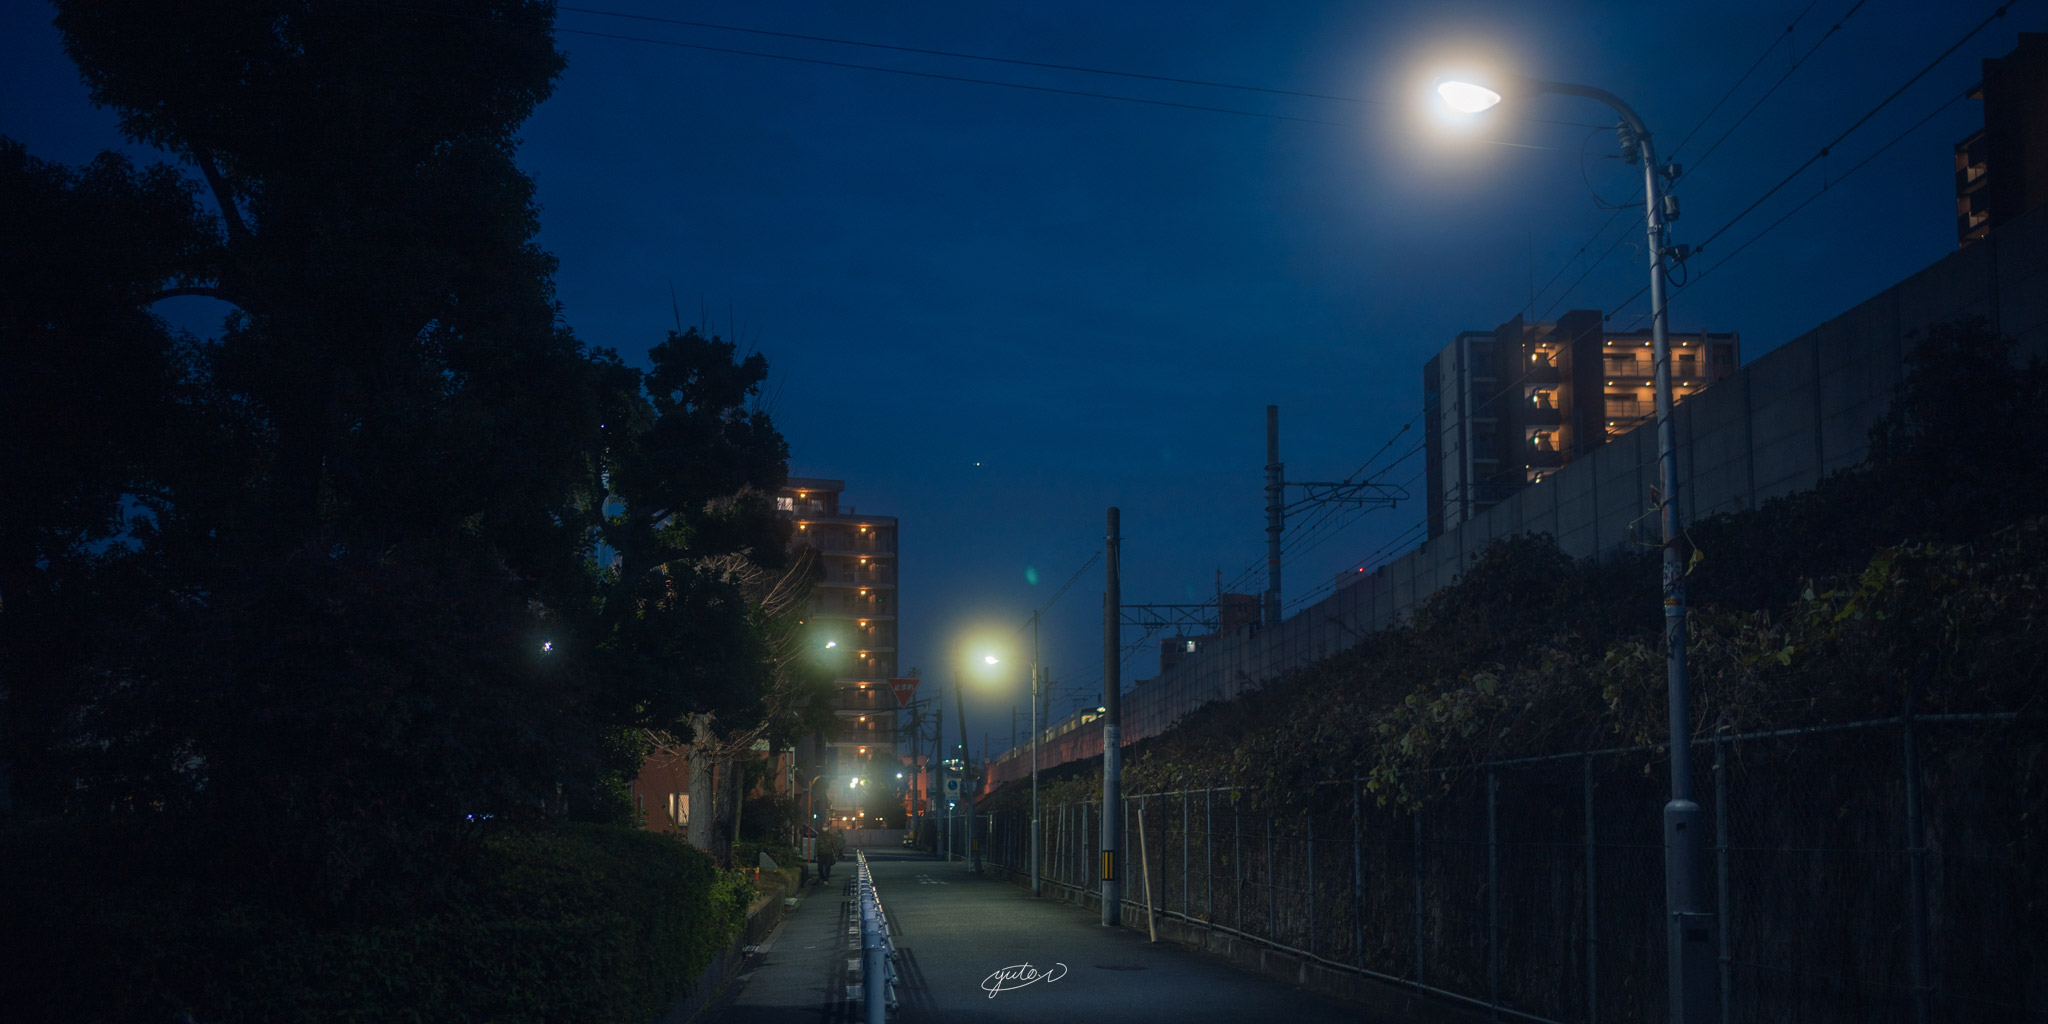
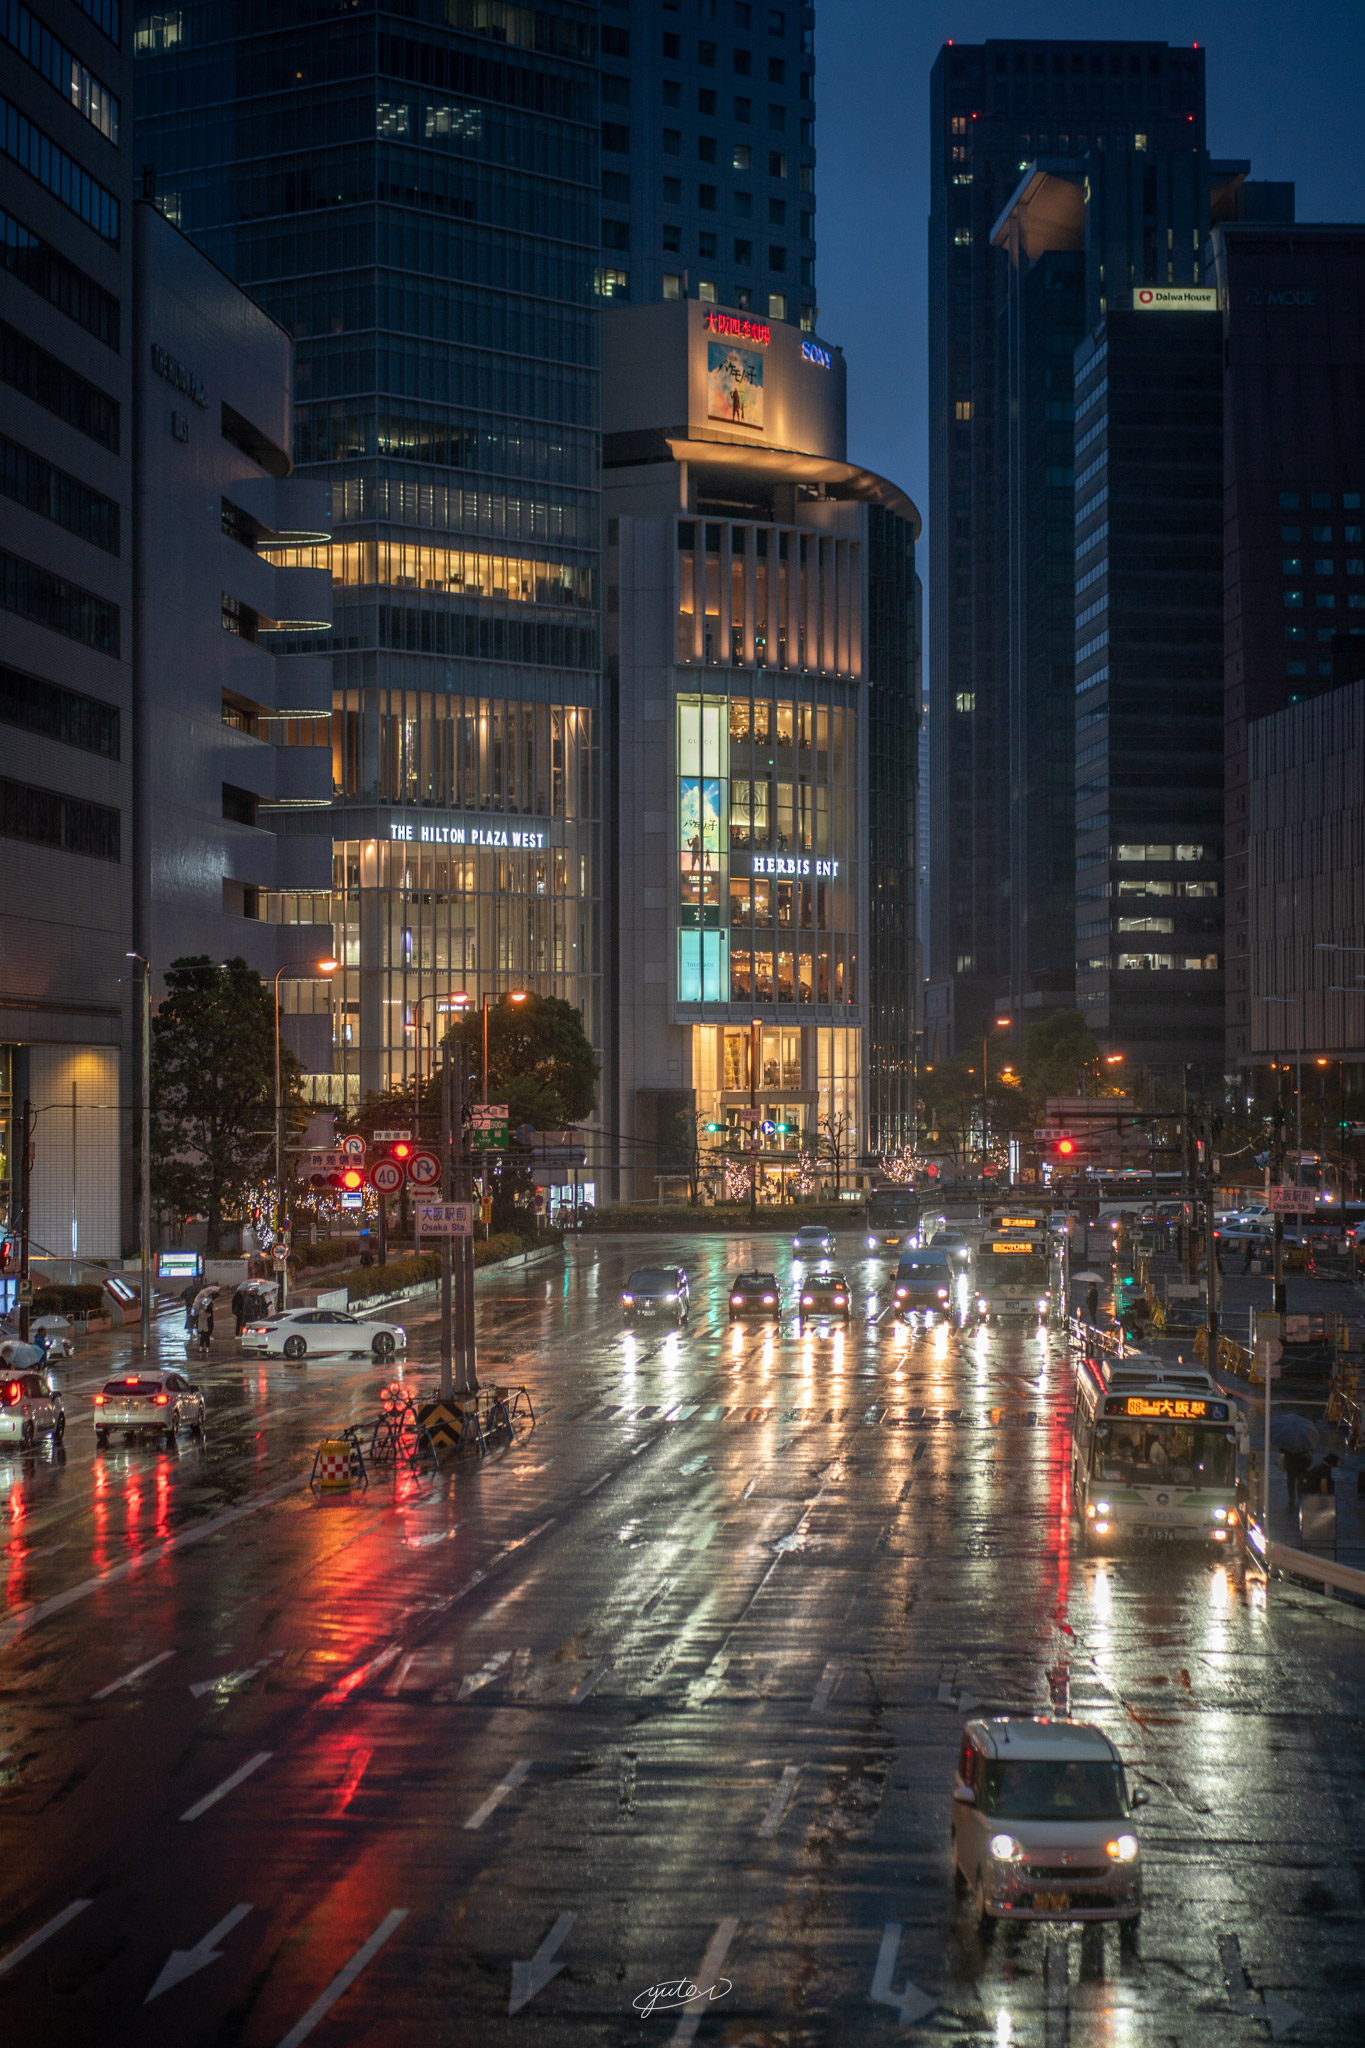
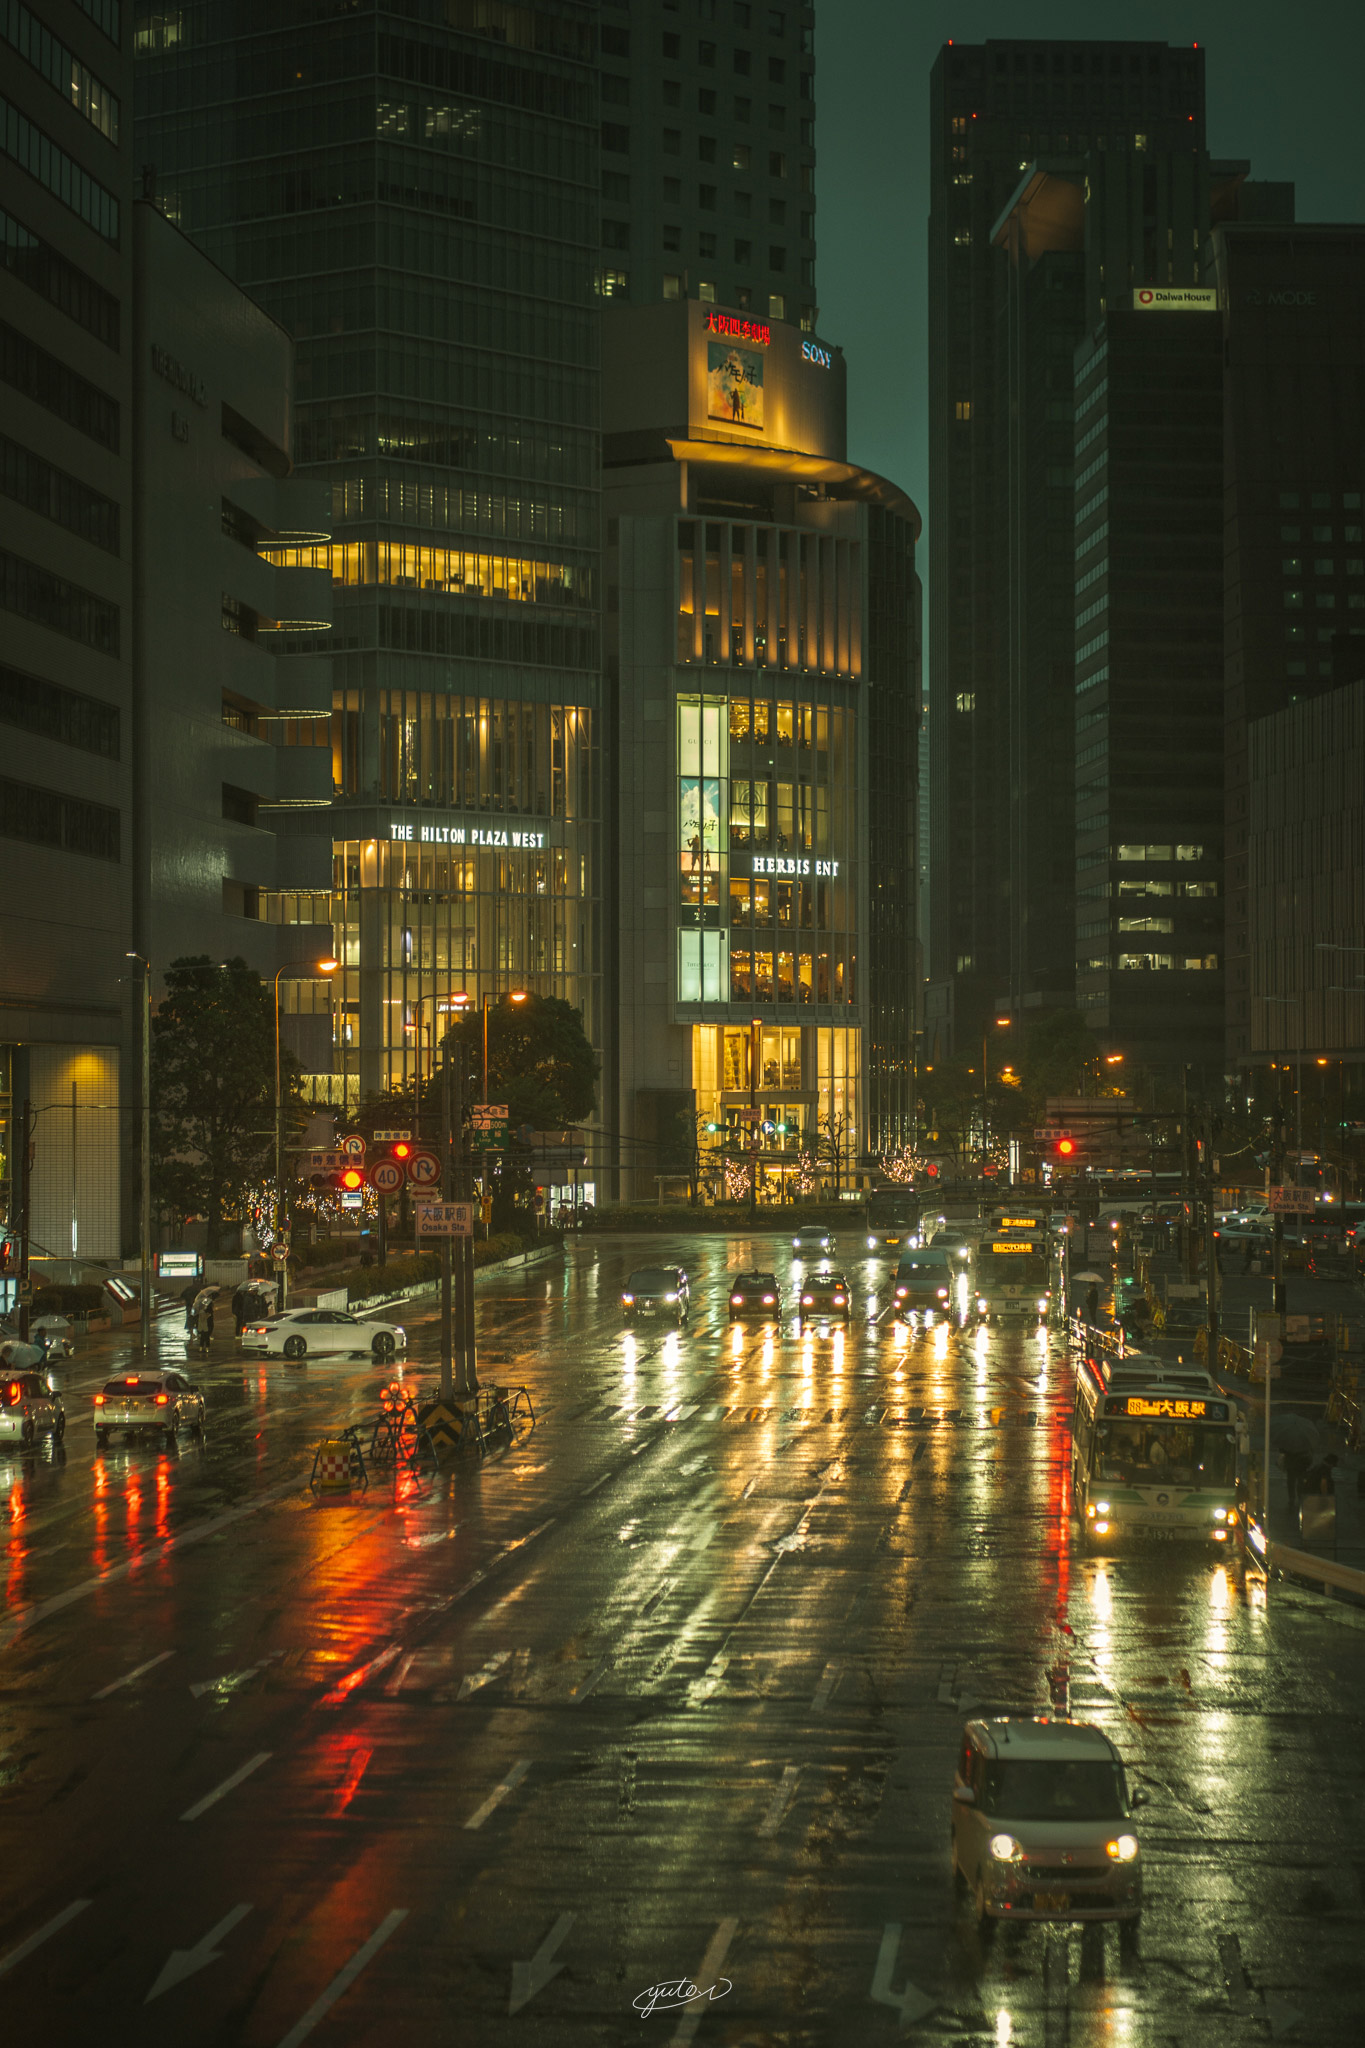
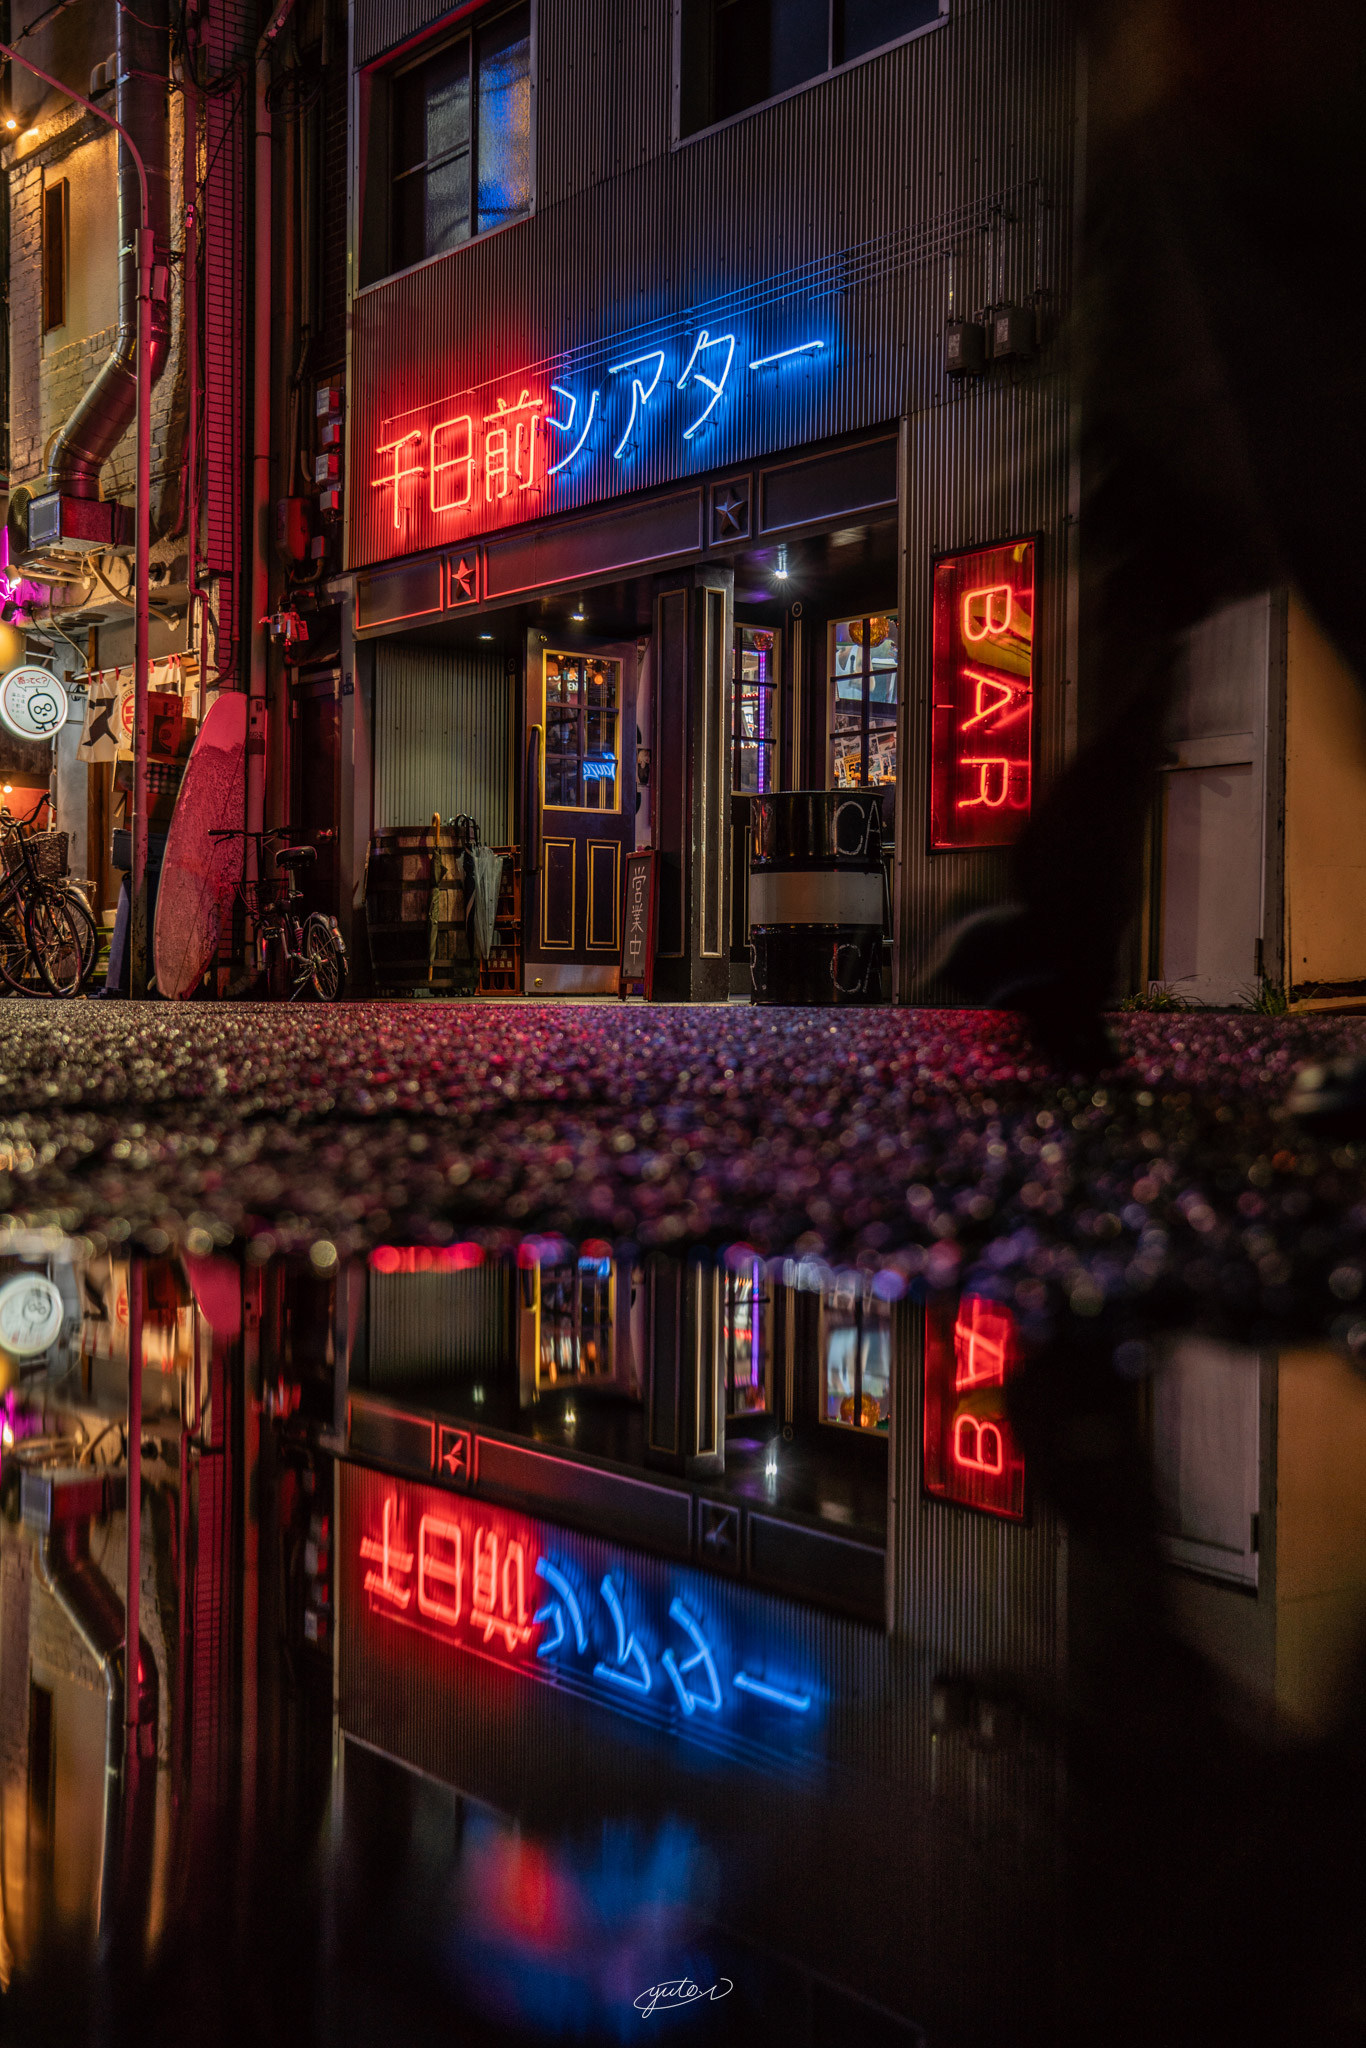
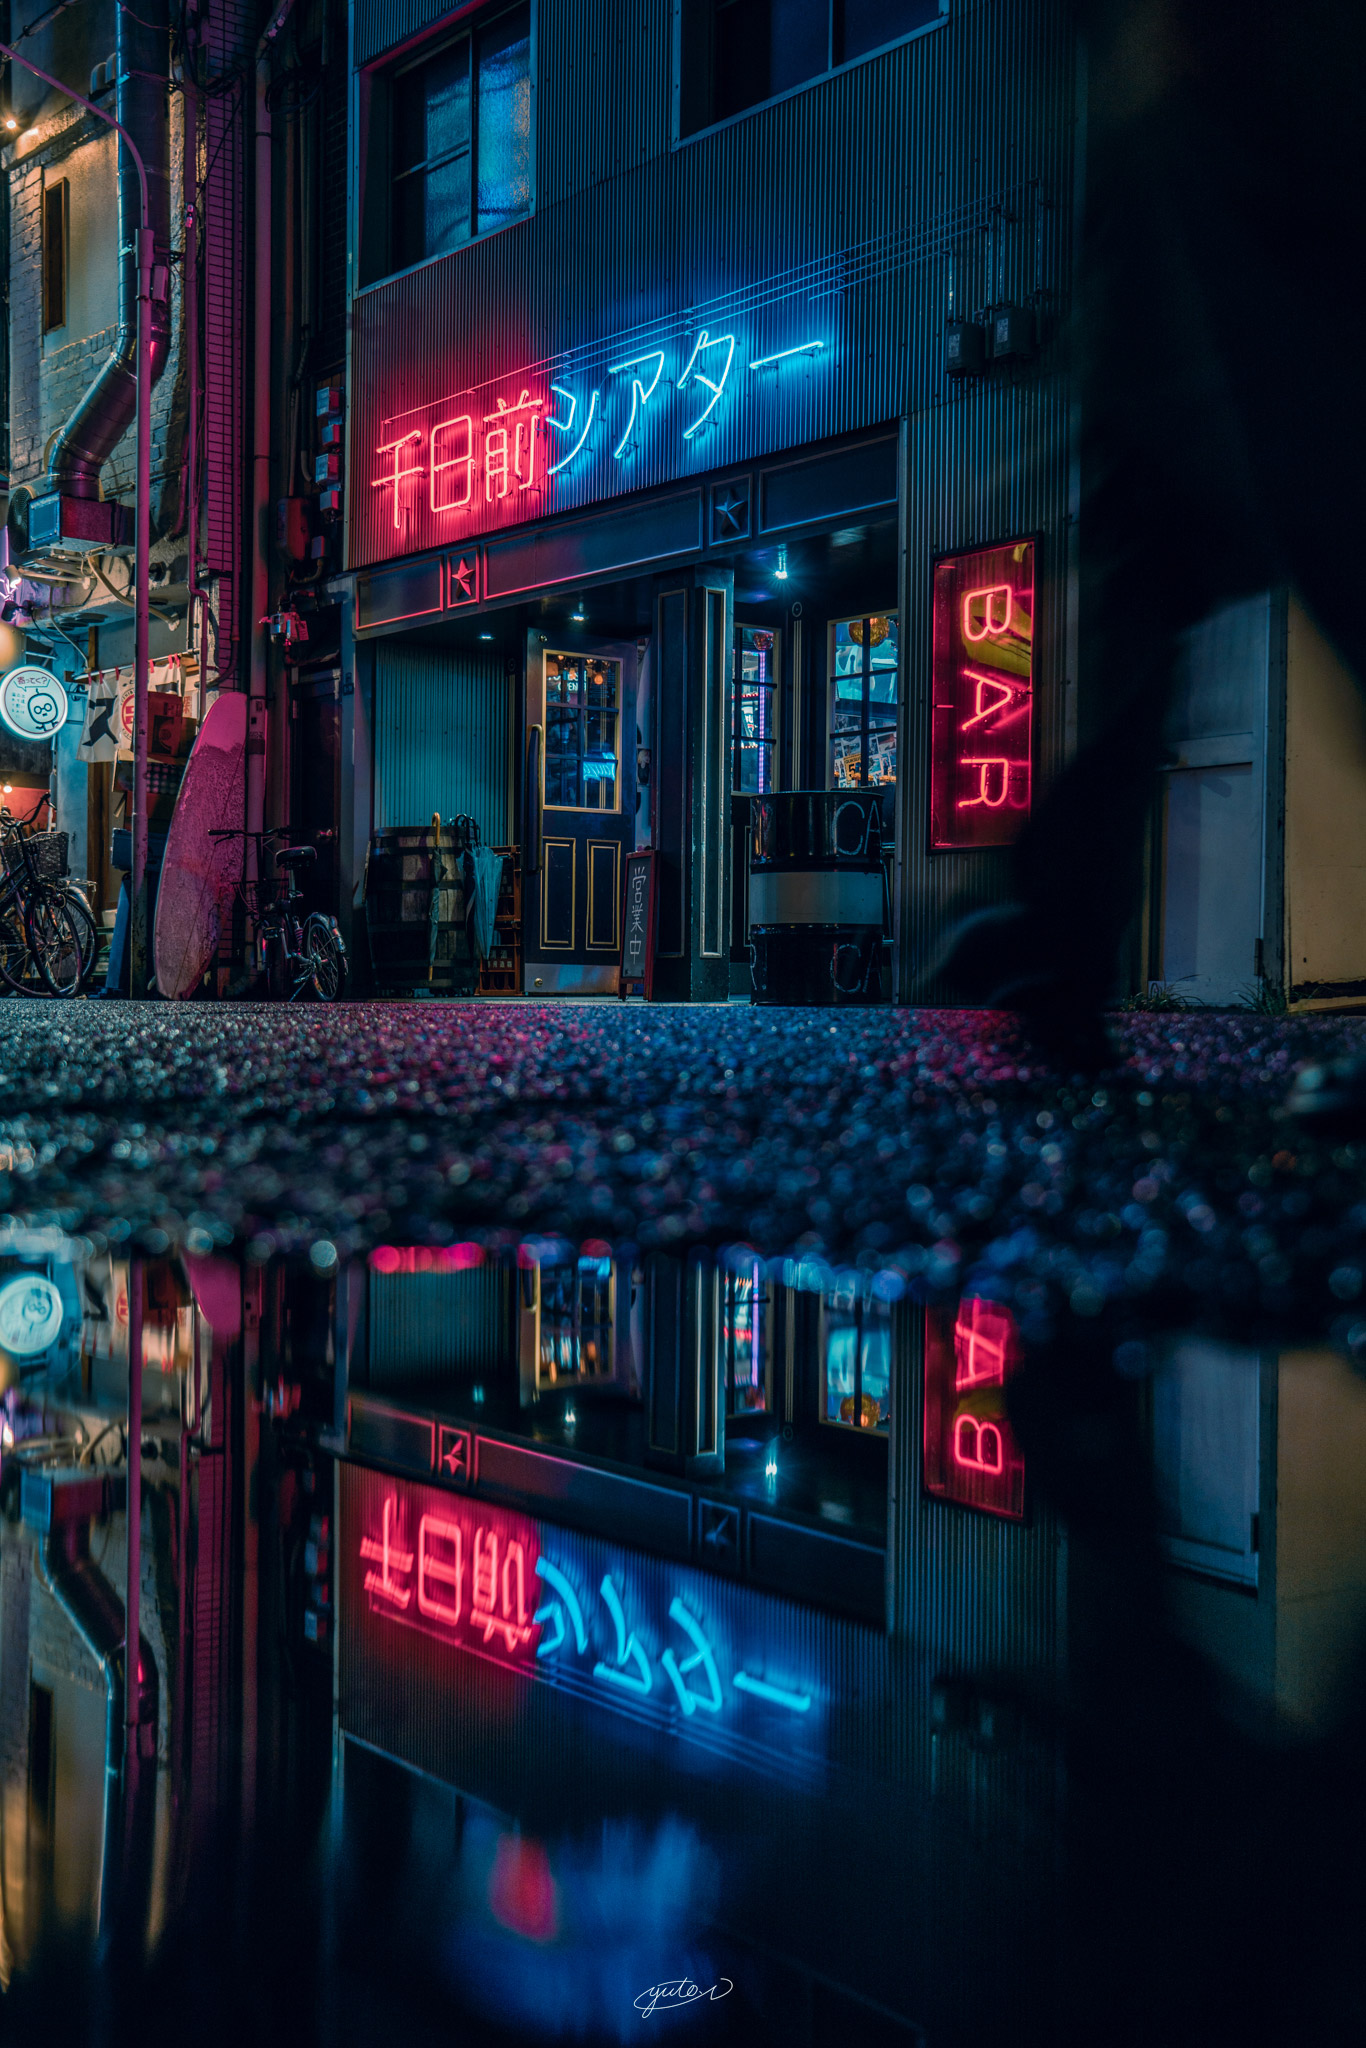
Sample images before and after applying presets
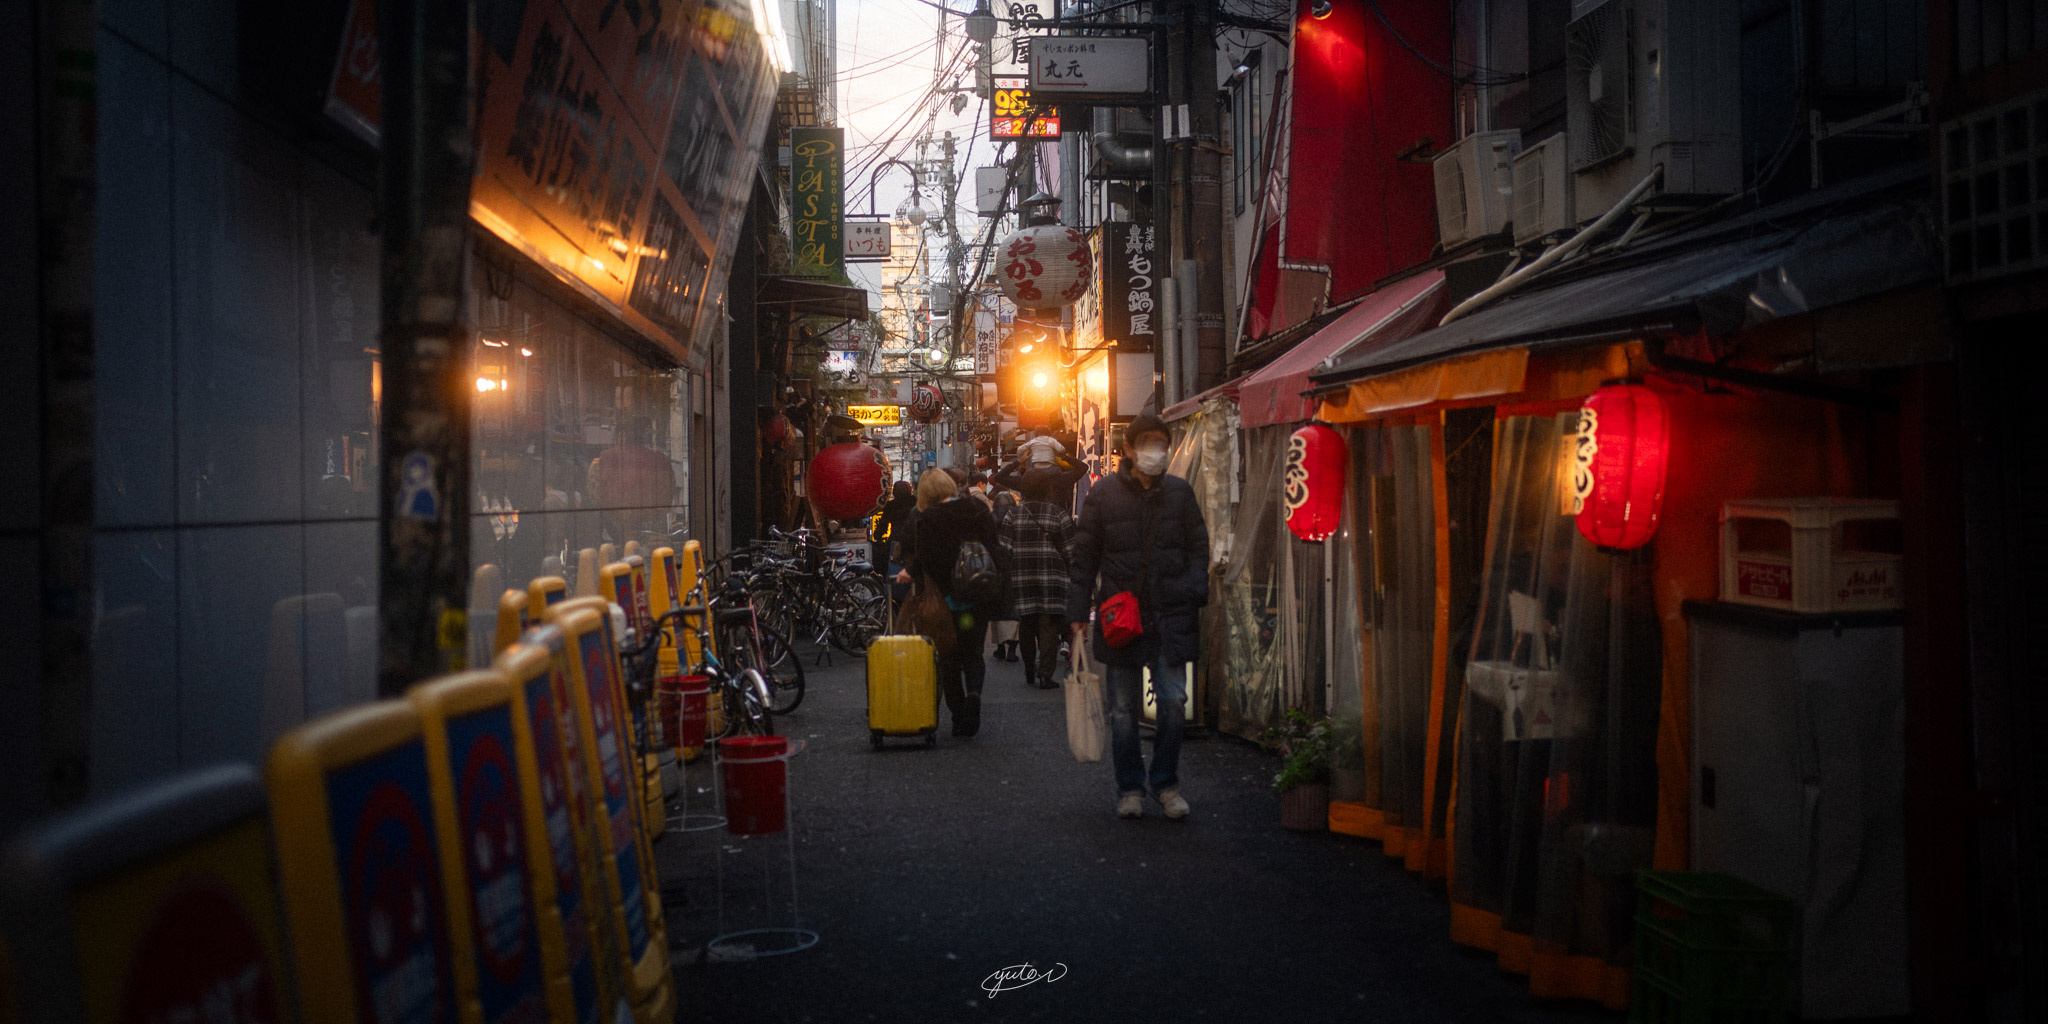
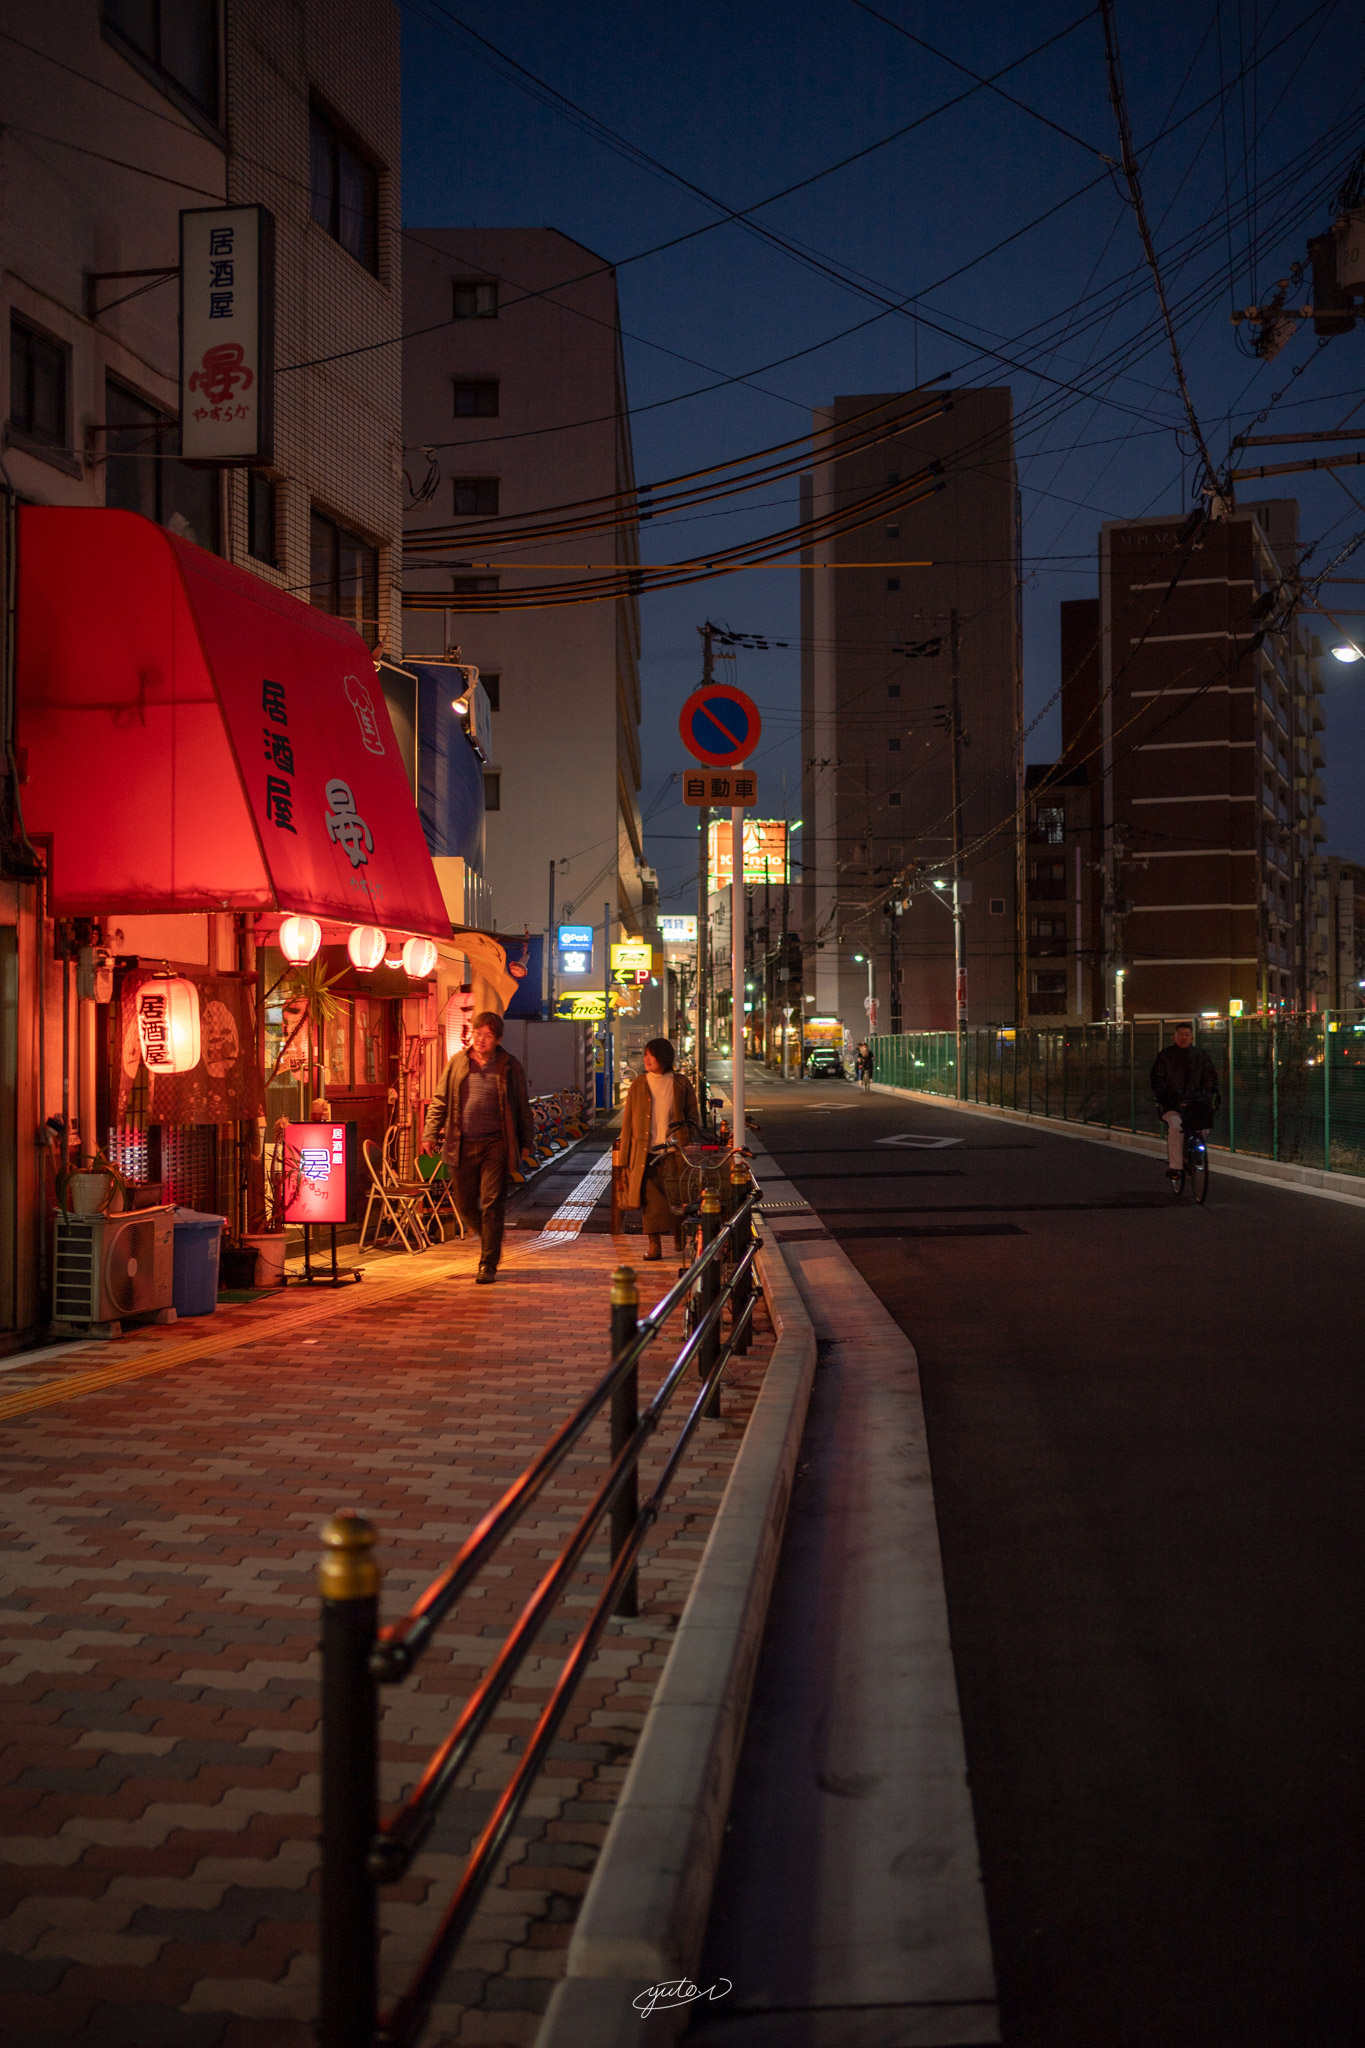
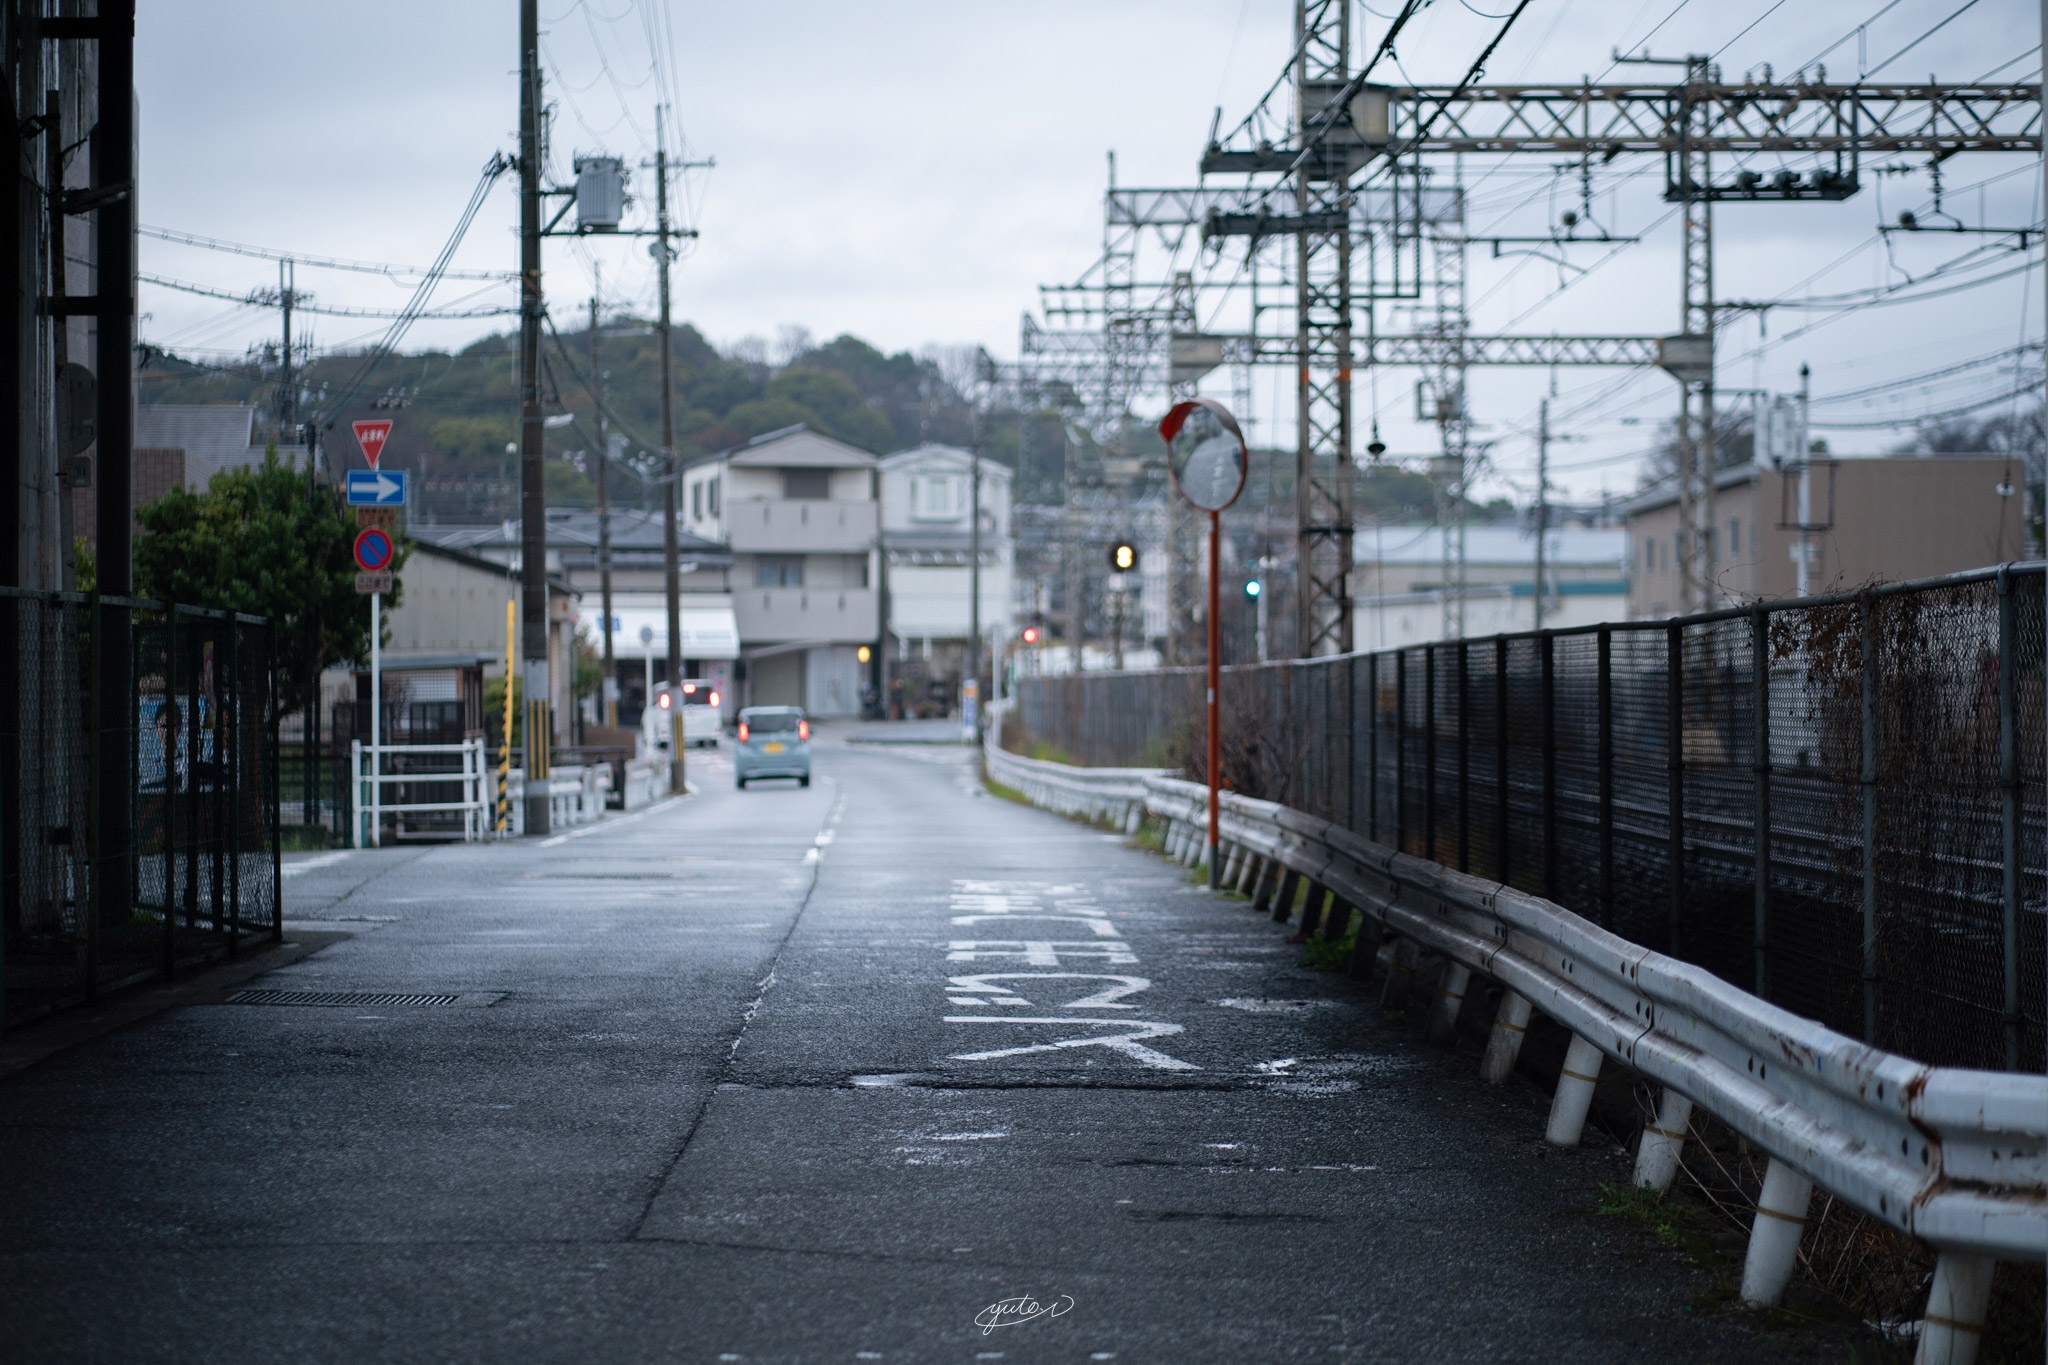
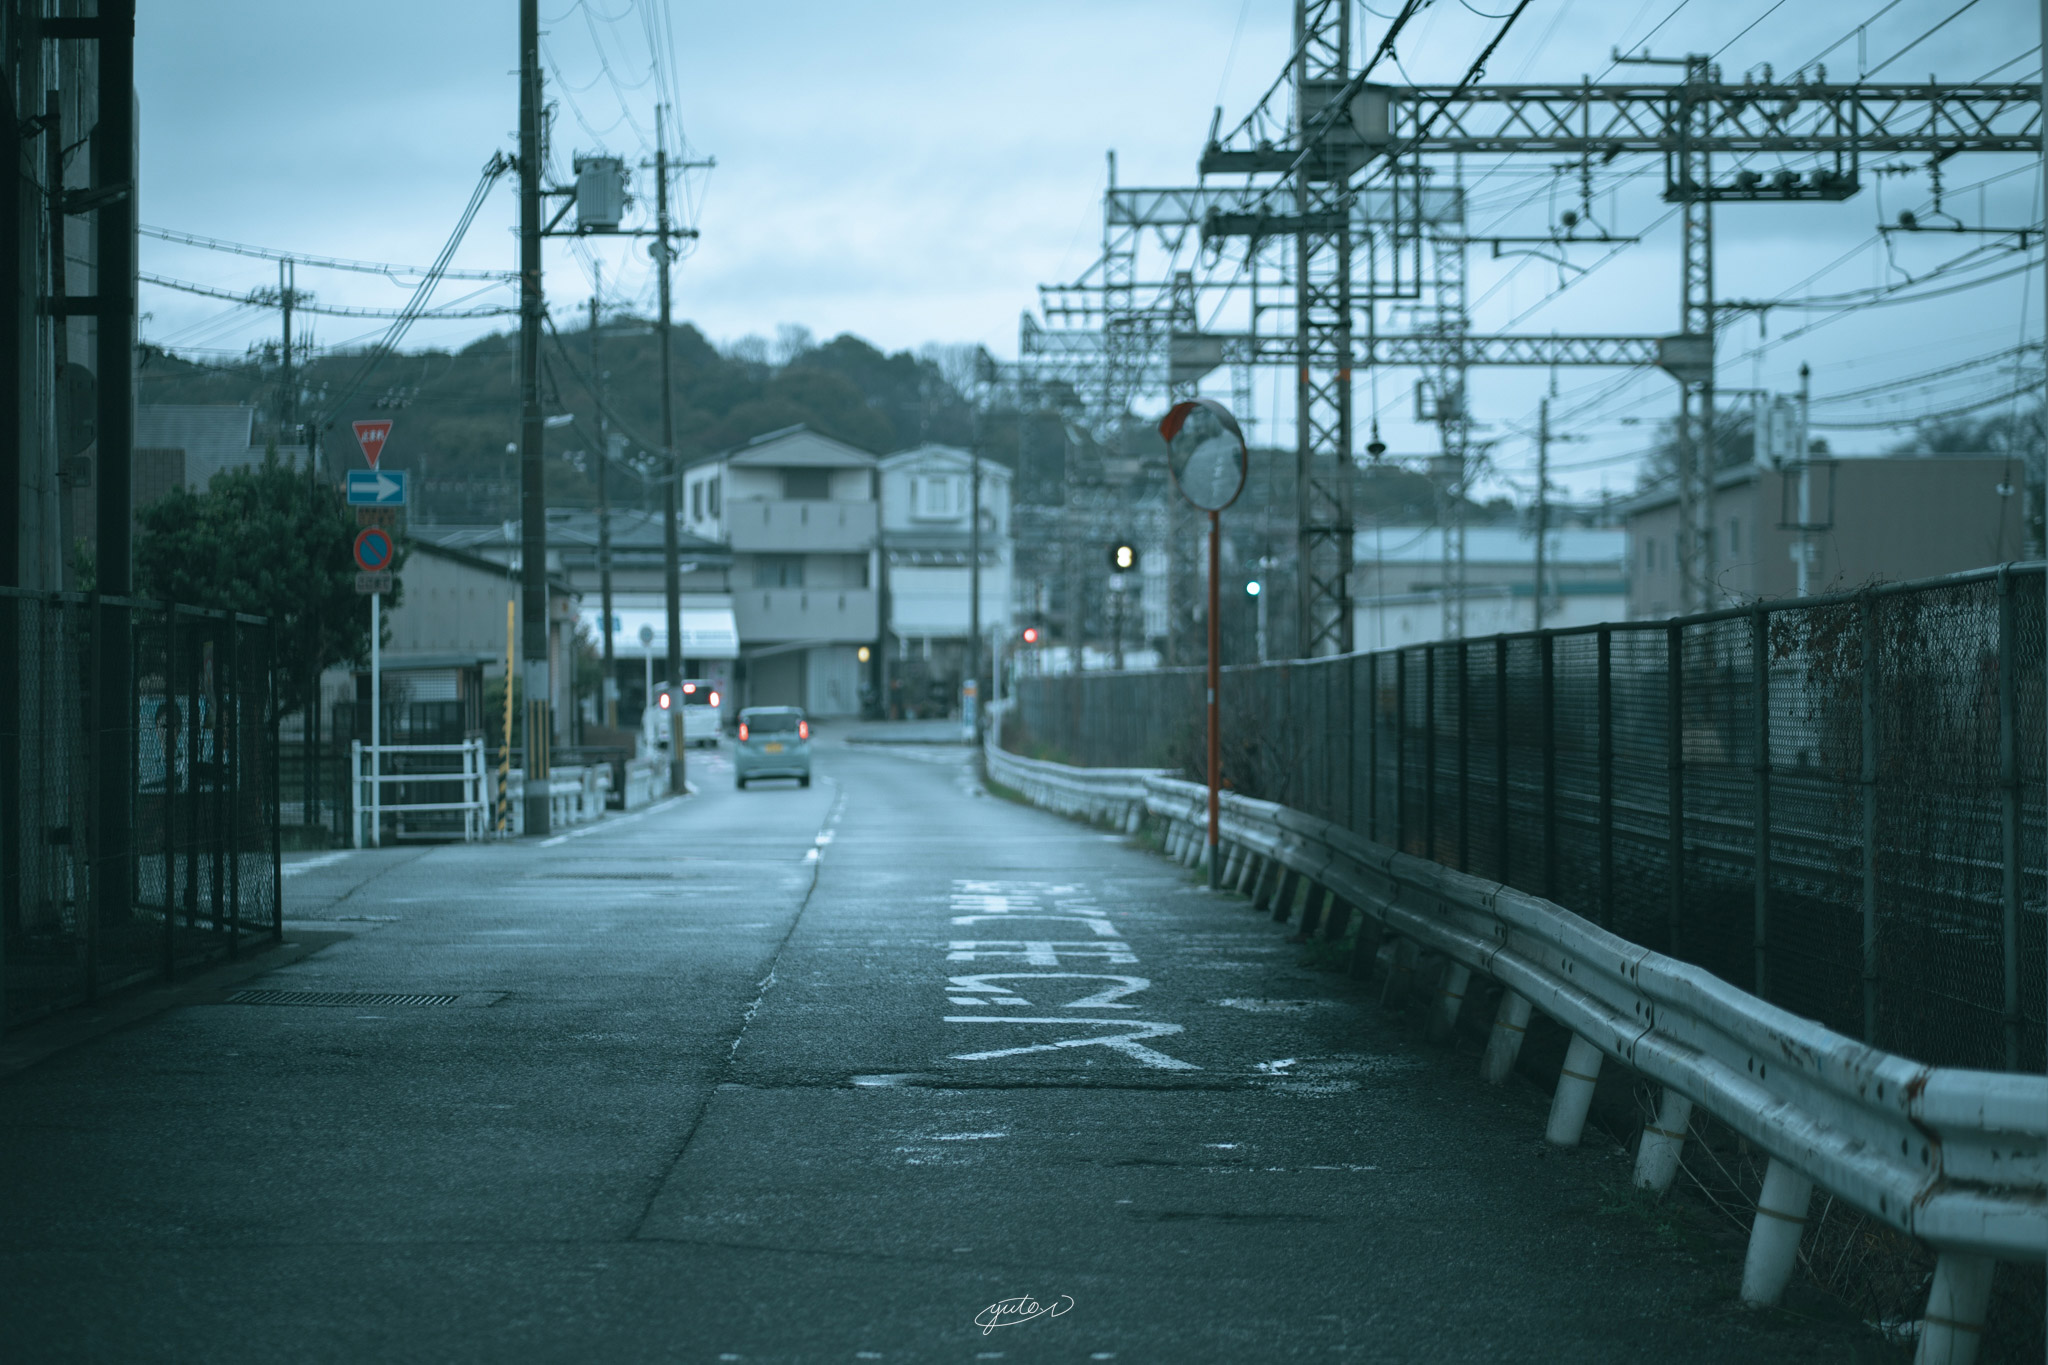
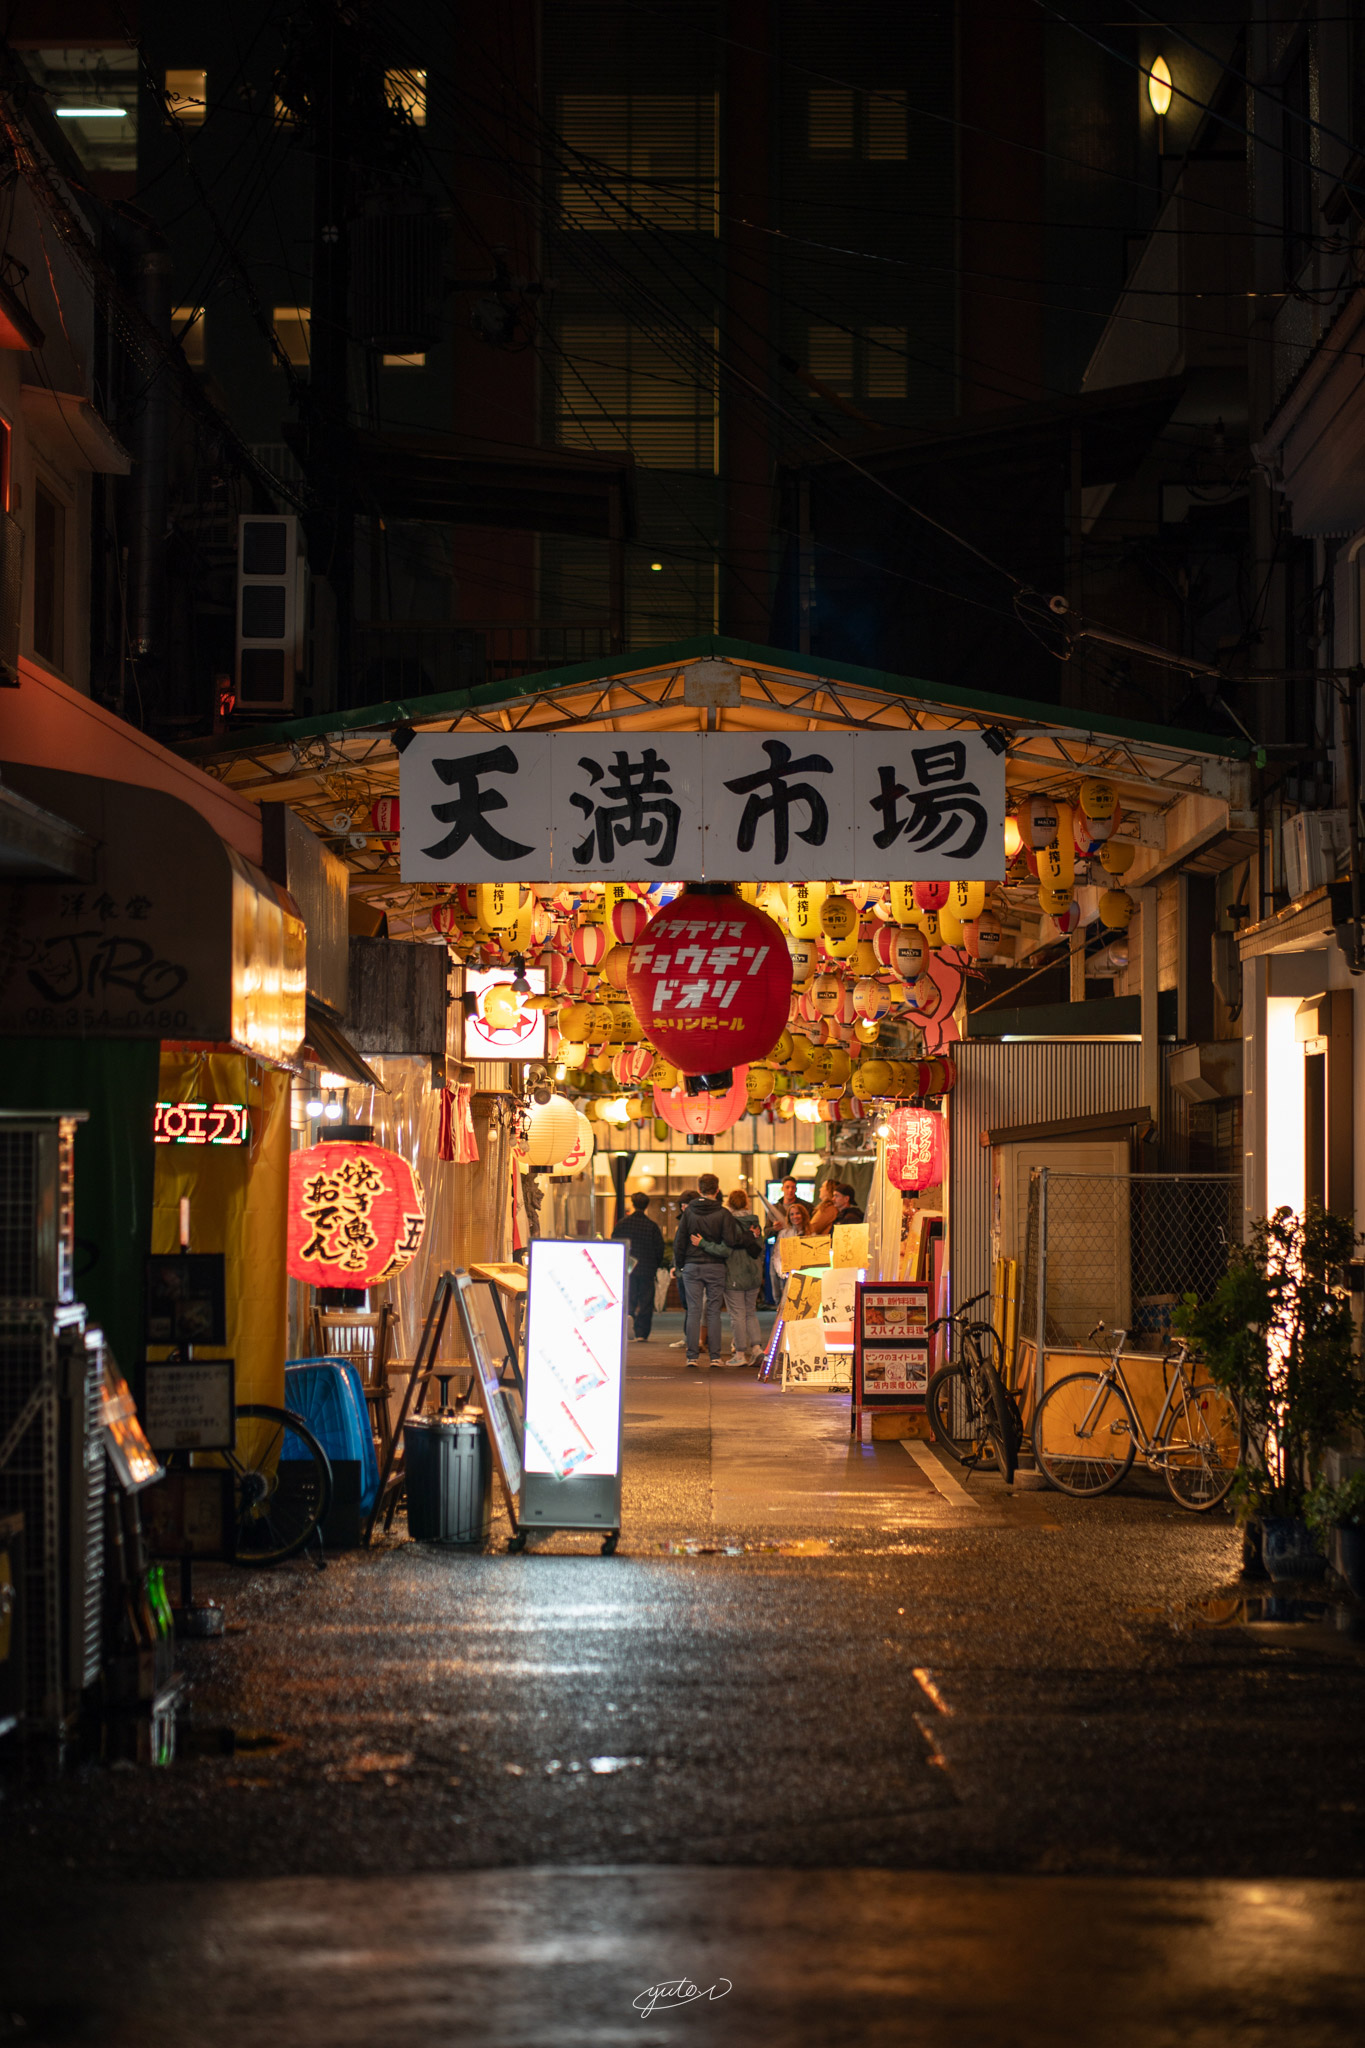
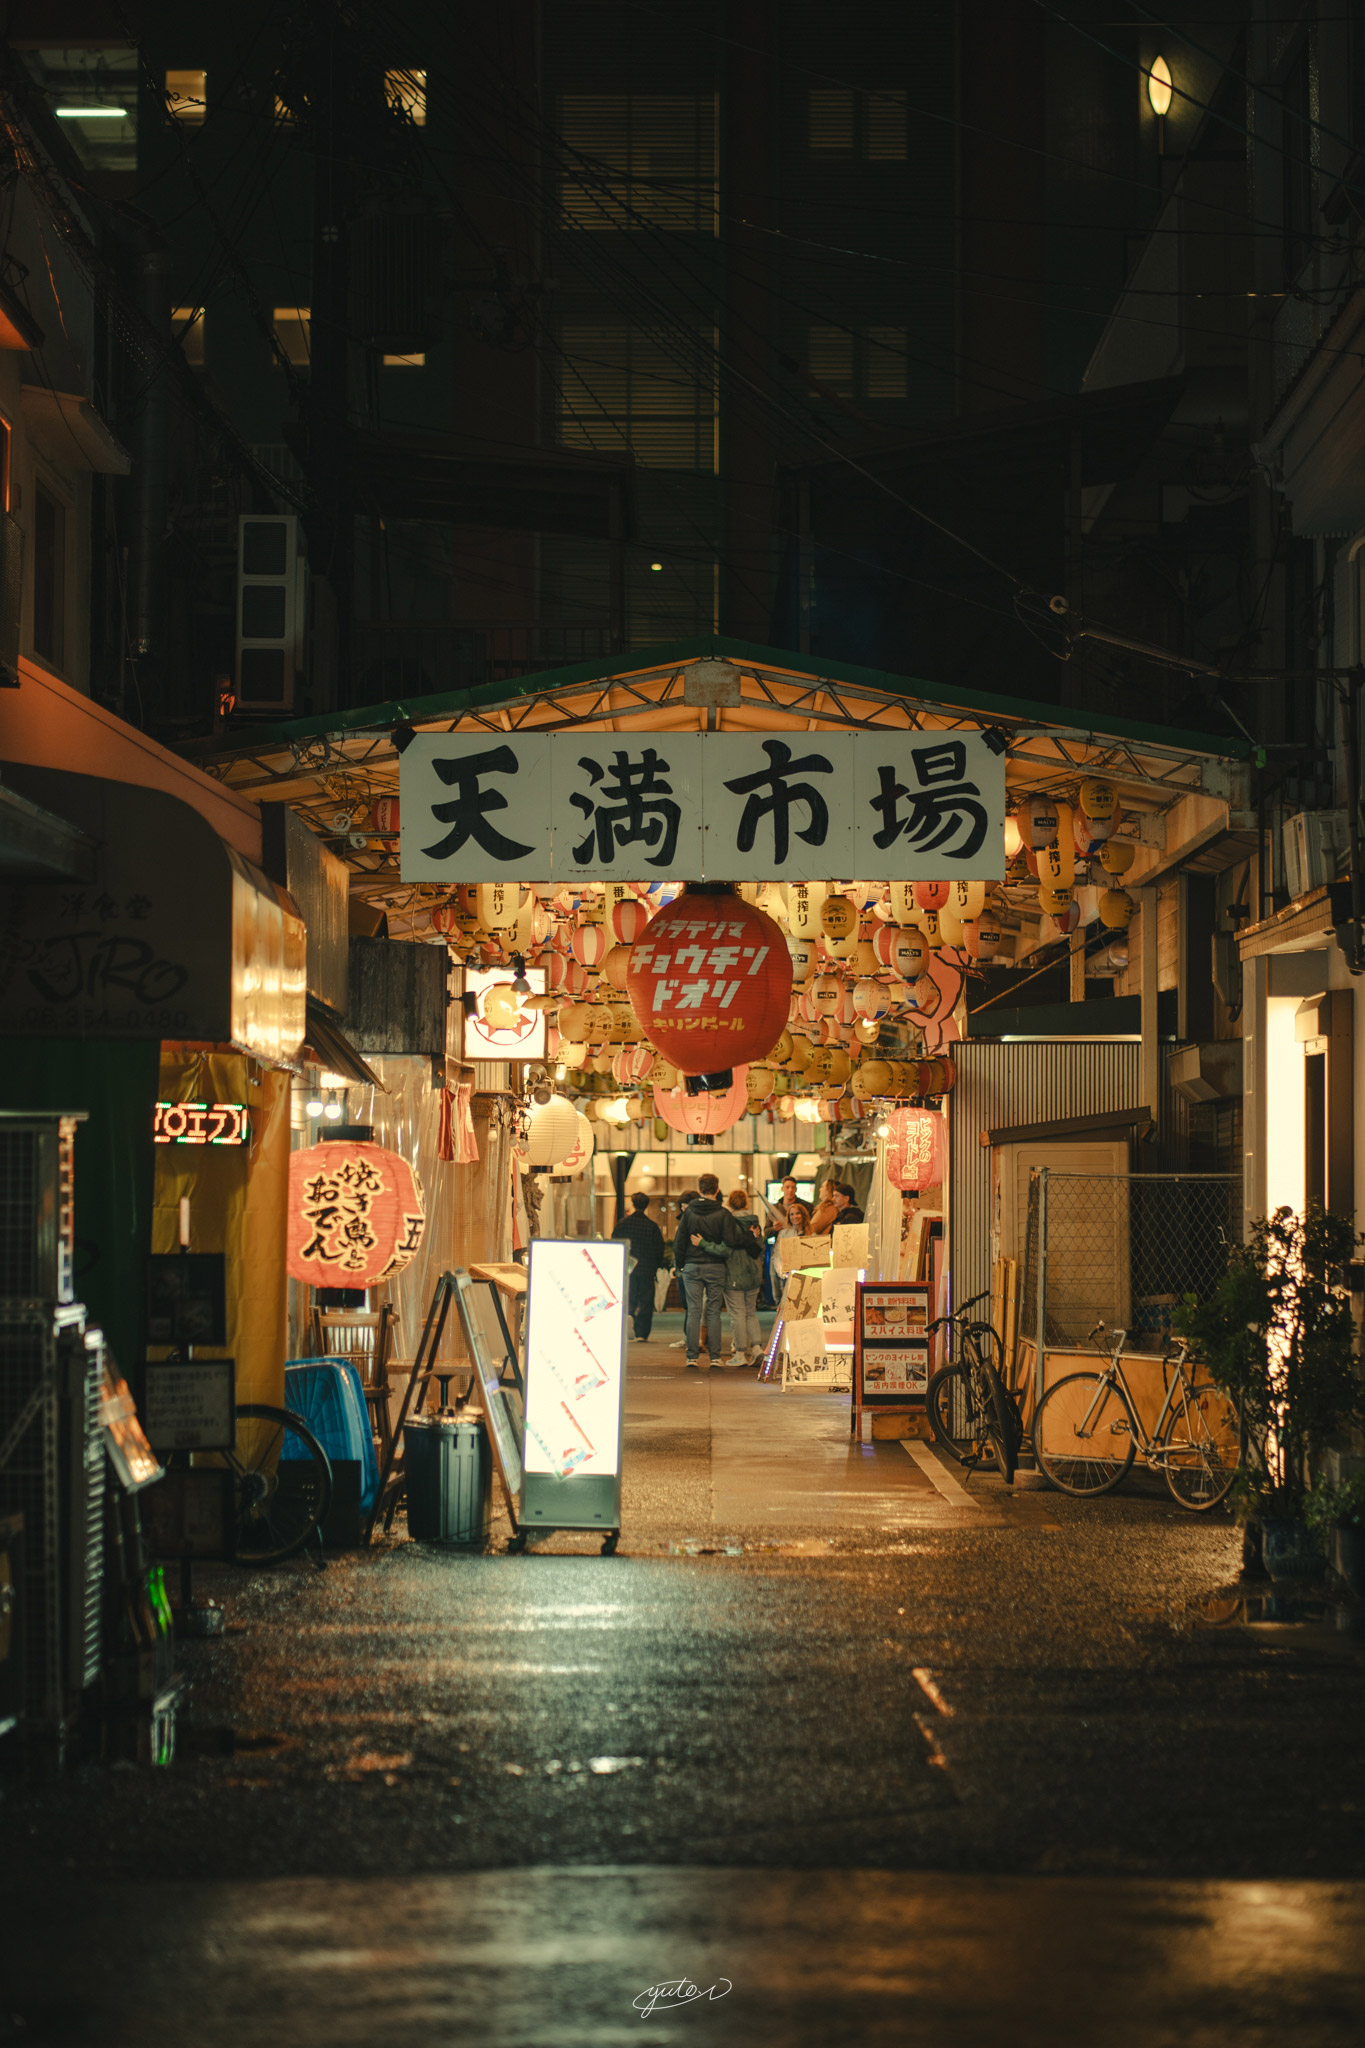
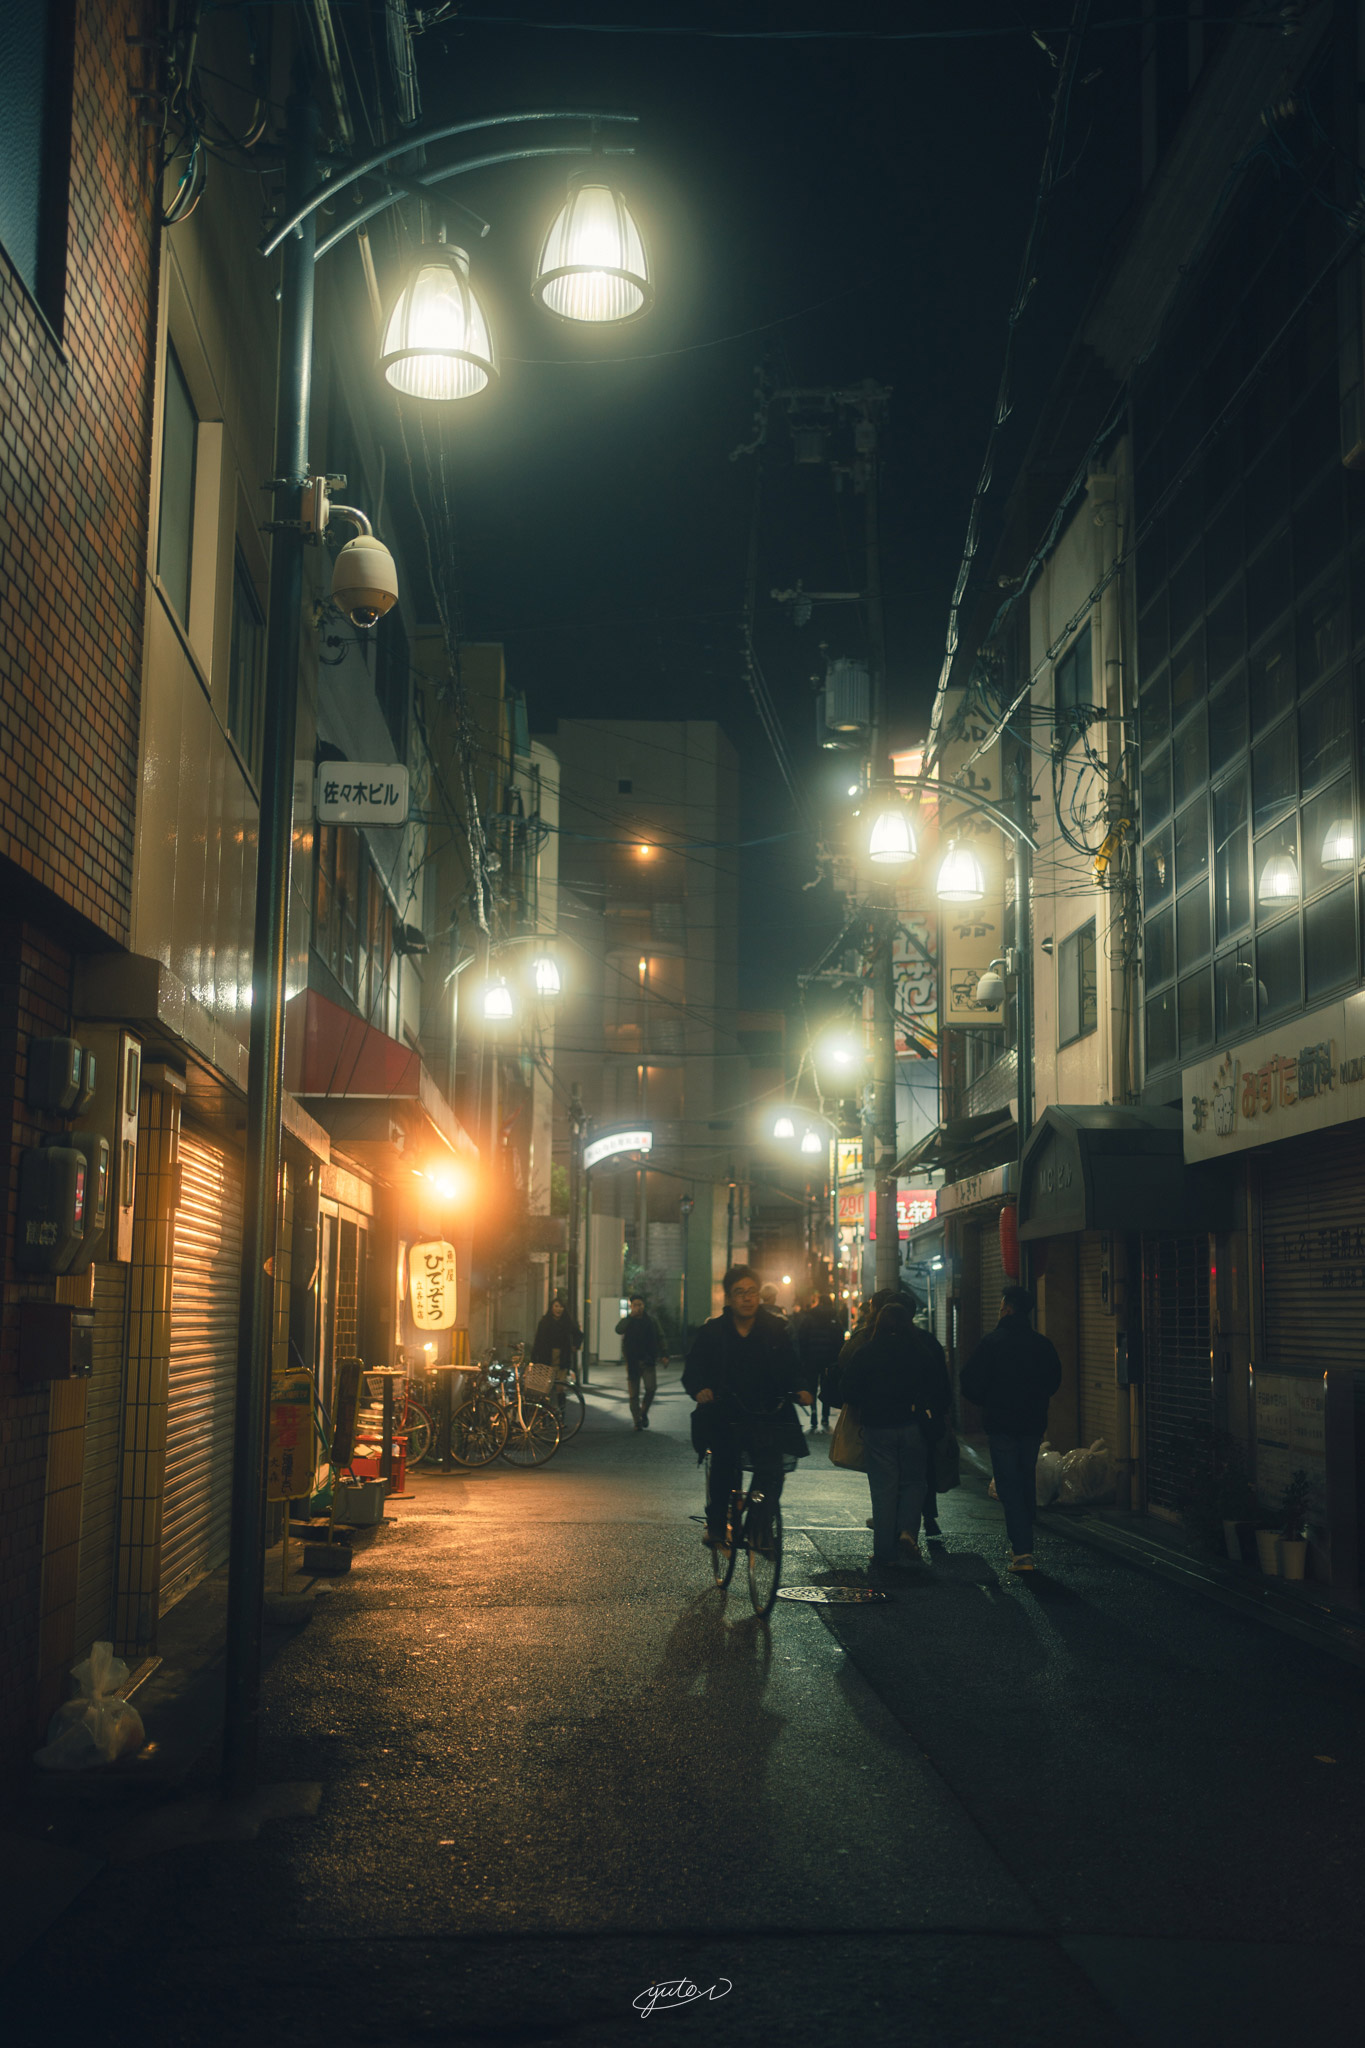
「ST-BACKALLEY01」▼
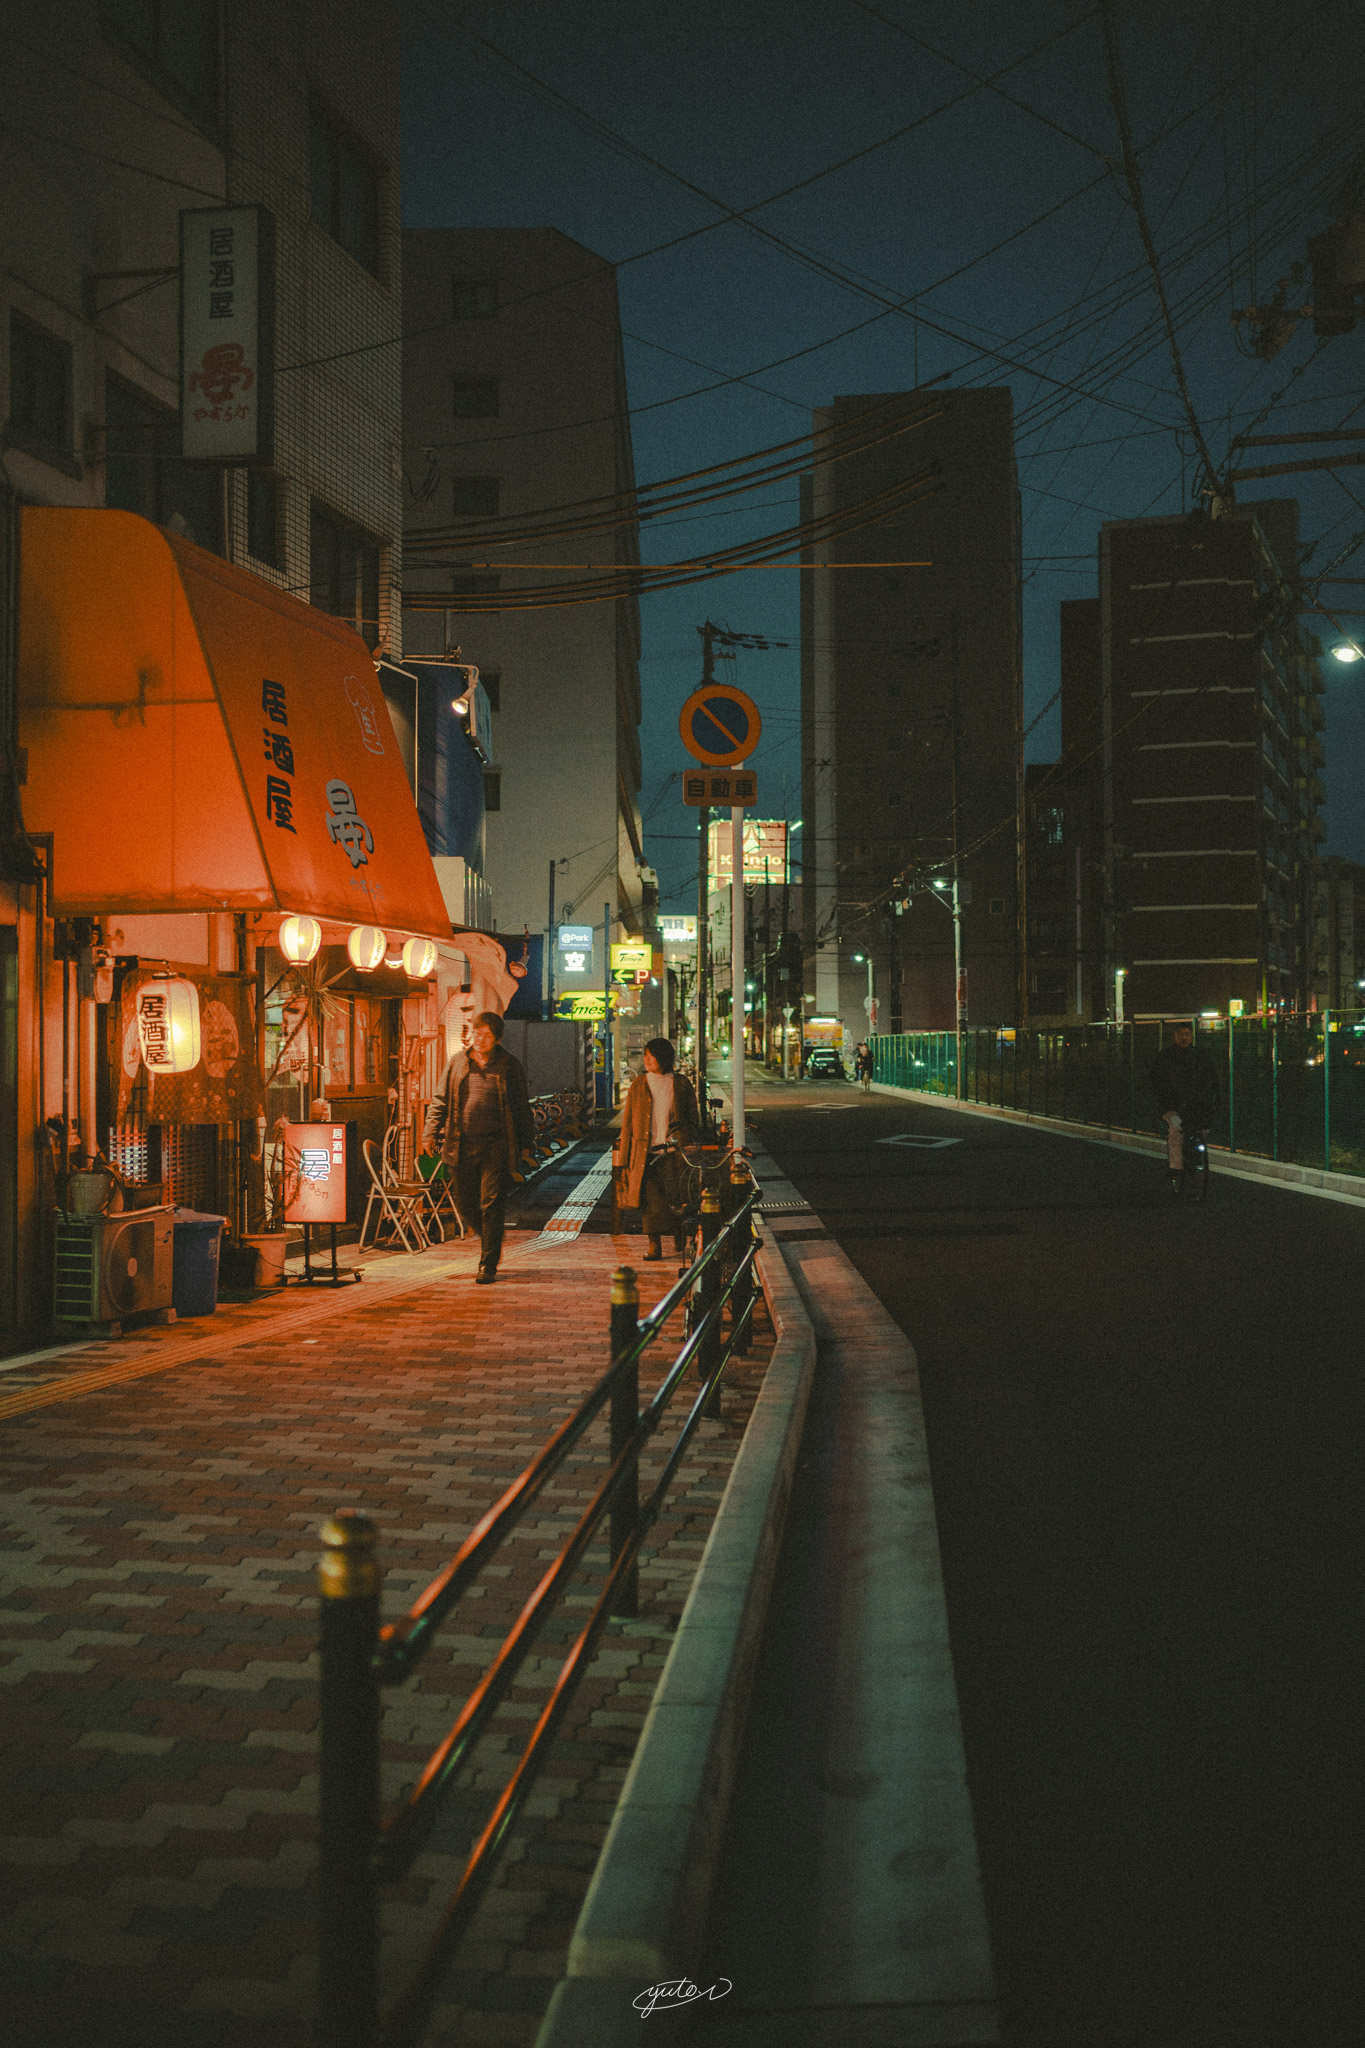
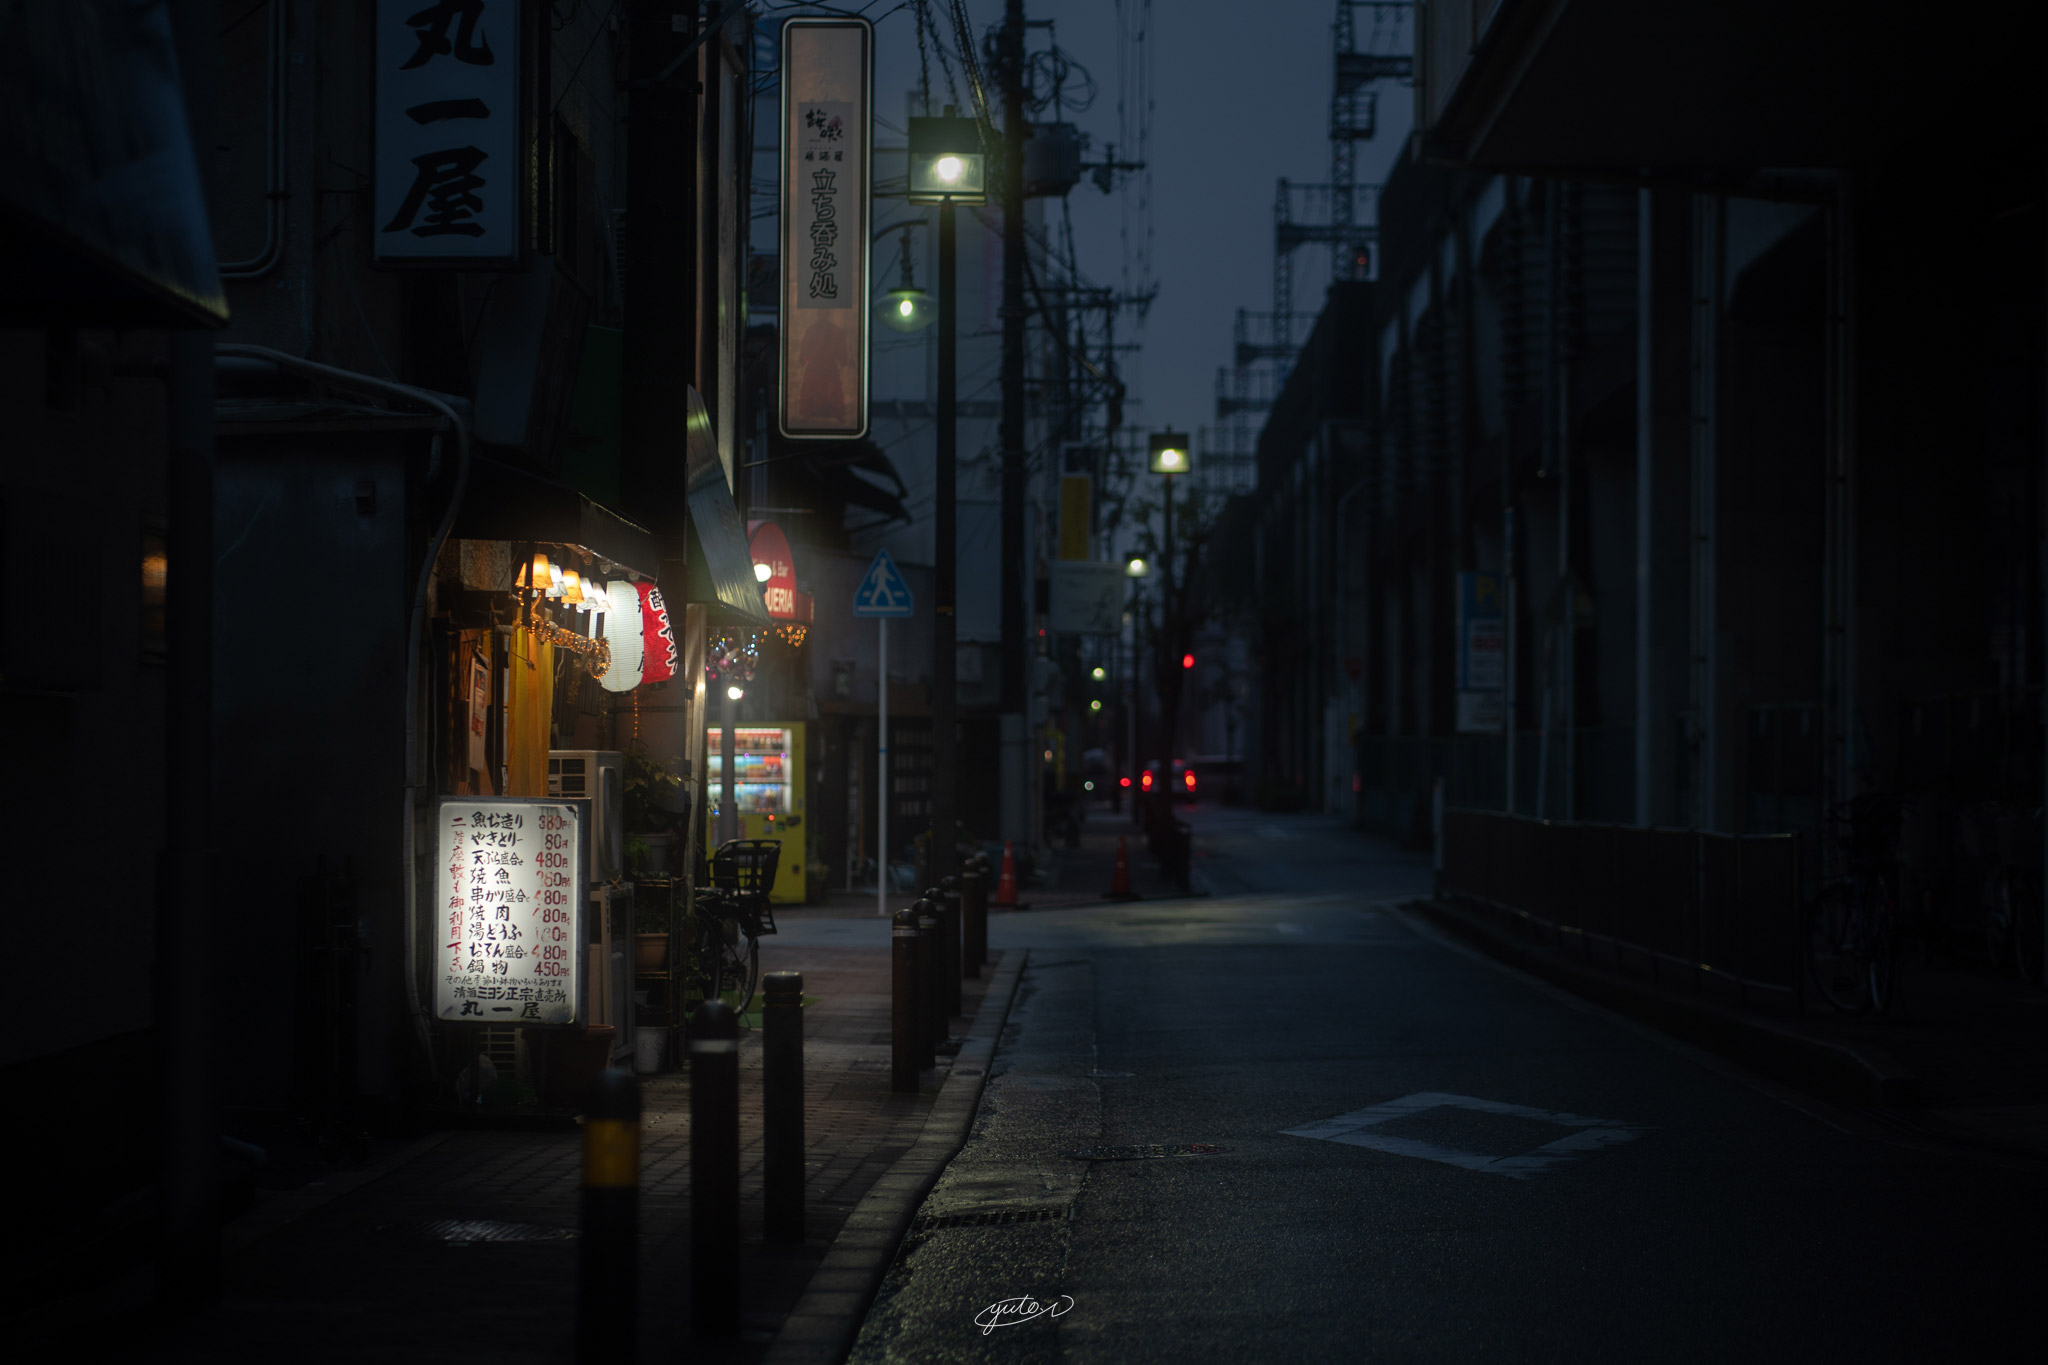
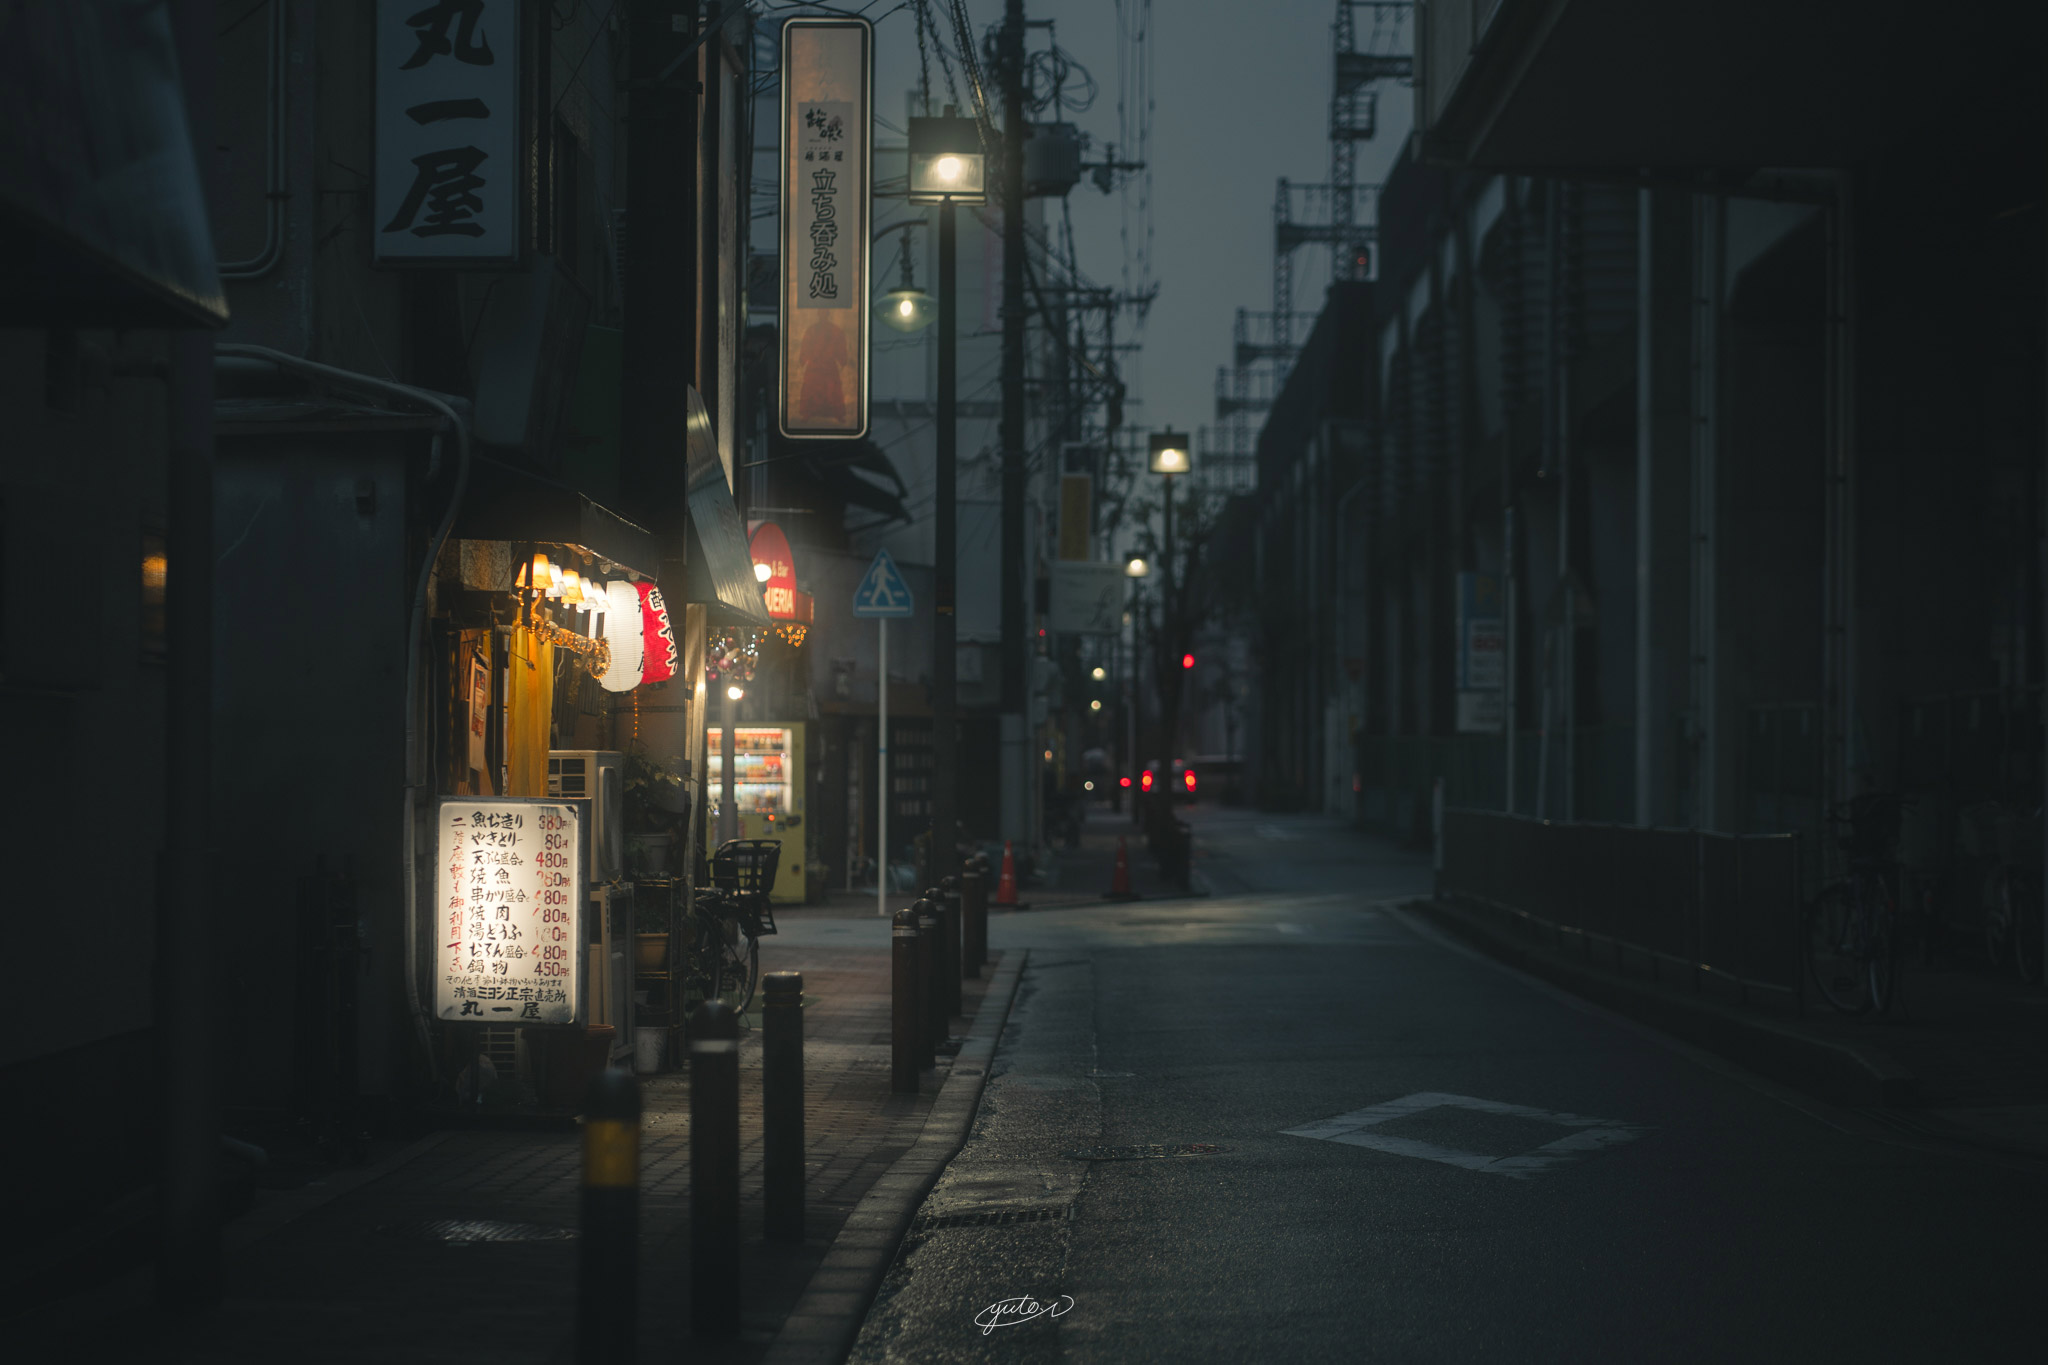
「ST-BACKALLEY02」▼
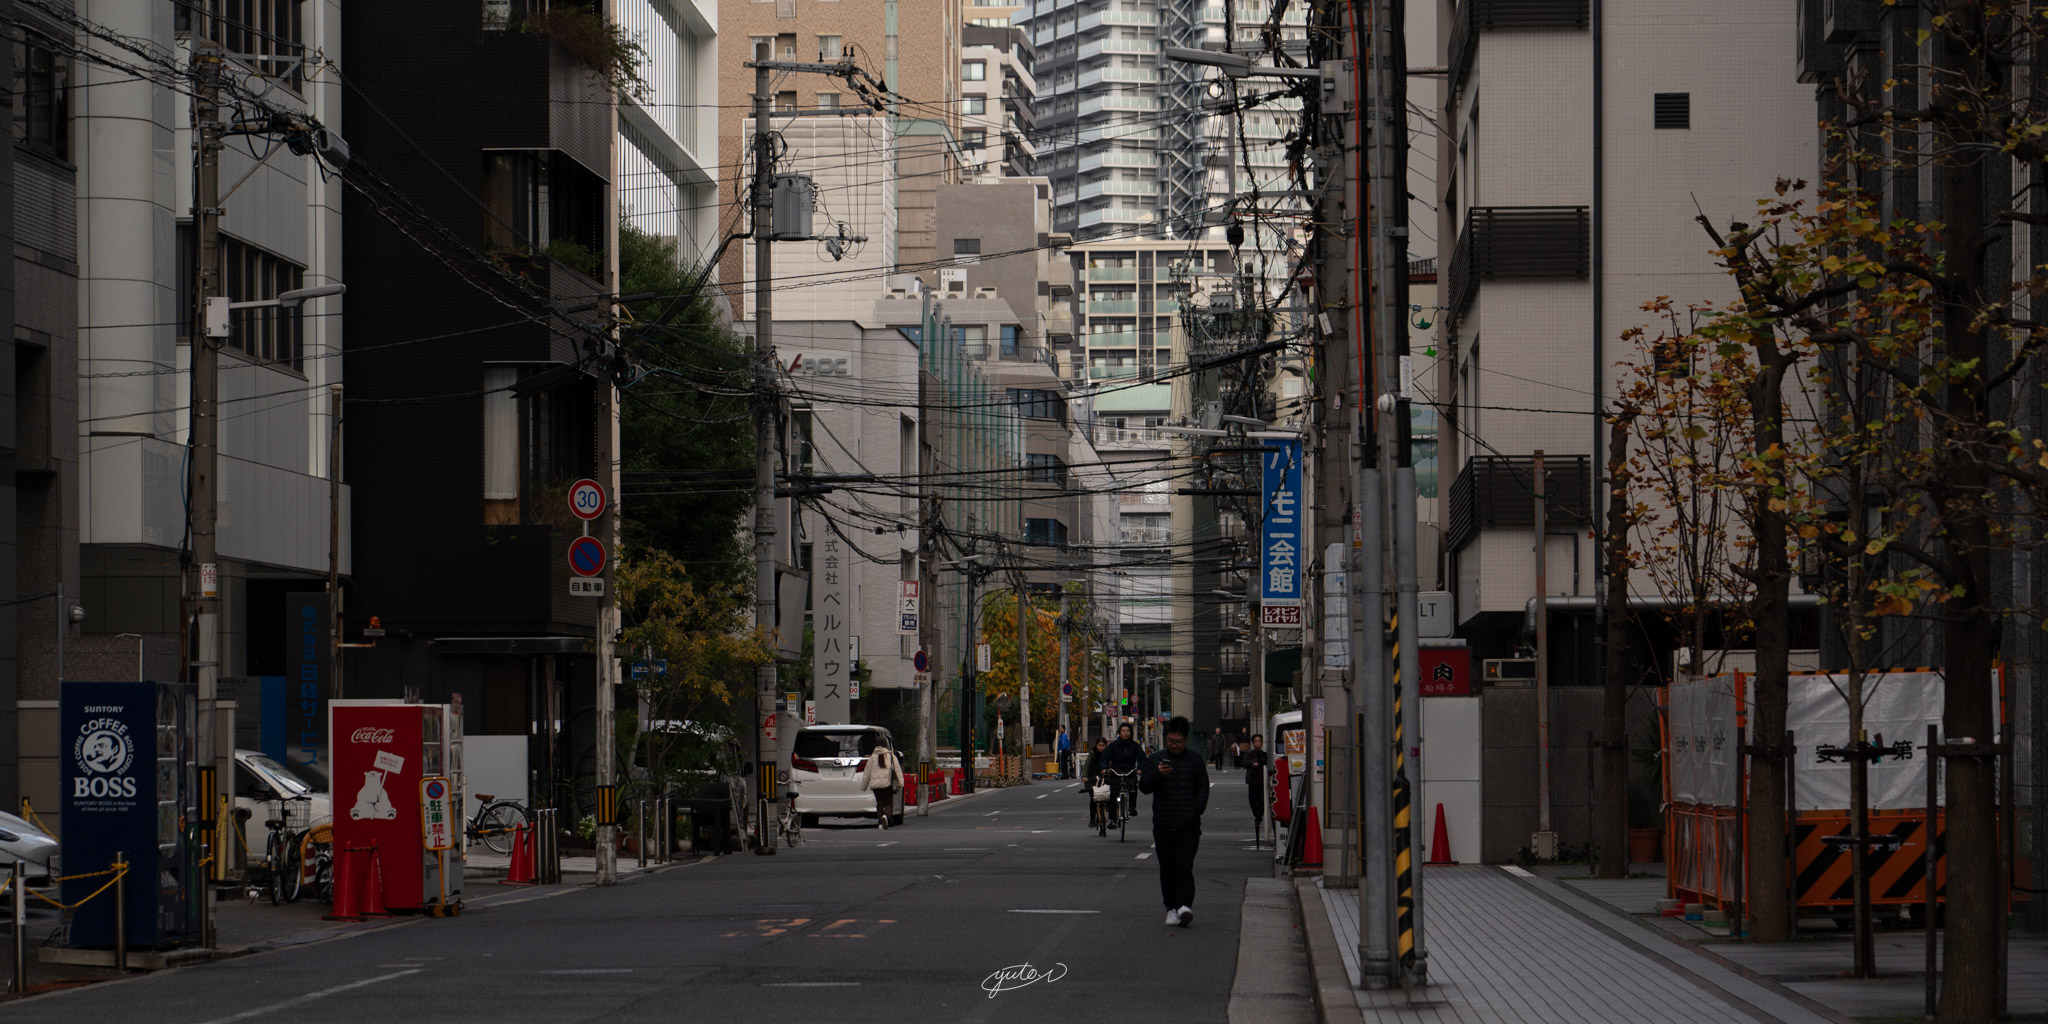
「ST-DAYS01」▼

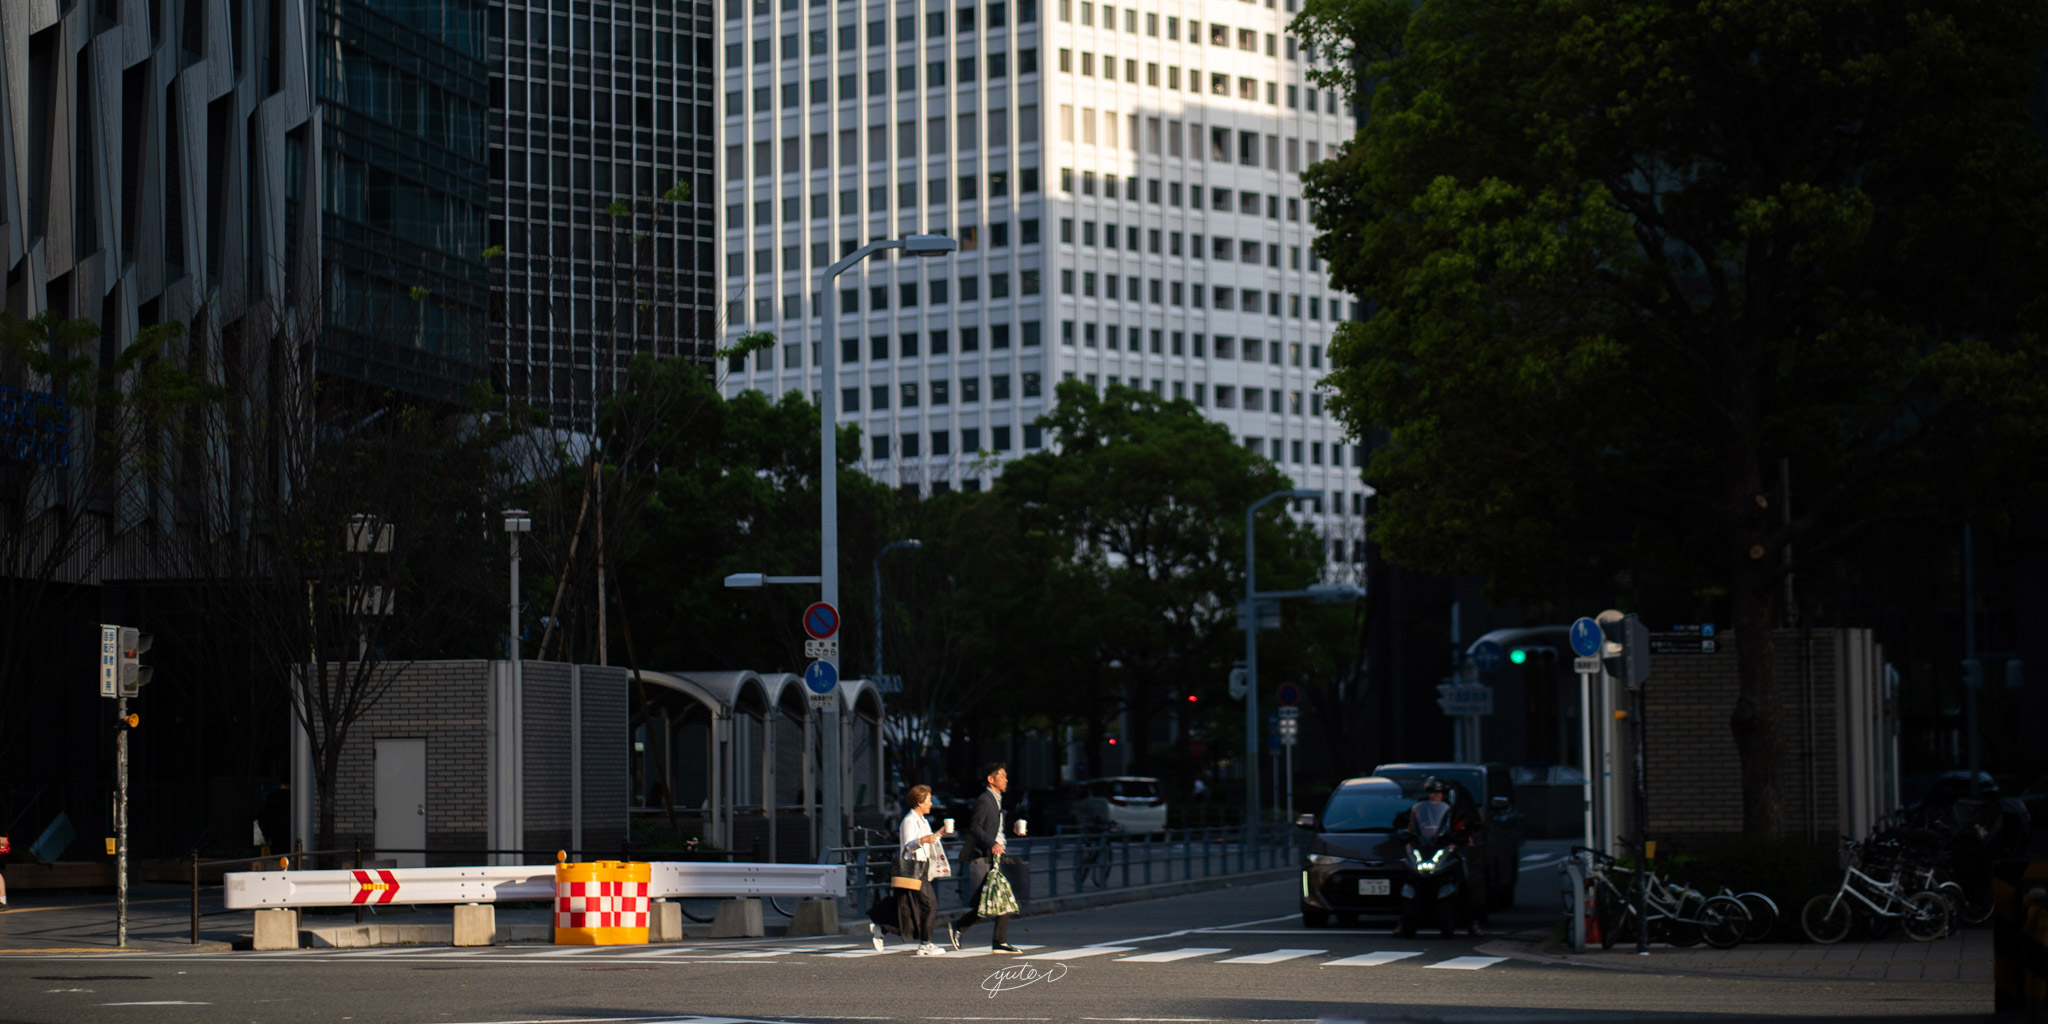
「ST-DAYS02」▼

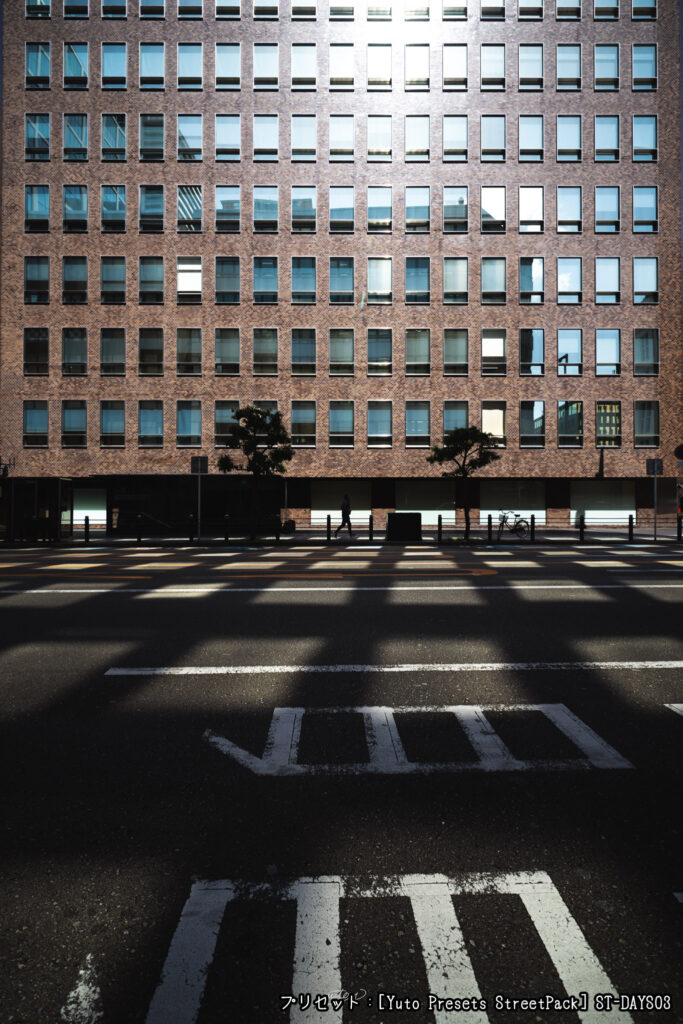
「ST-DAYS03」▼
「ST-DAYS04」▼
「ST-DAYS05」▼
「ST-DAYS06」▼
「ST-DAYS07」▼
「ST-DAYS08」▼
「ST-DAYS09」▼
「ST-DAYS10」▼

「ST-DAYS11」▼
「ST-MAGICHOUR01」▼

「ST-MAGICHOUR02」▼
「ST-MAGICHOUR03」▼

「ST-MAGICHOUR04」▼
「ST-MAGICHOUR05」▼
「ST-NIGHT01」▼
「ST-NIGHT02」▼

「ST-NIGHT03」▼
「ST-NIGHT04」▼
「ST-NIGHT05」▼
「ST-NIGHT06」▼
「ST-NIGHT07」▼

「ST-NIGHT08」▼
「ST-NIGHT09」▼
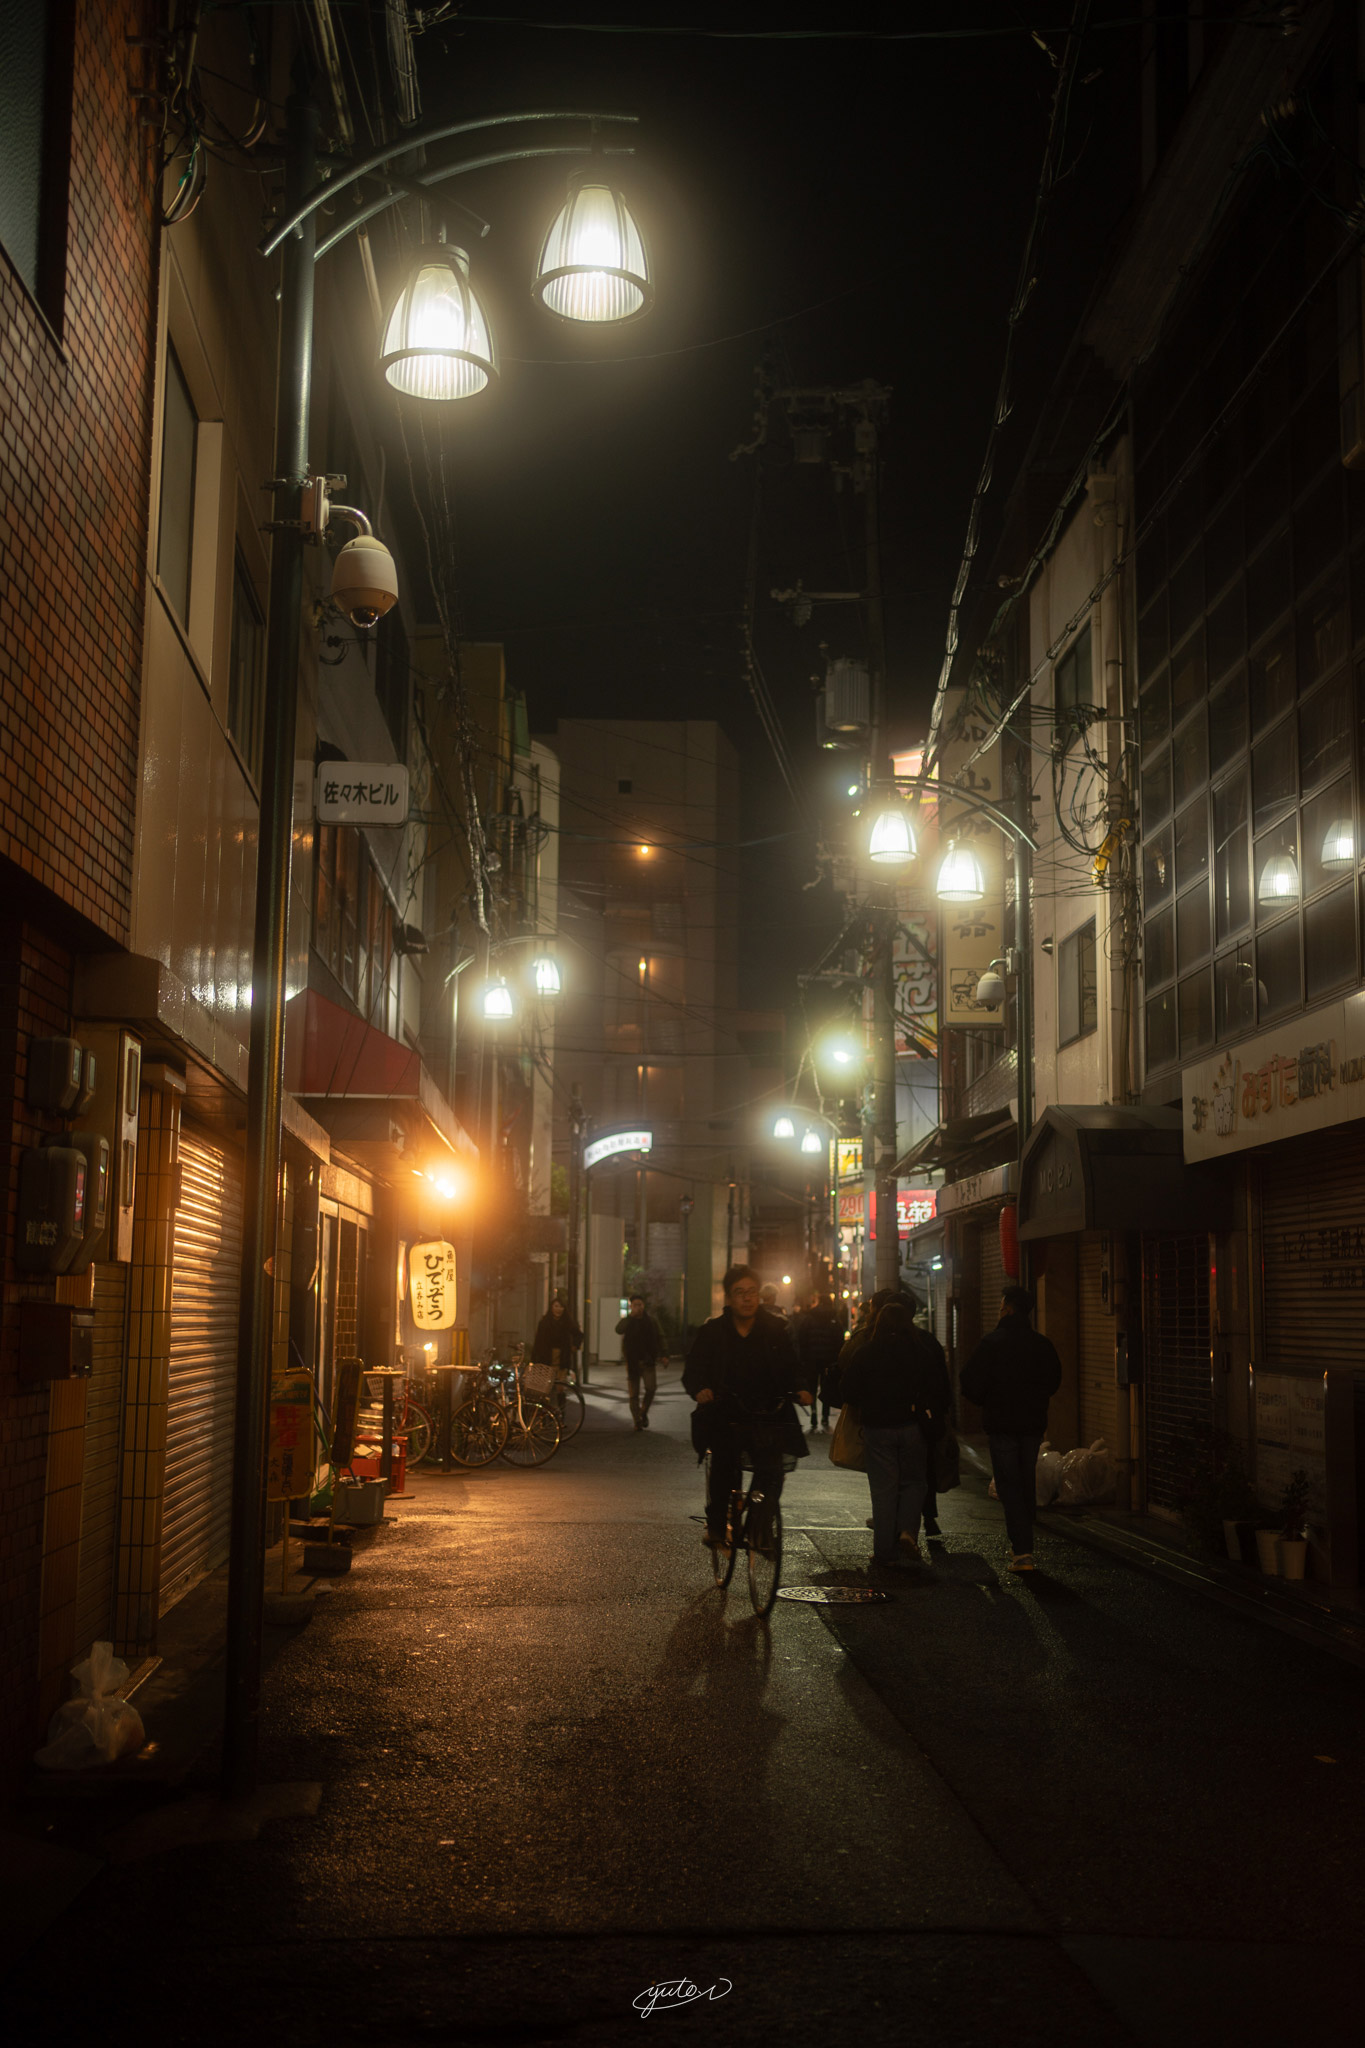
「ST-NIGHT10」▼
「ST-NIGHT11」▼
「ST-NIGHT12」▼
How to use the PC version presets
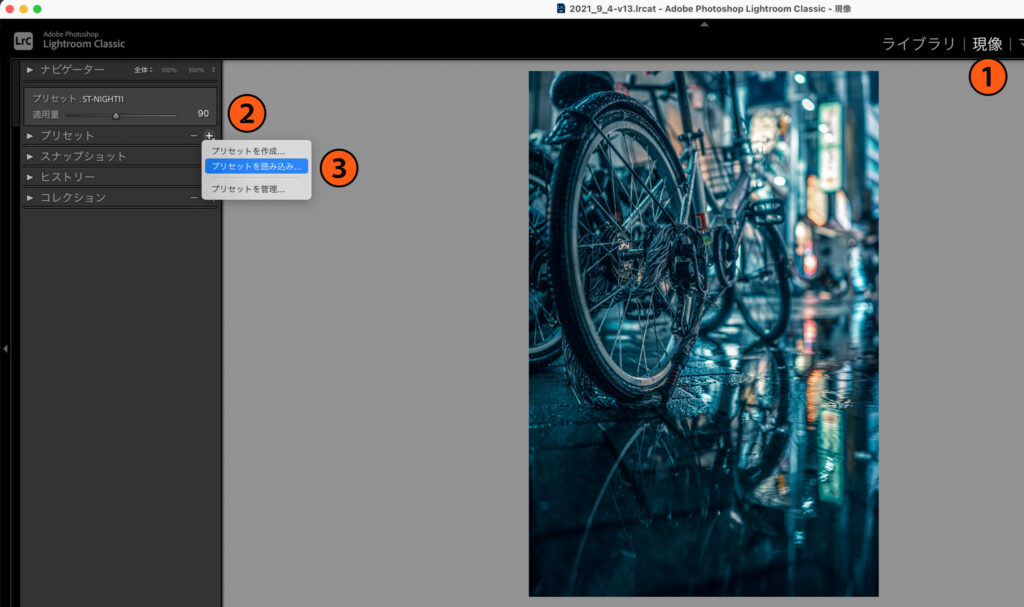
- Select the Develop tab in Lightroom Classic
- Click the “+” at ▶️ presets
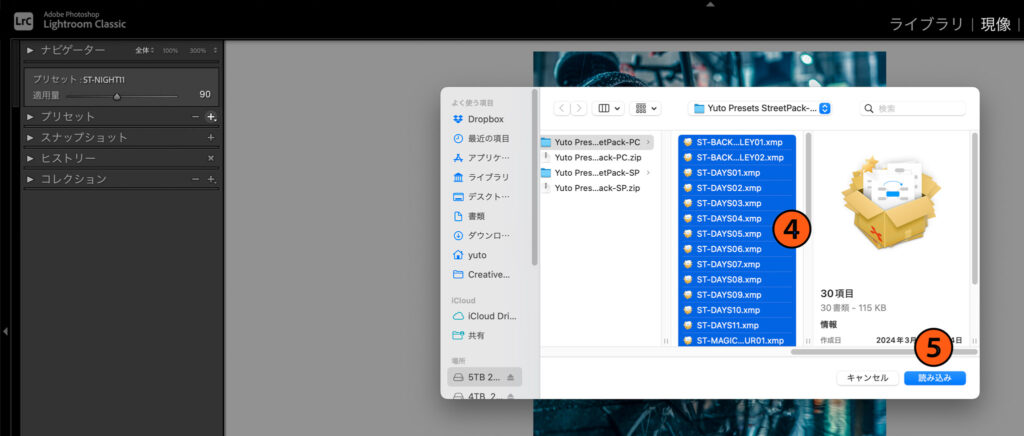
- Click on “Import Presets
- Unzip the presets you downloaded and select all xmp
- Click on “Import
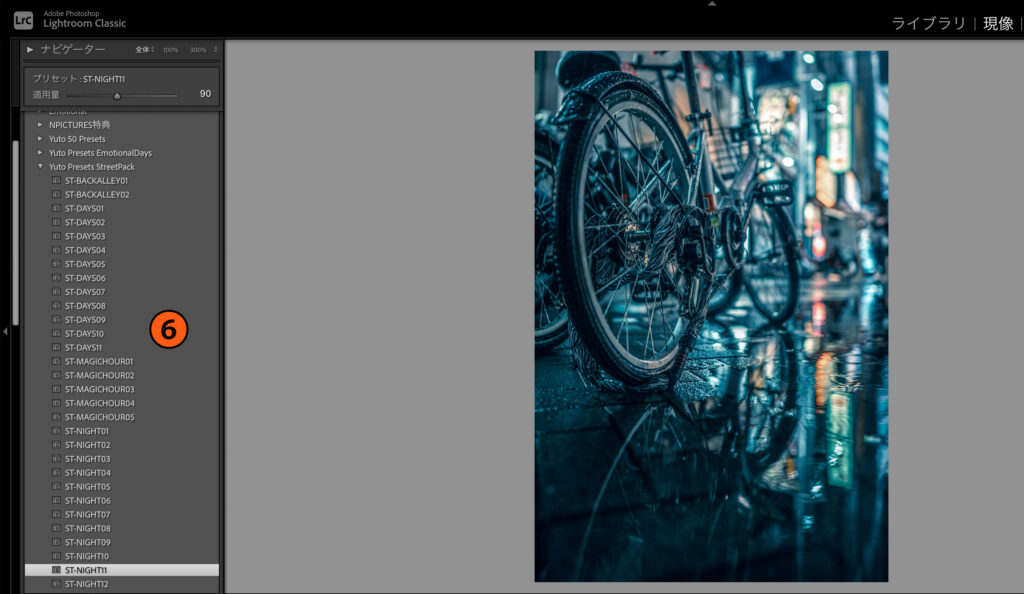
- If they are added to the presets section, you are done!
How to use the SmartPhone version presets
-
Unzip the downloaded ZIP file in the app.
-
Load the extracted DNG in Mobile Lightroom
-
Select the DNG you want to use as a preset
-
Select the parameters to be adjusted in the preset
*Refer to the slide image below
(Adjustment items are listed in the PDF file that comes with the camera after purchase. -
Check the completed preset
-
Let’s apply the preset to an actual photo!
Tips for using presets
- Brightening an Entire Photo
- Apply preset
- Adjust the strength of the preset effect by the amount applied
- Fine-tune the Tone Curve, Color Mixer, and Color Grading to make it more to your liking